1 DISTRIBUTED MAP REDUCE
1.1 Introduction to MapReduce
1.2 Apache Hadoop Project
1.3 Apache Spark Framework
1.4 TF-IDF Example
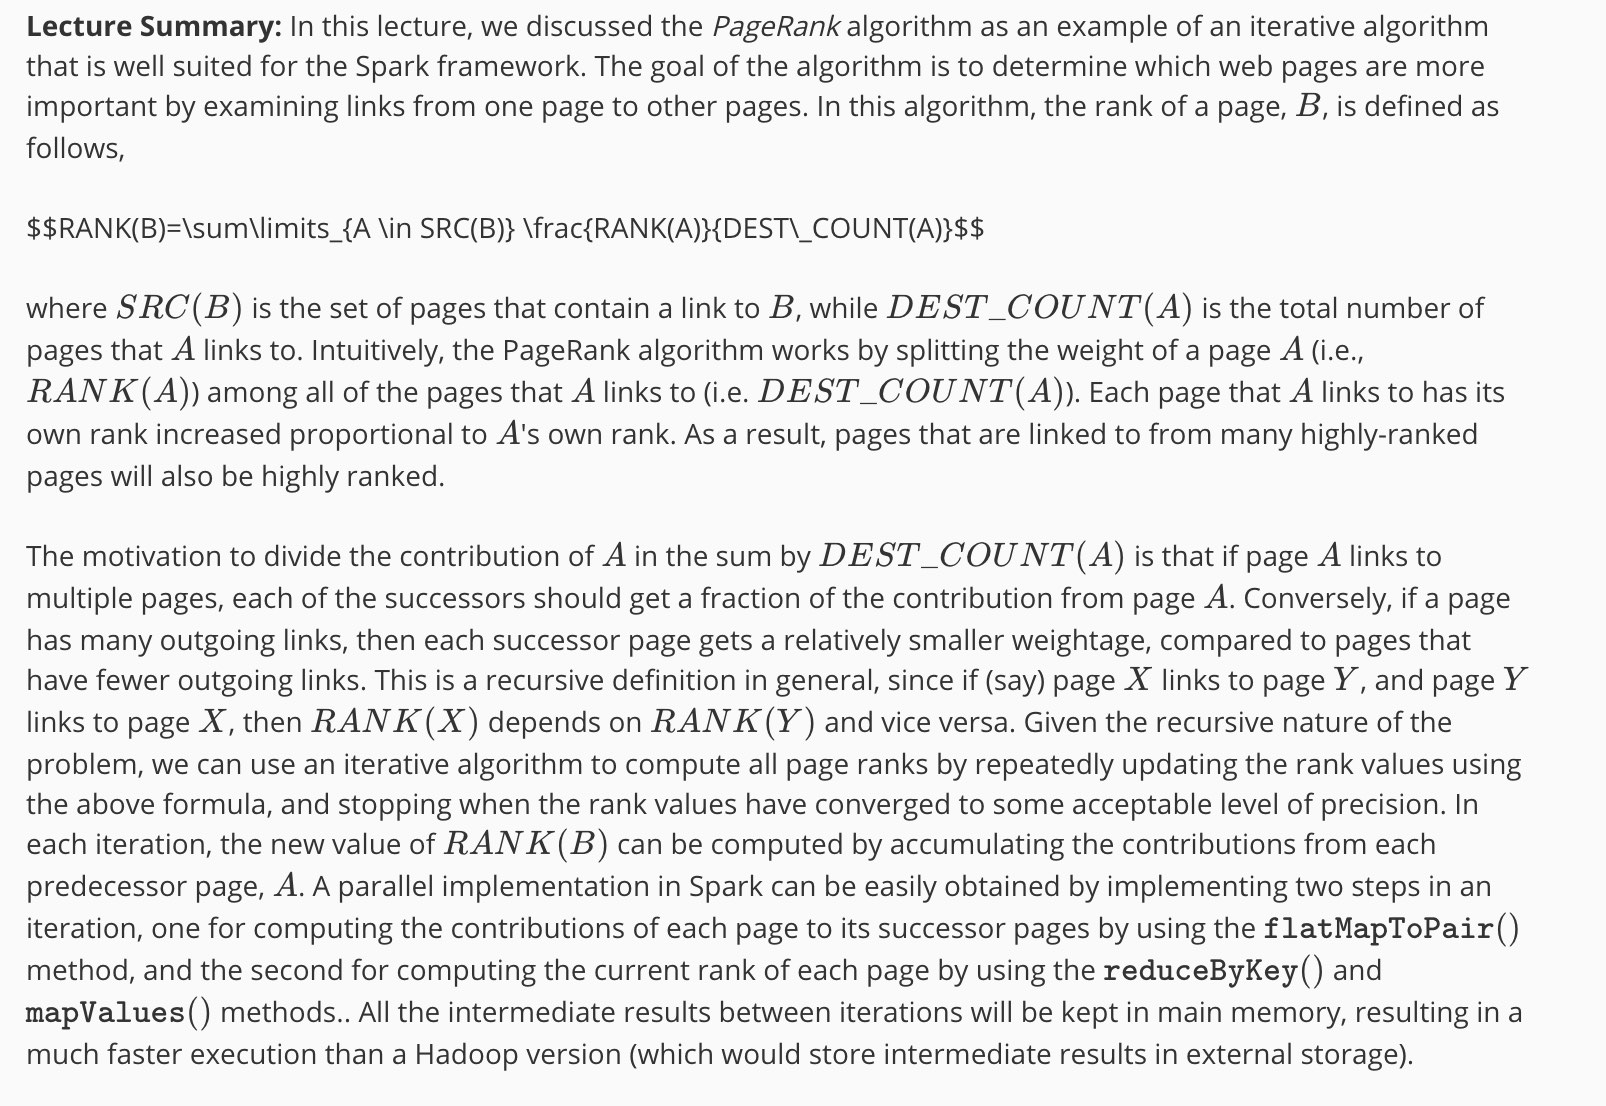
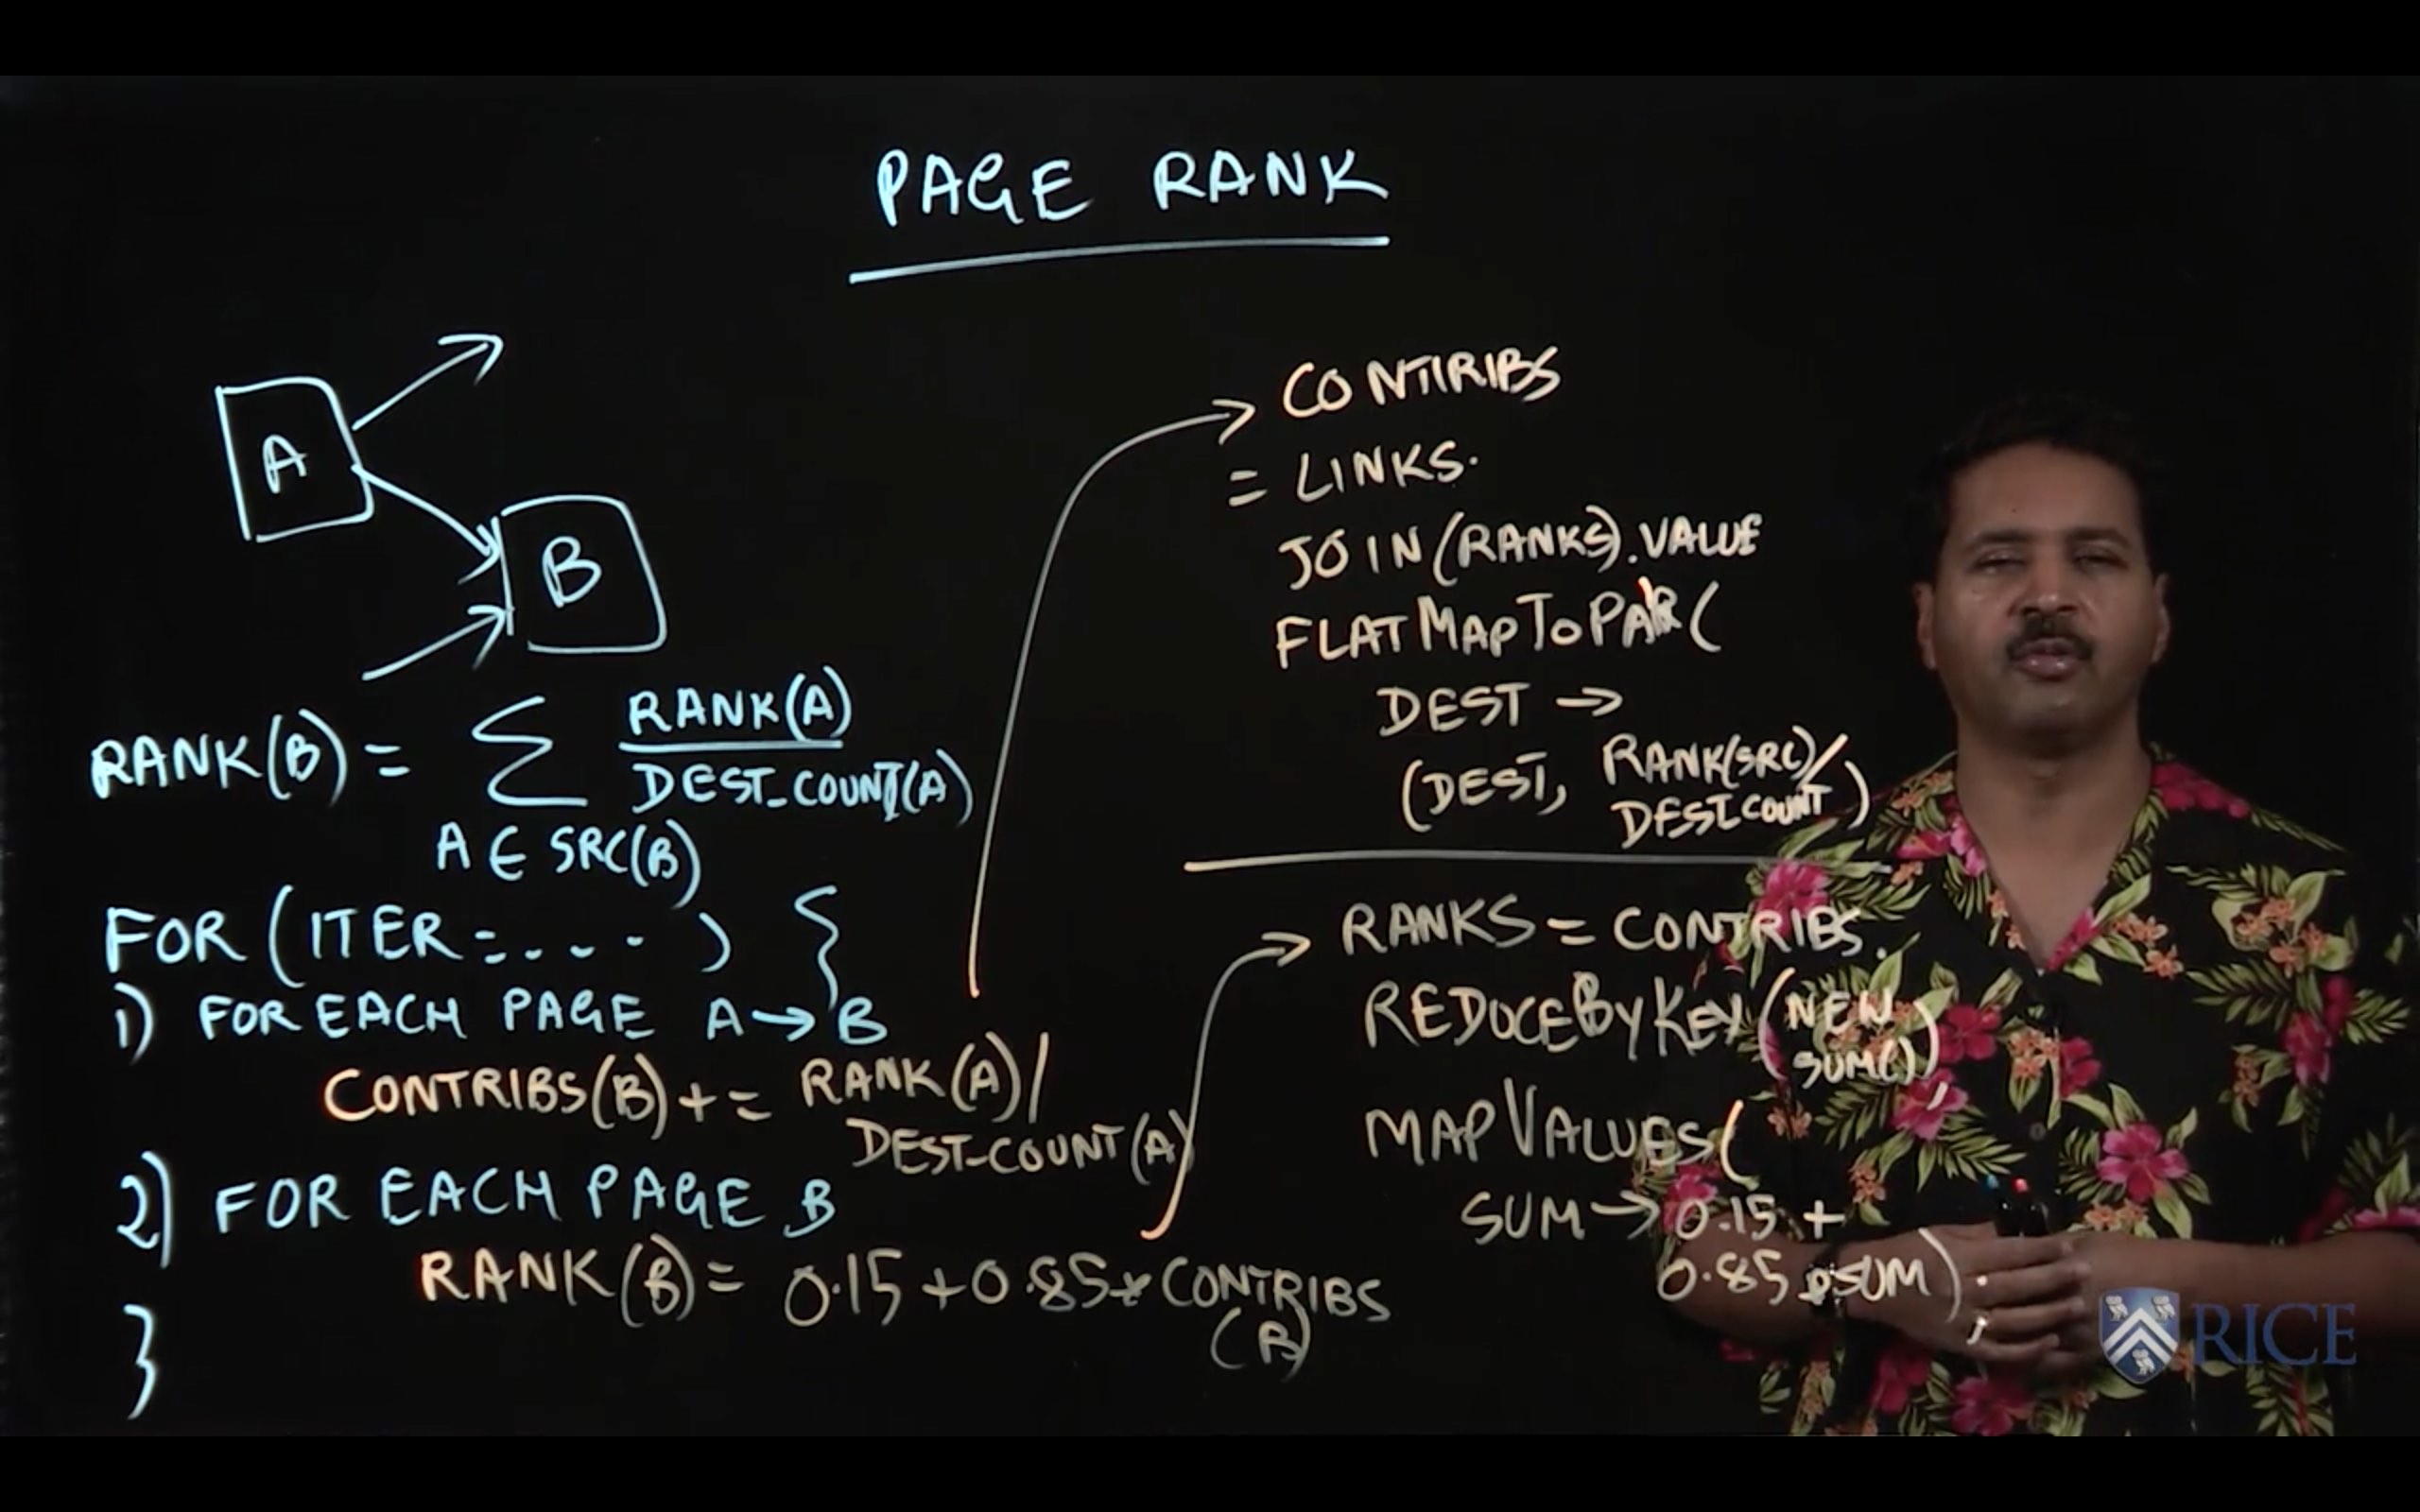
1.5 PageRank Example
1.6 Mini Project
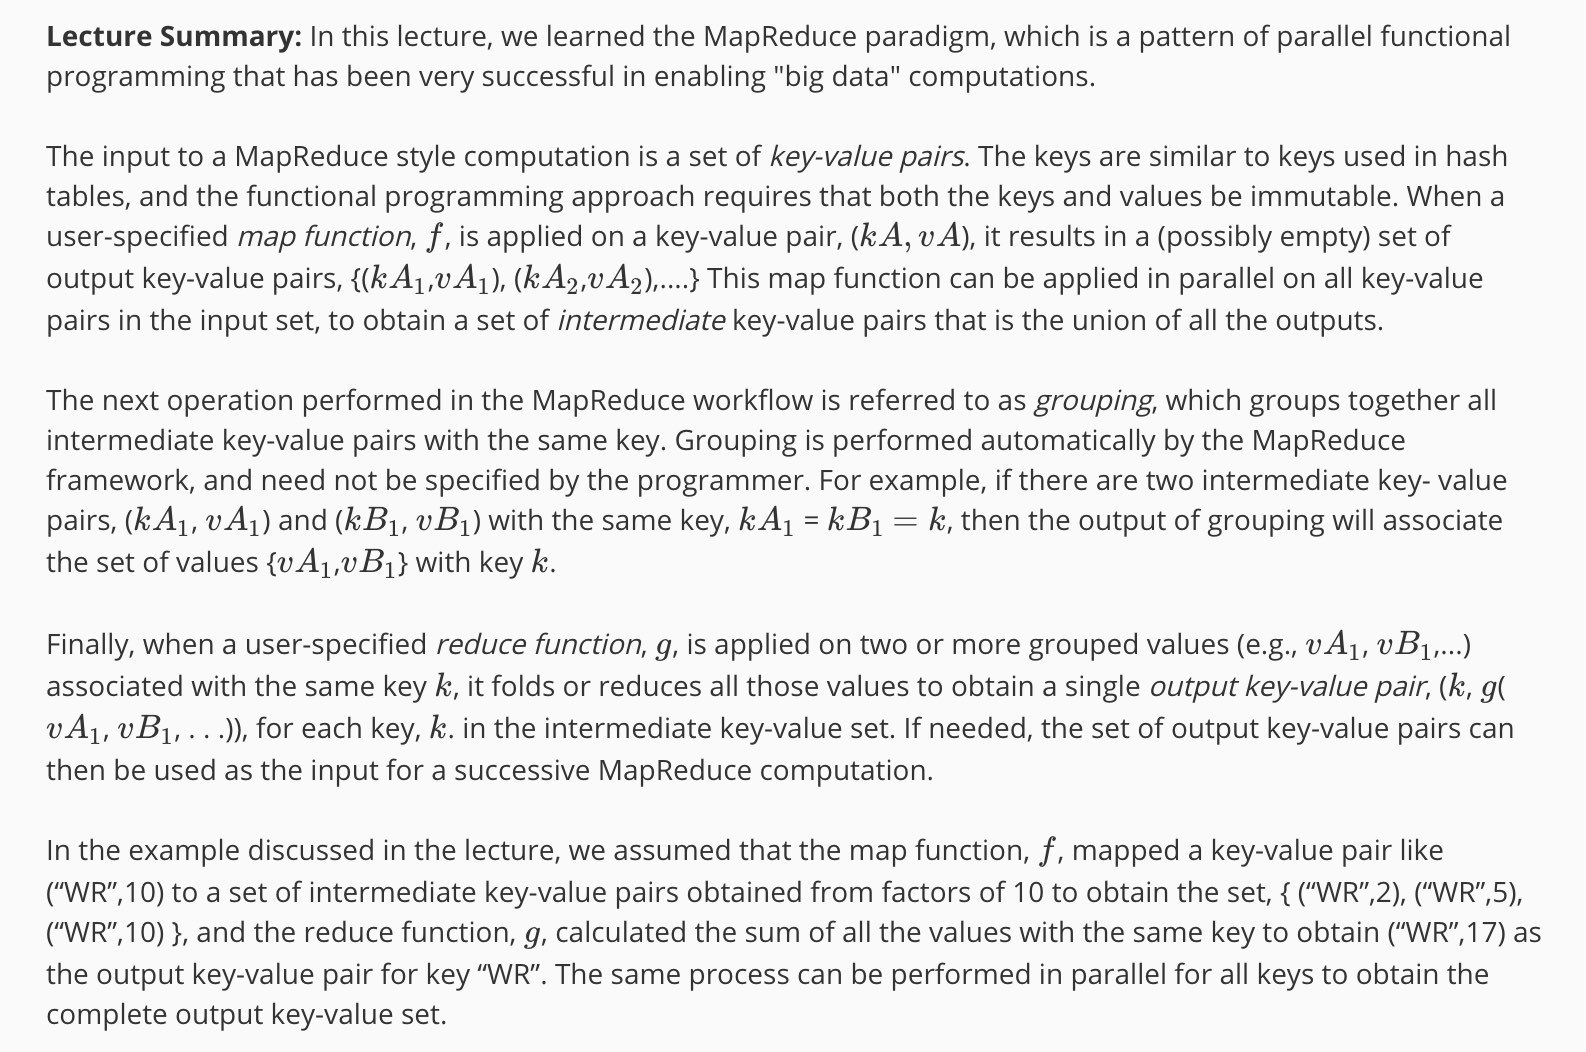
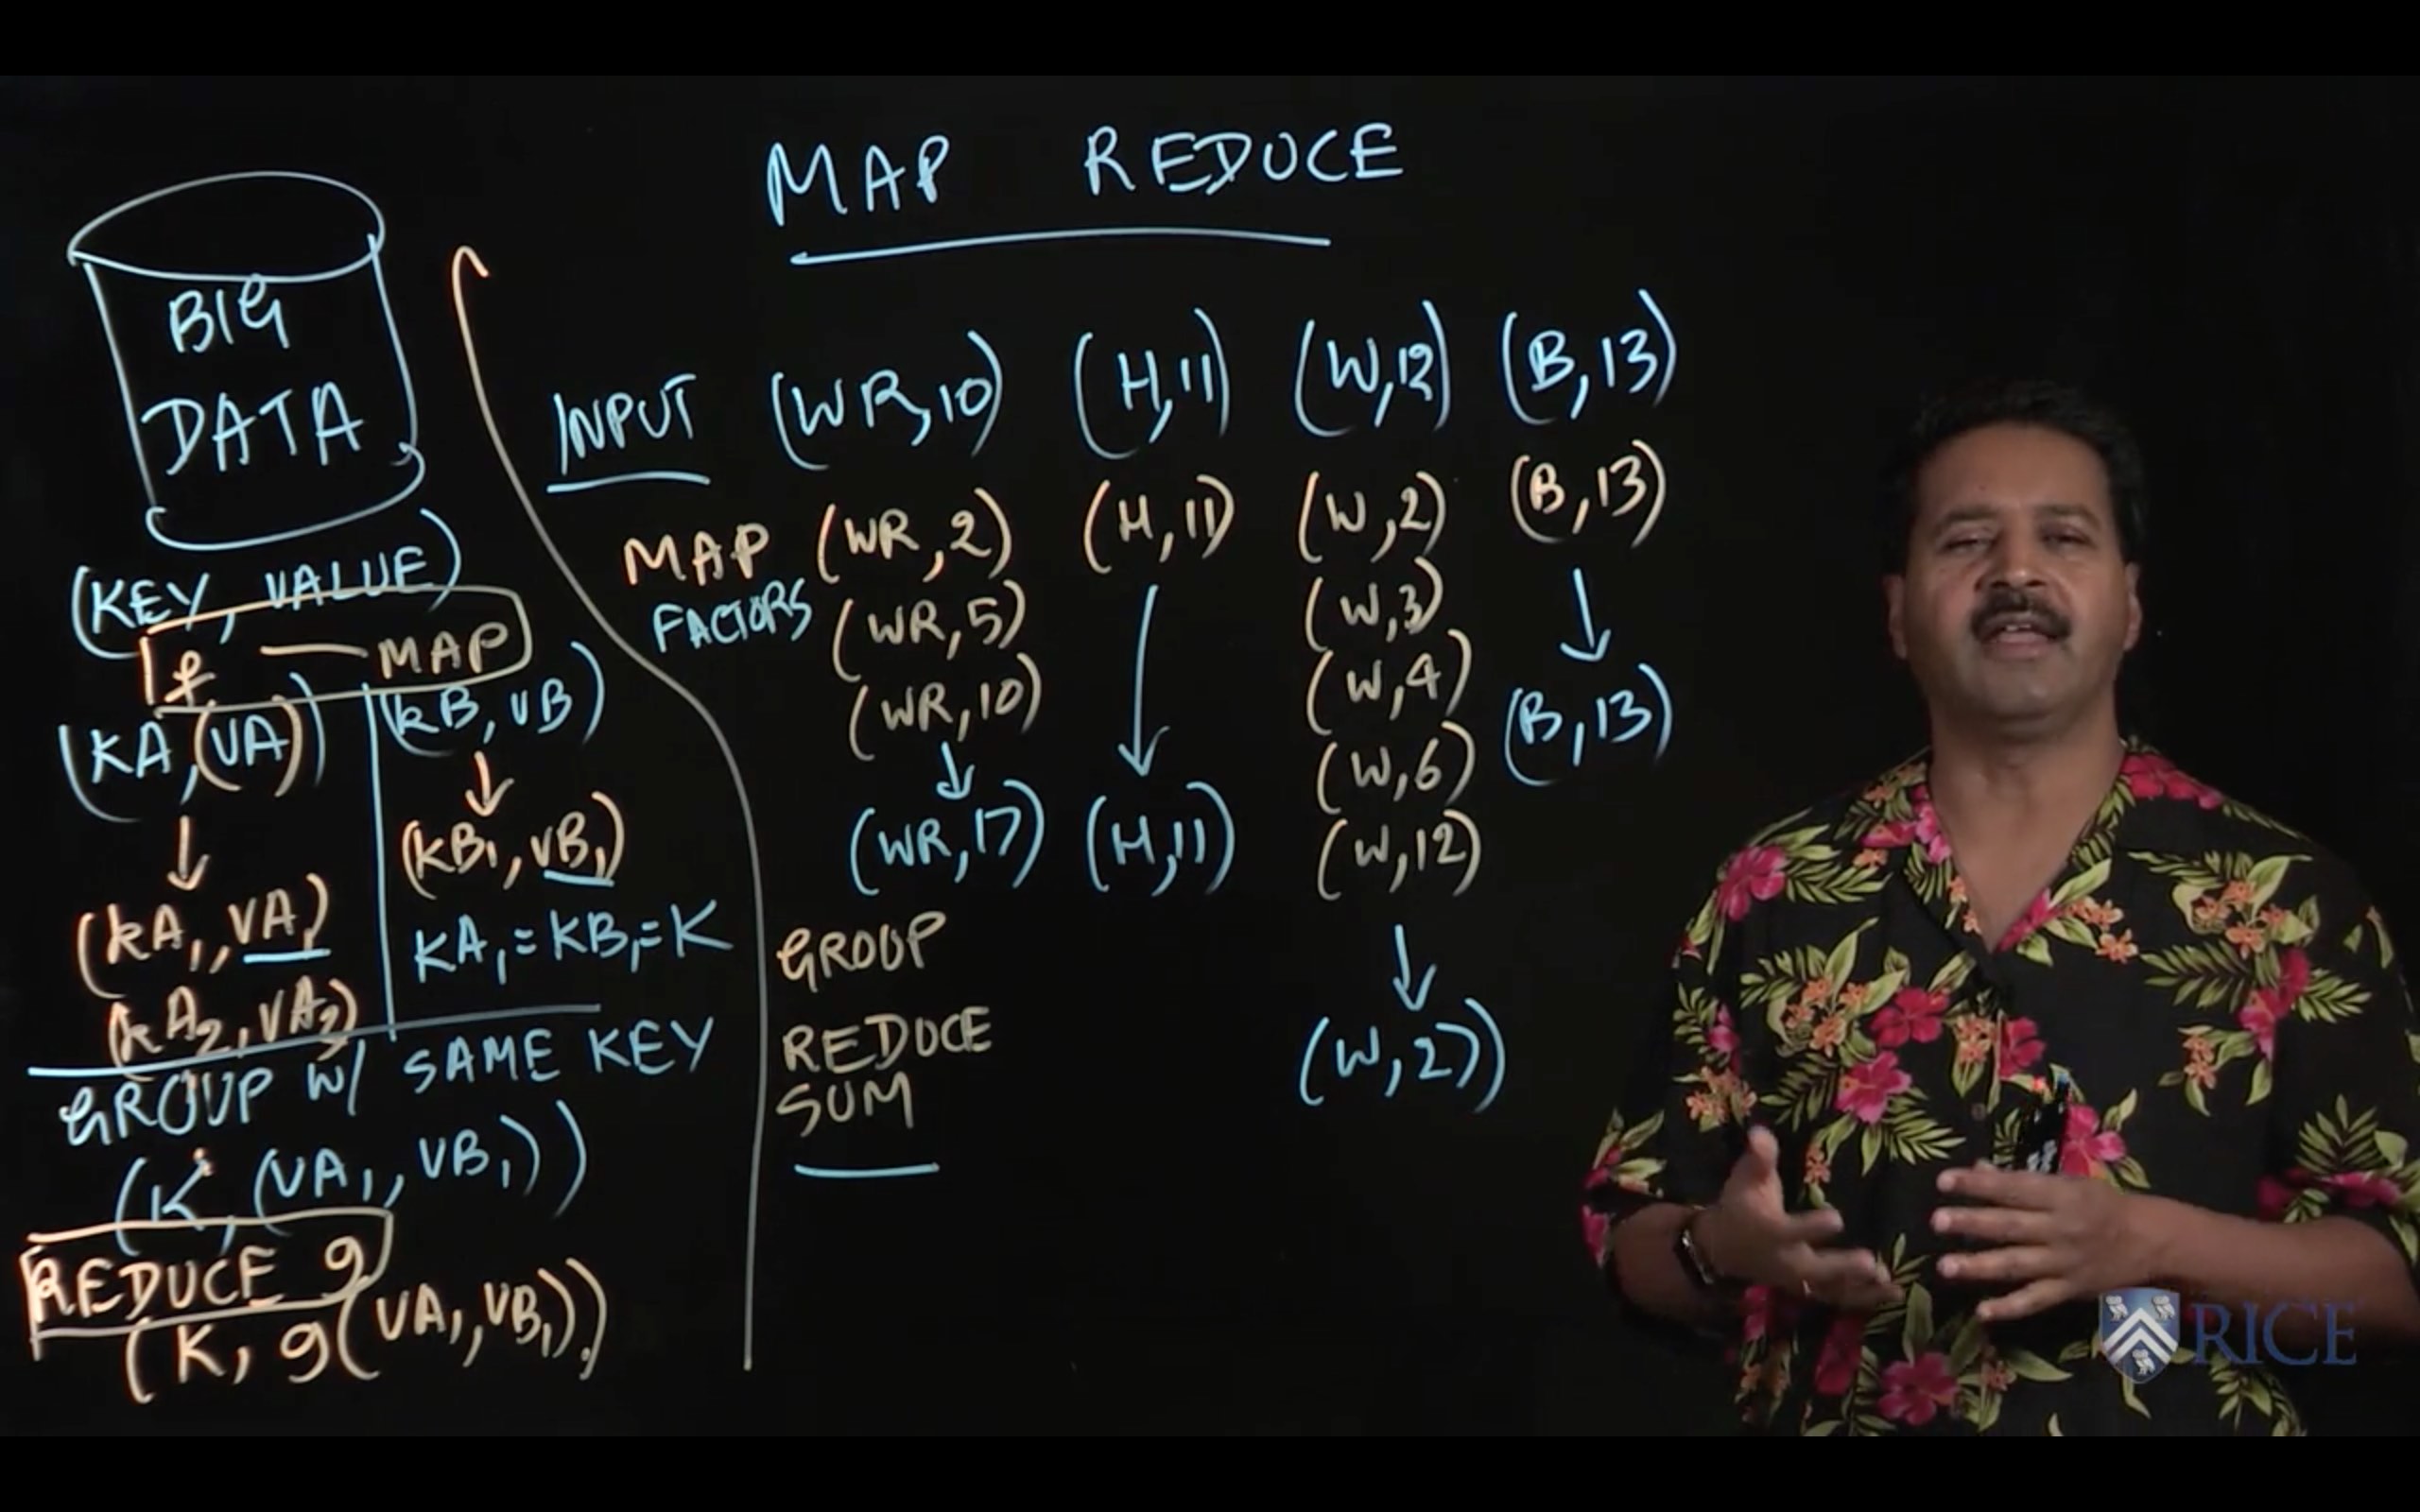
This week we learned about two different implementations of the MapReduce programming abstraction: Hadoop and Spark.
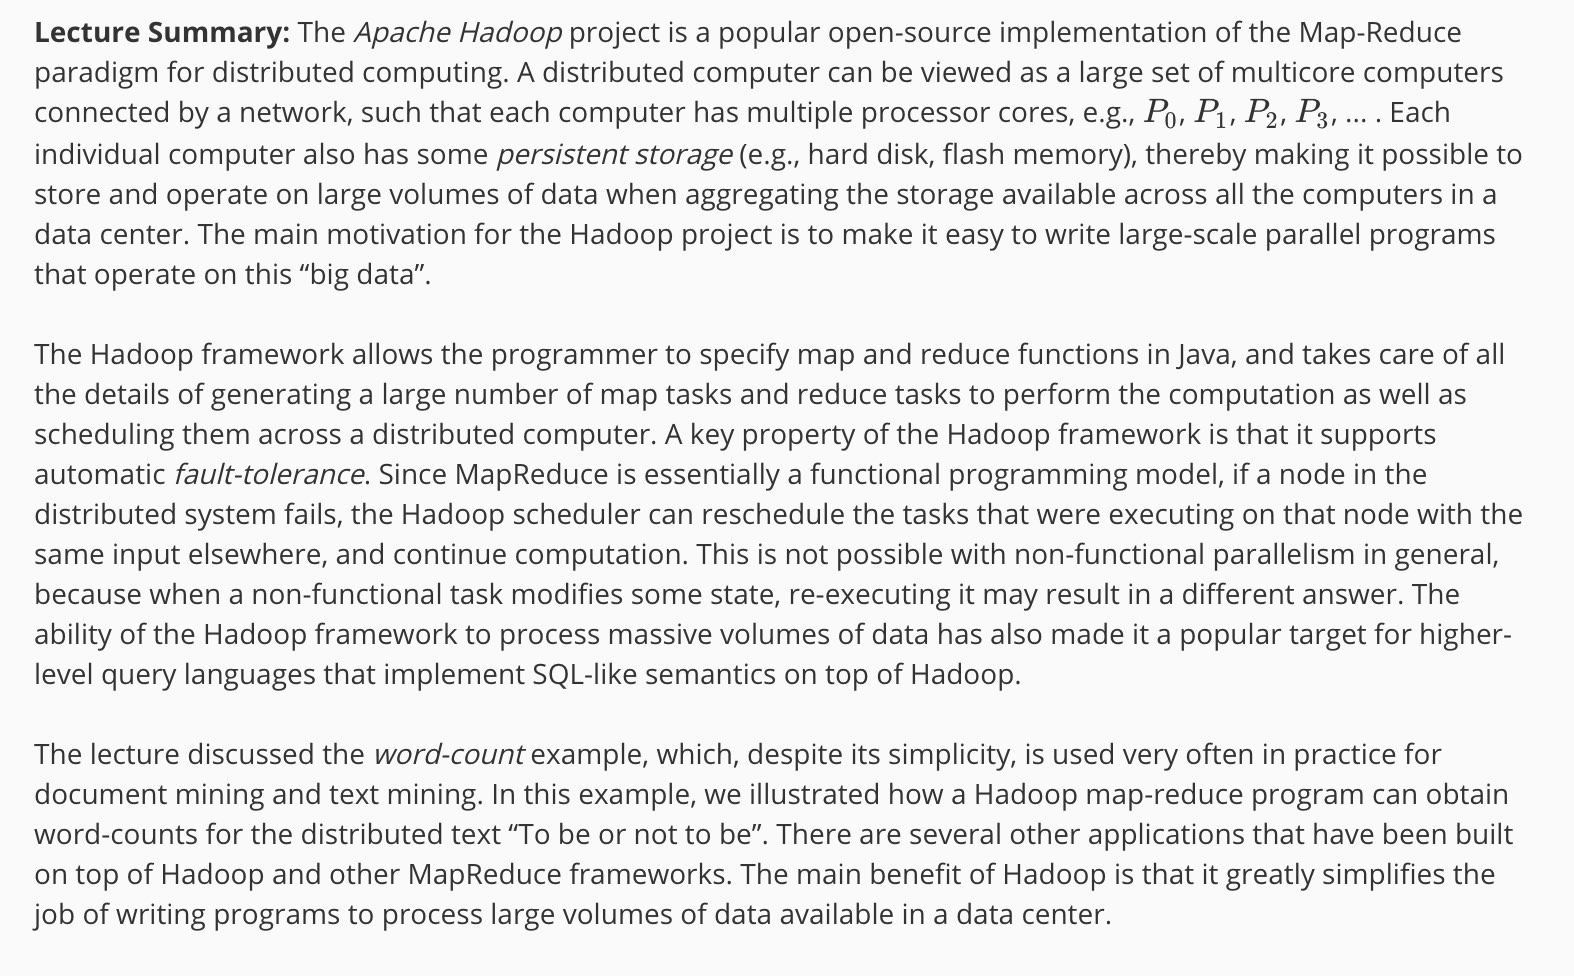
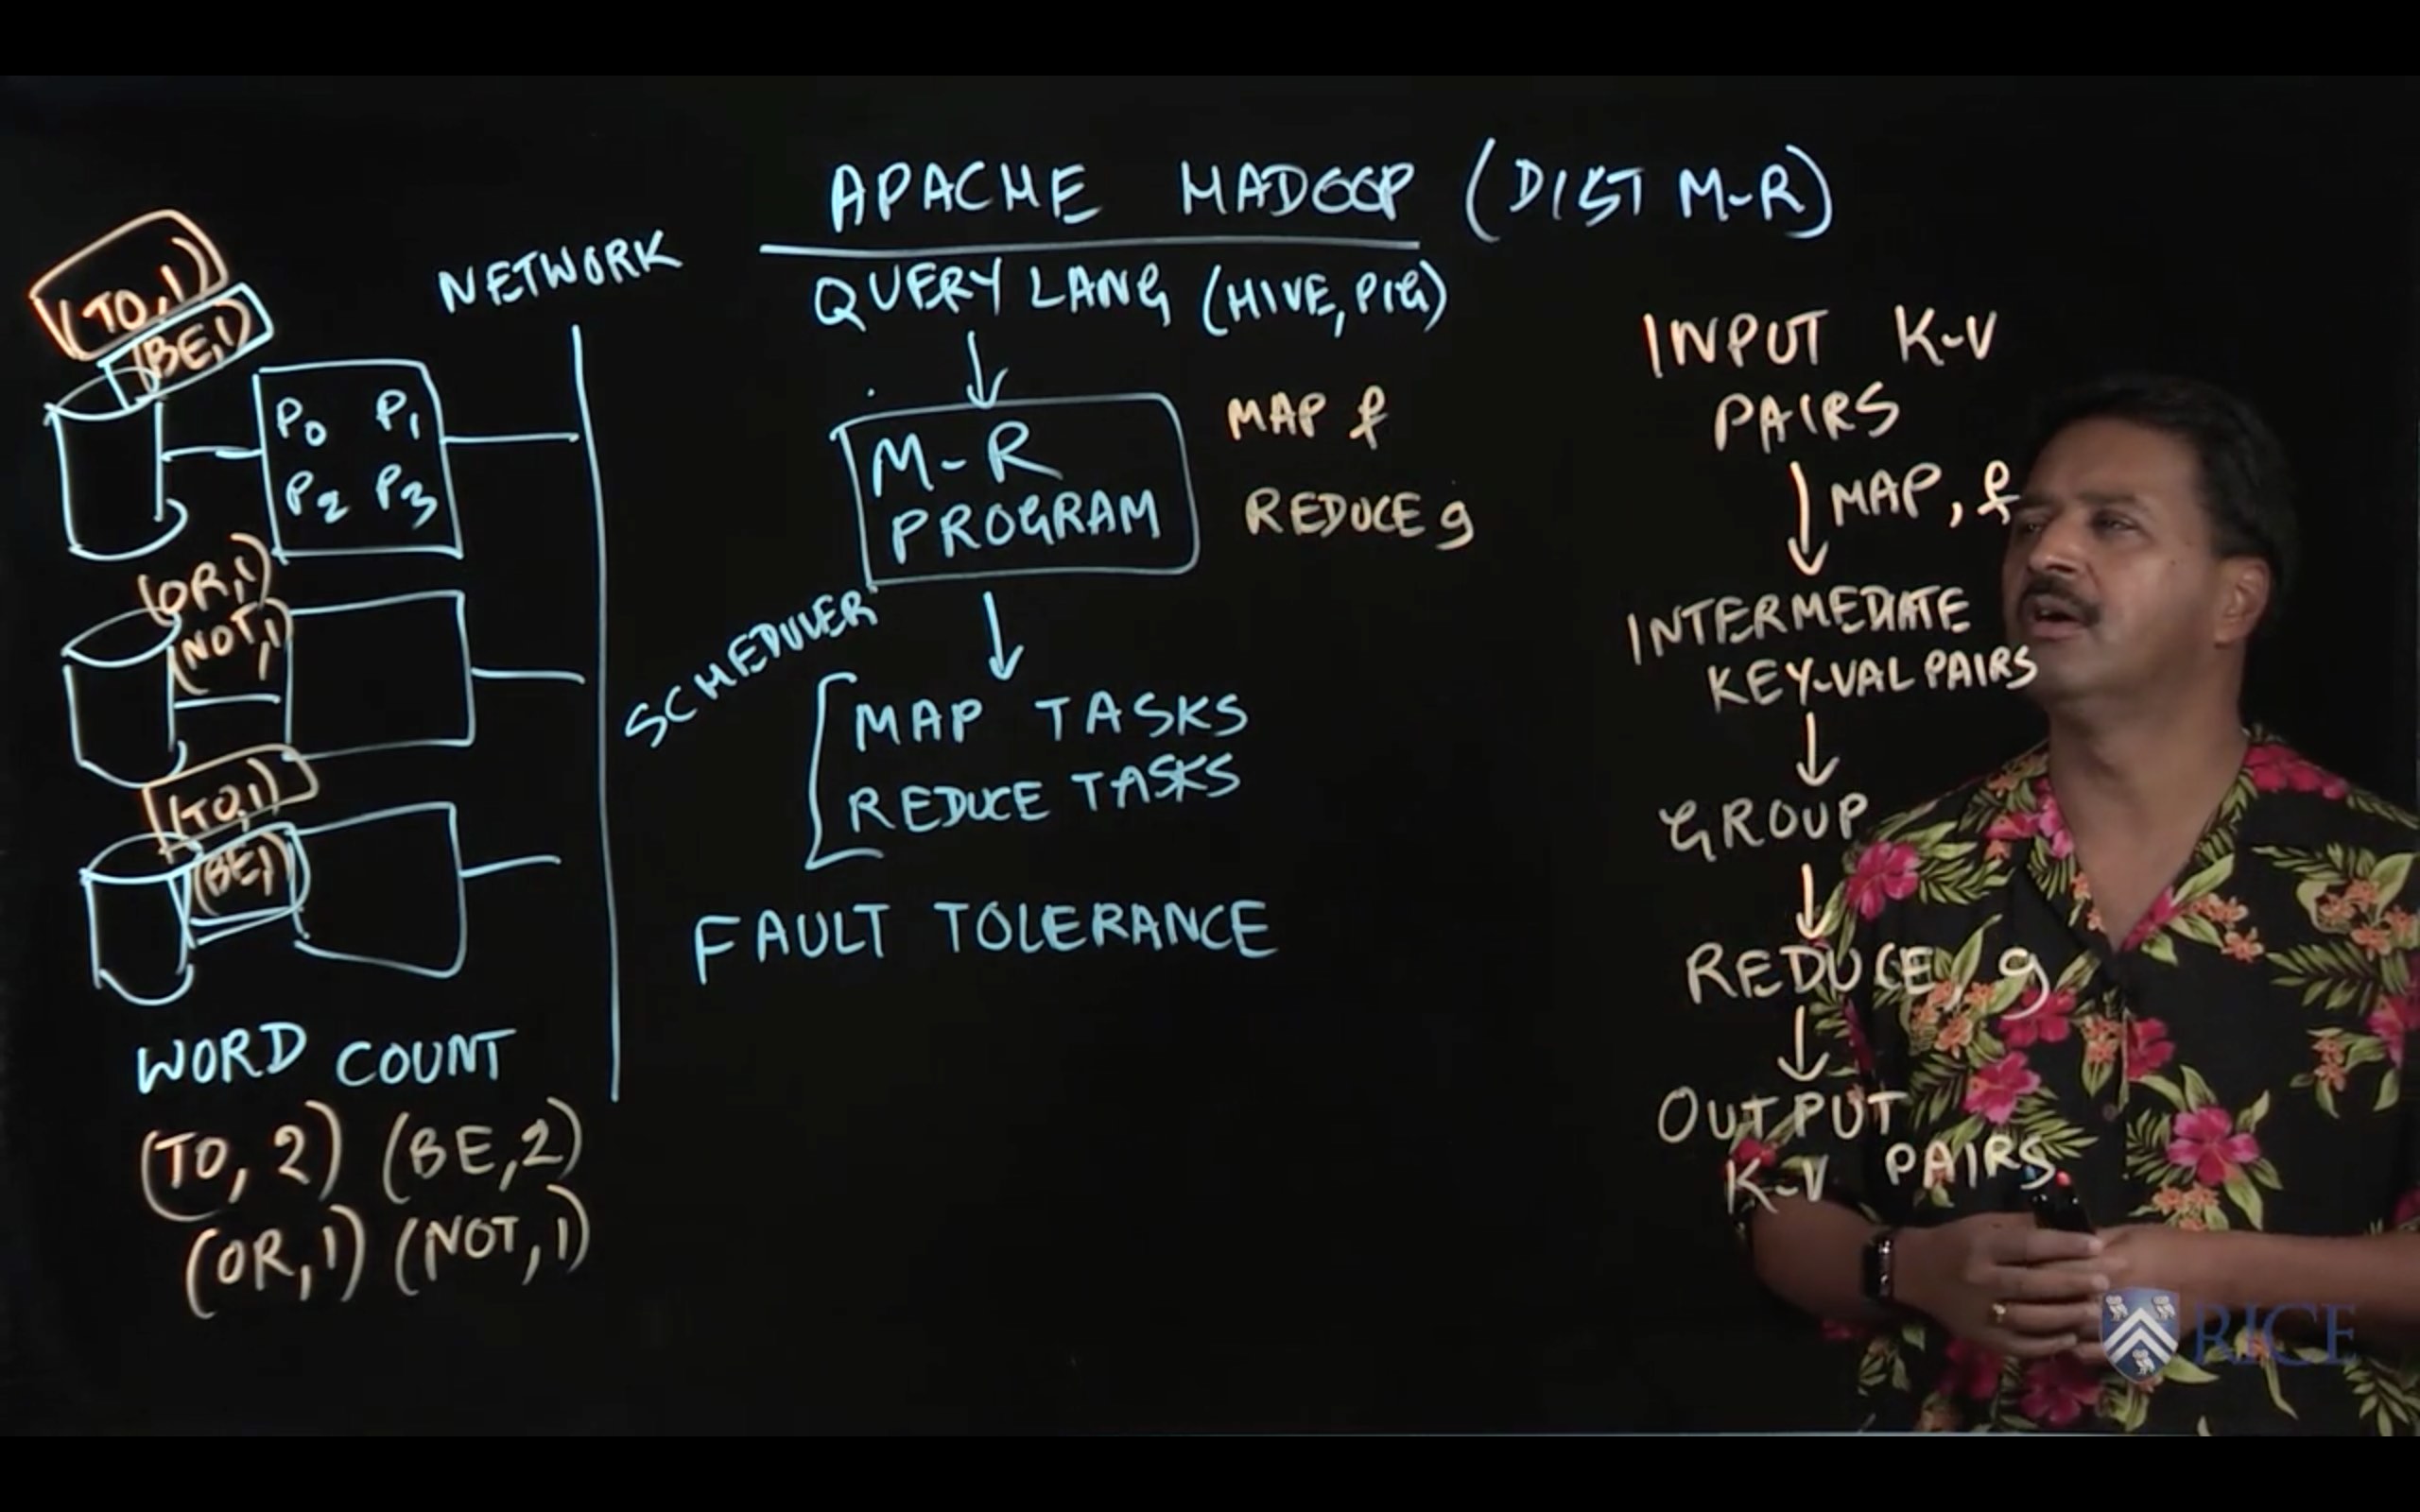
Hadoop was one of the first popular distributed MapReduce programming systems, and really paved the way for Big Data analysis at massive scales on commodity hardware. As described in lectures this week, its primary strengths are three-fold: 1) scalability, 2) programmability, and 3) fault tolerance. Hadoop allows programmers to write simple Java applications that run across thousands of networked machines and which, thanks to its MapReduce abstractions, can recover from complete hardware failure of many of those machines.
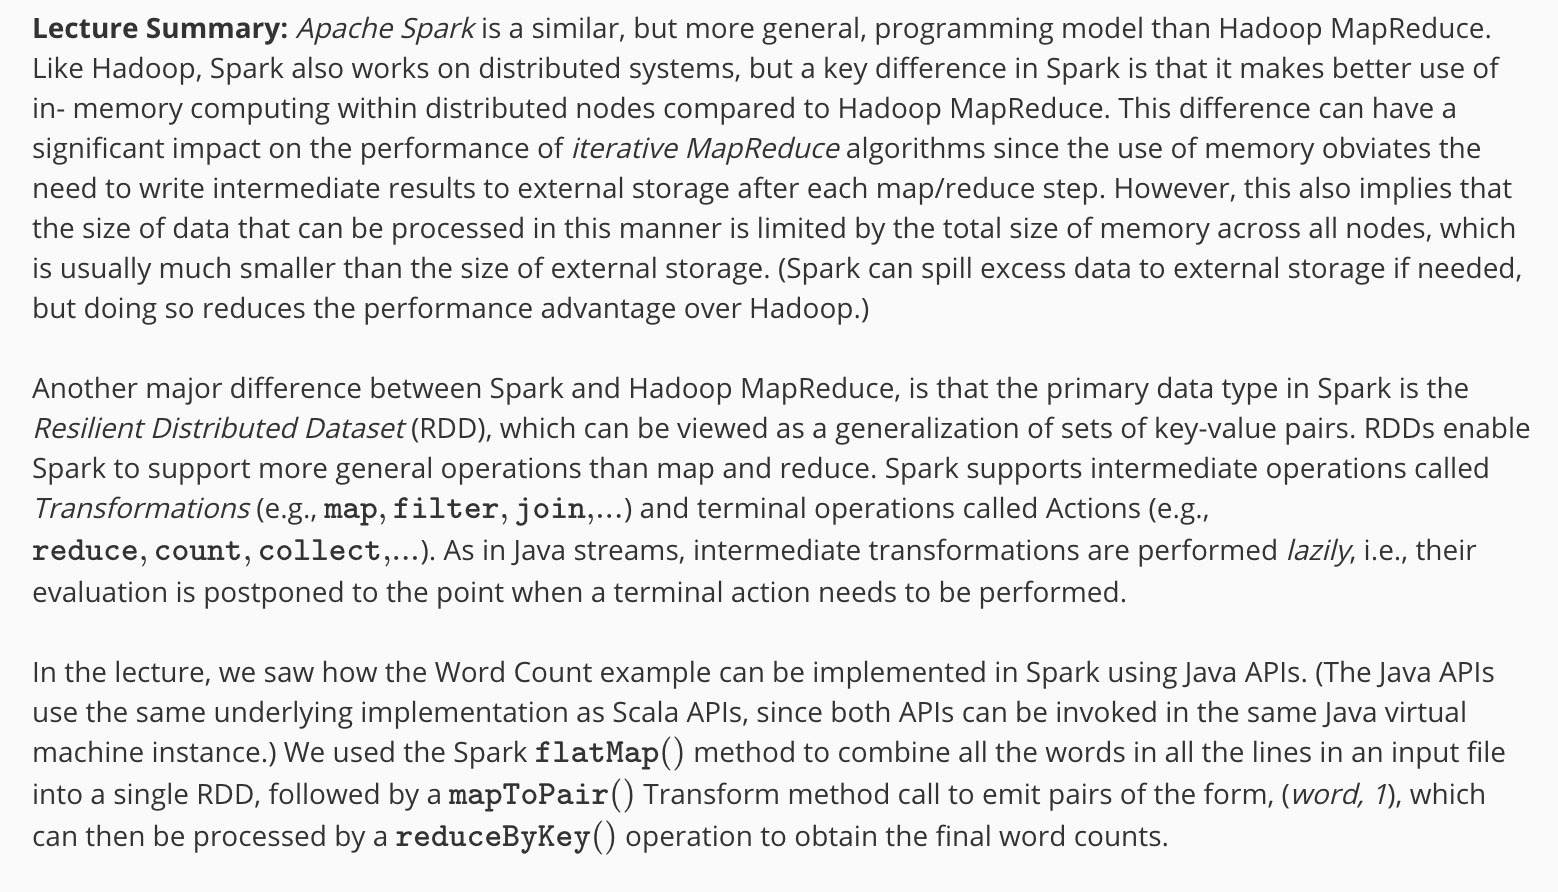
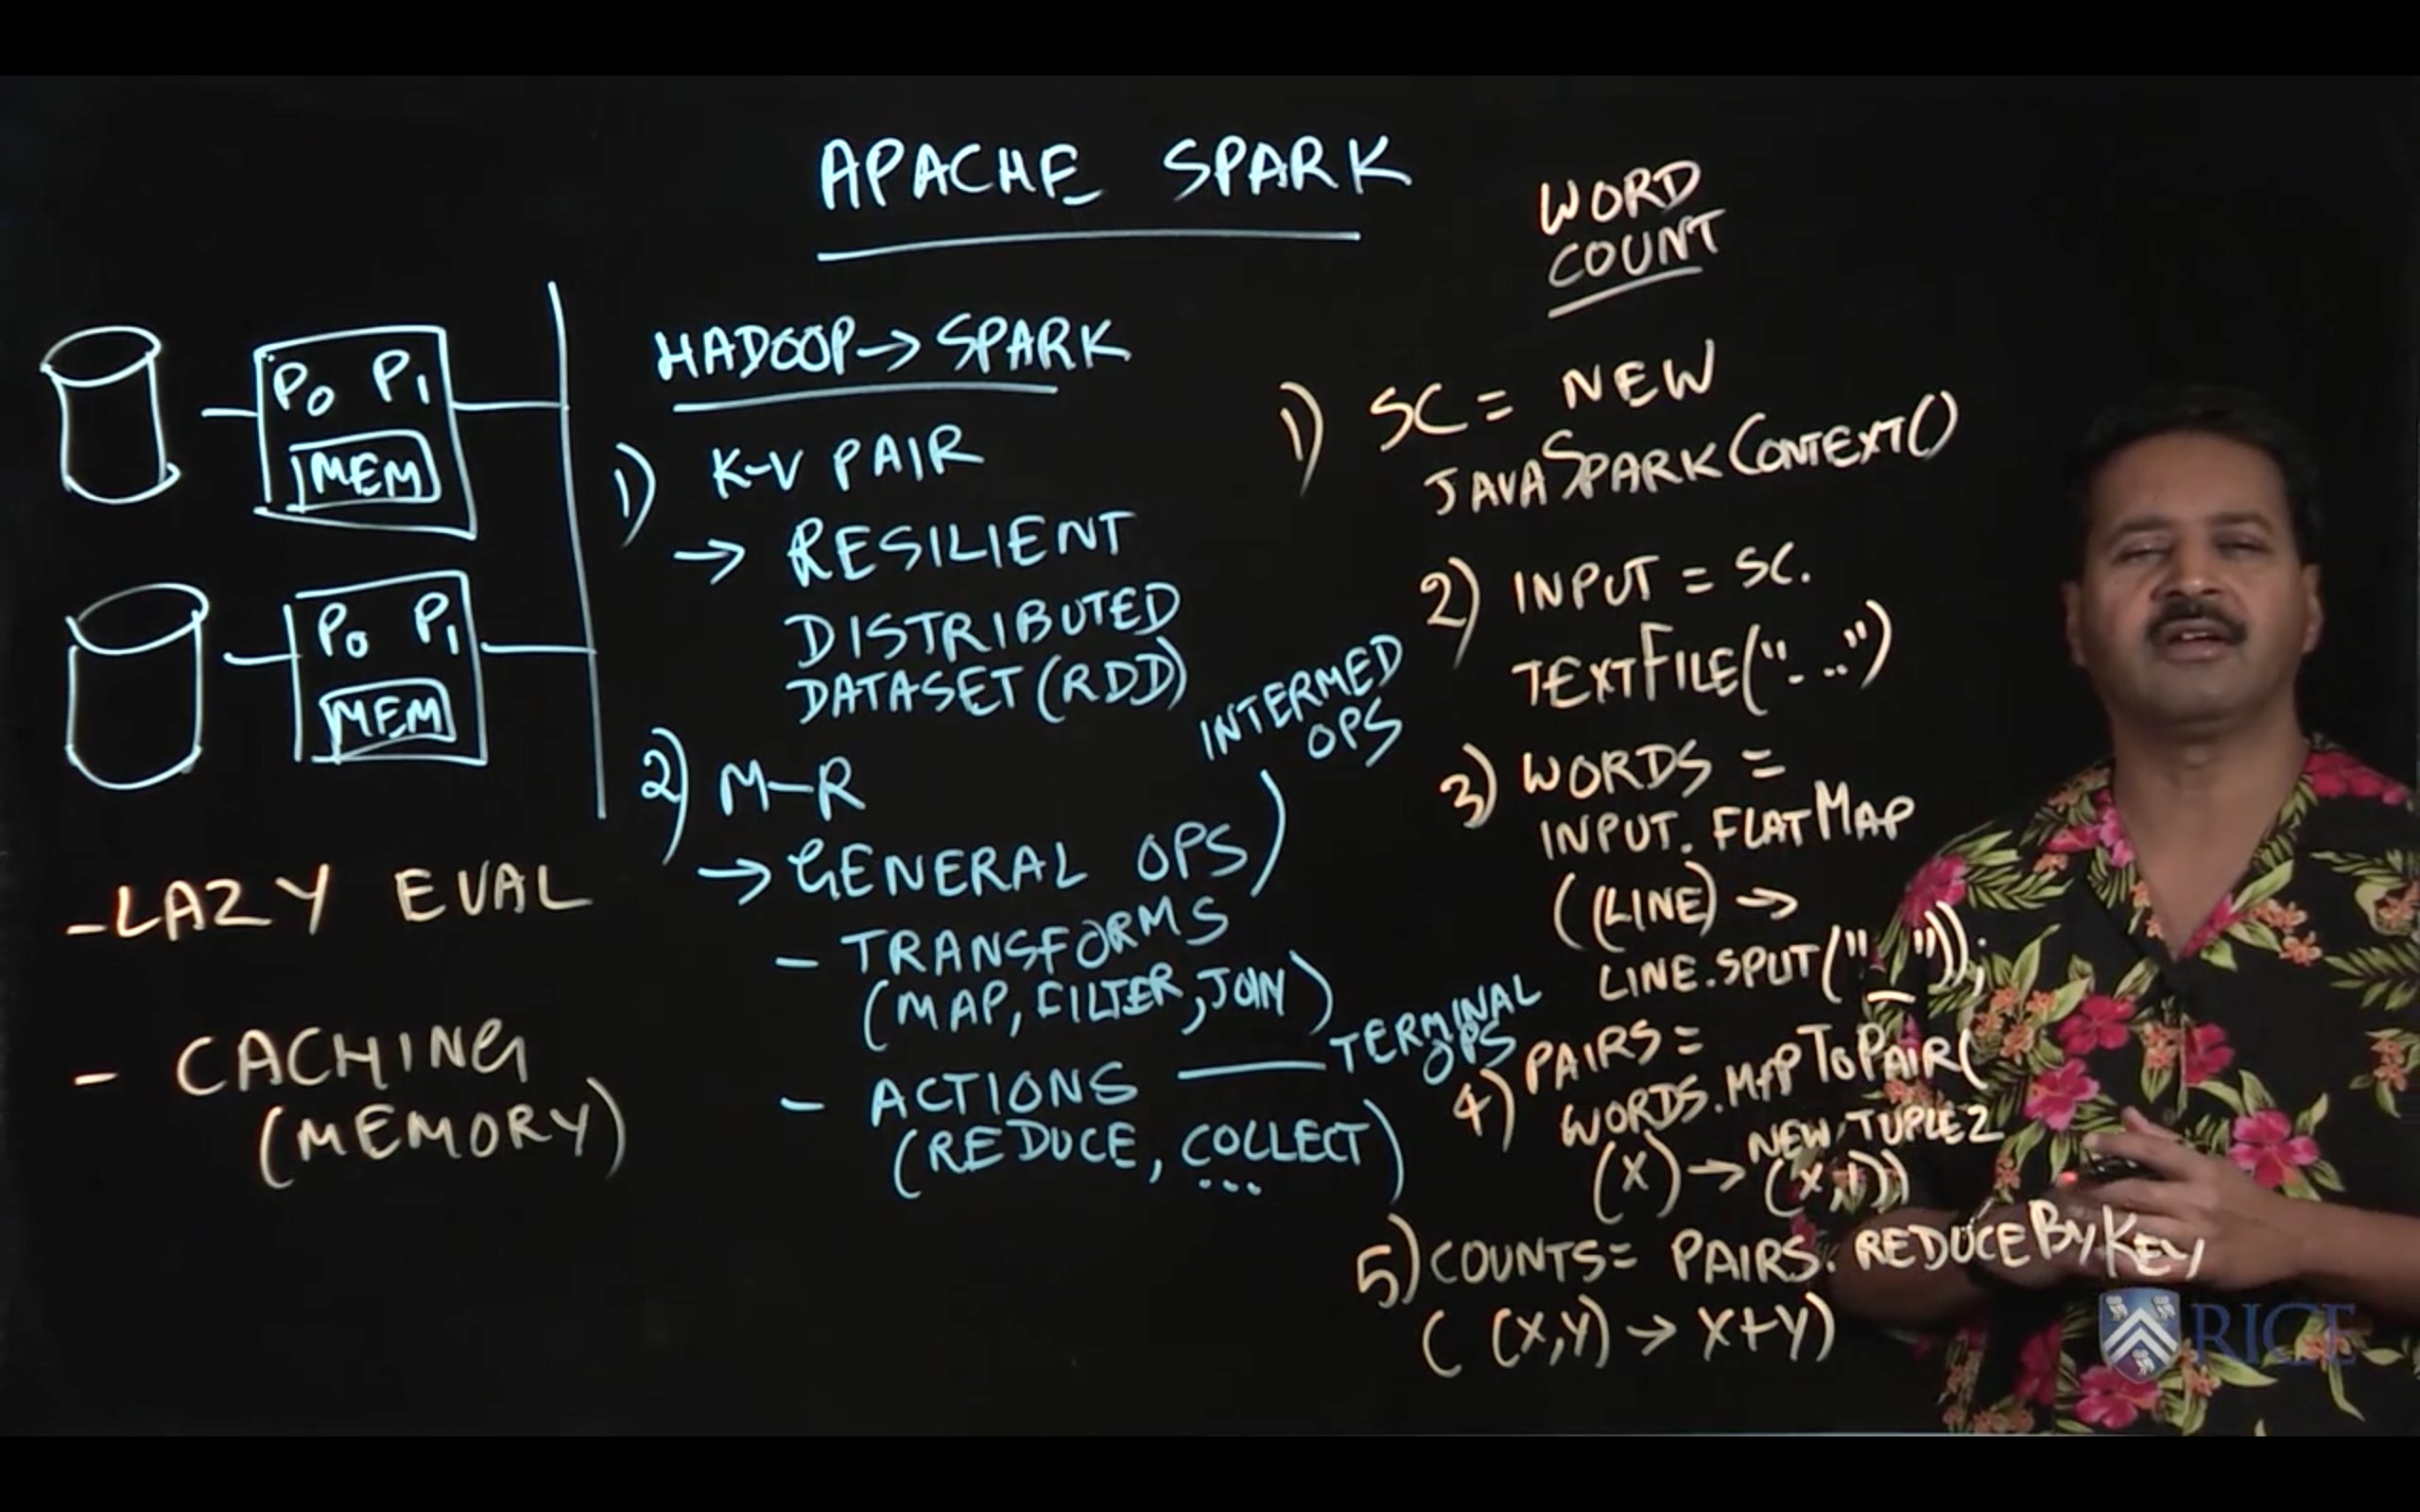
Spark, on the other hand, is a successor to Hadoop that emphasizes in-memory caching of data and a more flexible API. While Hadoop regularly persisted replicated data to disk to ensure fault tolerance, Spark instead caches information in memory and ensures that it remembers the transformations that were applied to generate a particular piece of data. Spark also offers more than simple map and reduce transformations.
You also learned about the PageRank algorithm, and how it can be used to rank inter-connected websites based on existing ranks and link counts.
In this mini-project, you will gain experience with Spark by implementing the PageRank algorithm using Spark transformations. In particular, this assignment will ask you to implement the transformations needed to complete a single iteration of the iterative PageRank algorithm given an input Spark Resilient Distributed Dataset (RDD) of websites.
Recall from lectures this week that an important concept in MapReduce frameworks is that of “key-value pairs”. The key of a key-value pair is some unique identifier for some logical object, e.g. a website. The value is some metadata associated with the logical object the key identifies, e.g. information on the outbound links for a website. In Spark, a key-value pair is represented using the Tuple2 class. For example, to create a new key-value pair from some key k and some value v you can use the following code:
Tuple2 kvPair = new Tuple2(k, v);
Spark uses special-purpose RDD objects to store datasets containing Tuple2 objects (i.e. key-value pairs). Rather than using the standard JavaRDD class, RDDs of Tuple2 objects use the JavaPairRDD class.
Your main goals for this assignment are as follows:
- Inside PageRank.java, implement the sparkPageRank method to perform a single iteration of the PageRank algorithm using the Spark Java APIs.
package edu.coursera.distributed;

import org.apache.spark.api.java.JavaRDD;
import org.apache.spark.api.java.JavaPairRDD;
import scala.Tuple2;

import java.util.Iterator;
import java.util.LinkedList;
import java.util.List;

/**
 * A wrapper class for the implementation of a single iteration of the iterative
 * PageRank algorithm.
 */
public final class PageRank {
    /**
     * Default constructor.
     */
    private PageRank() {
    }
    public static JavaPairRDD<Integer, Double> sparkPageRank(
            final JavaPairRDD<Integer, Website> sites,
            final JavaPairRDD<Integer, Double> ranks) {
        return sites
                .join(ranks)
                .flatMapToPair(kv -> {
                    Website edges = kv._2()._1();
                    Double currentRank = kv._2()._2();

                    List<Tuple2<Integer, Double>> contribs = new LinkedList<>();
                    Iterator<Integer> iter = edges.edgeIterator();
                    while (iter.hasNext()) {
                        final int target = iter.next();
                        contribs.add(new Tuple2<>(target, currentRank / (double) edges.getNEdges()));
                    }
                    return contribs;
                })
                .reduceByKey((Double d1, Double d2) -> d1 + d2)
                .mapValues(v -> 0.15 + 0.85 * v);

    }
}
2
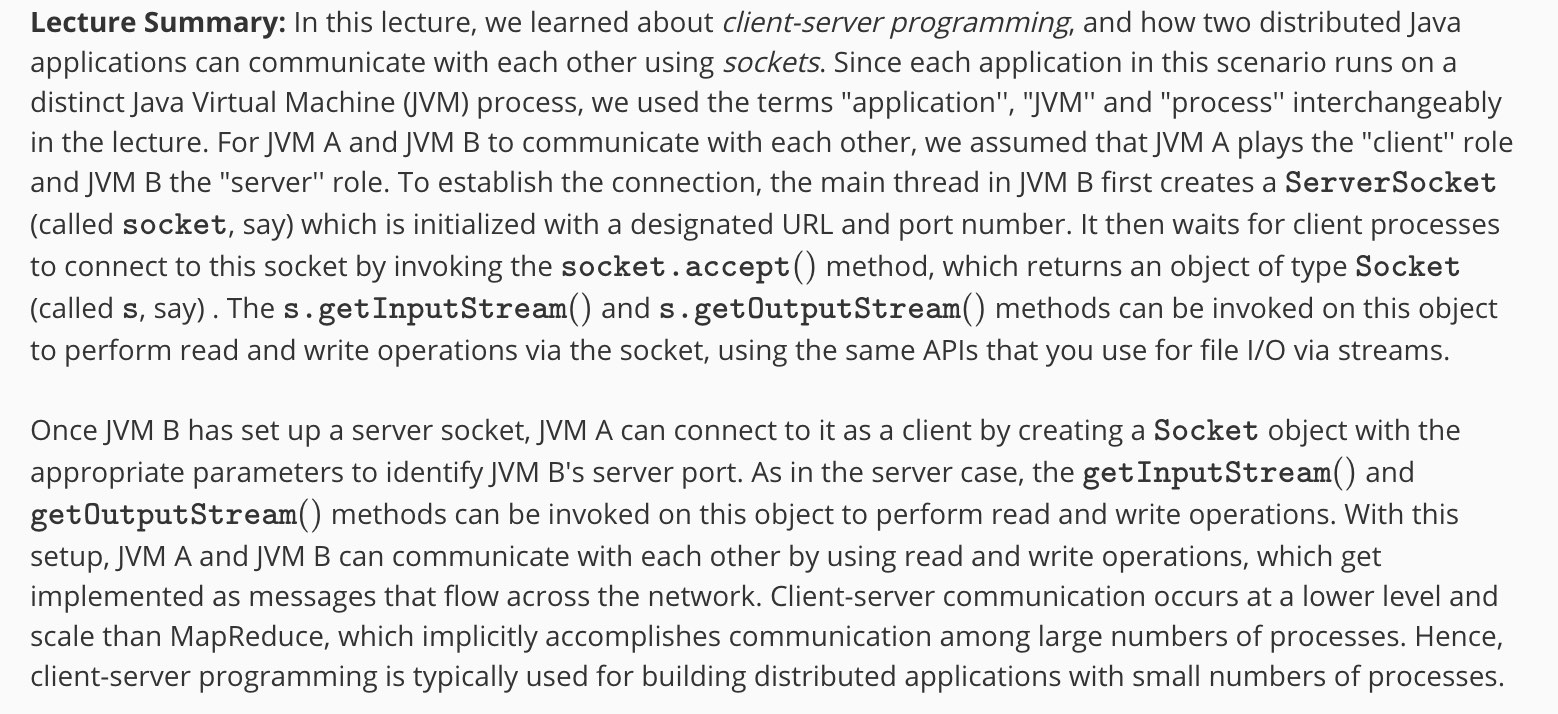
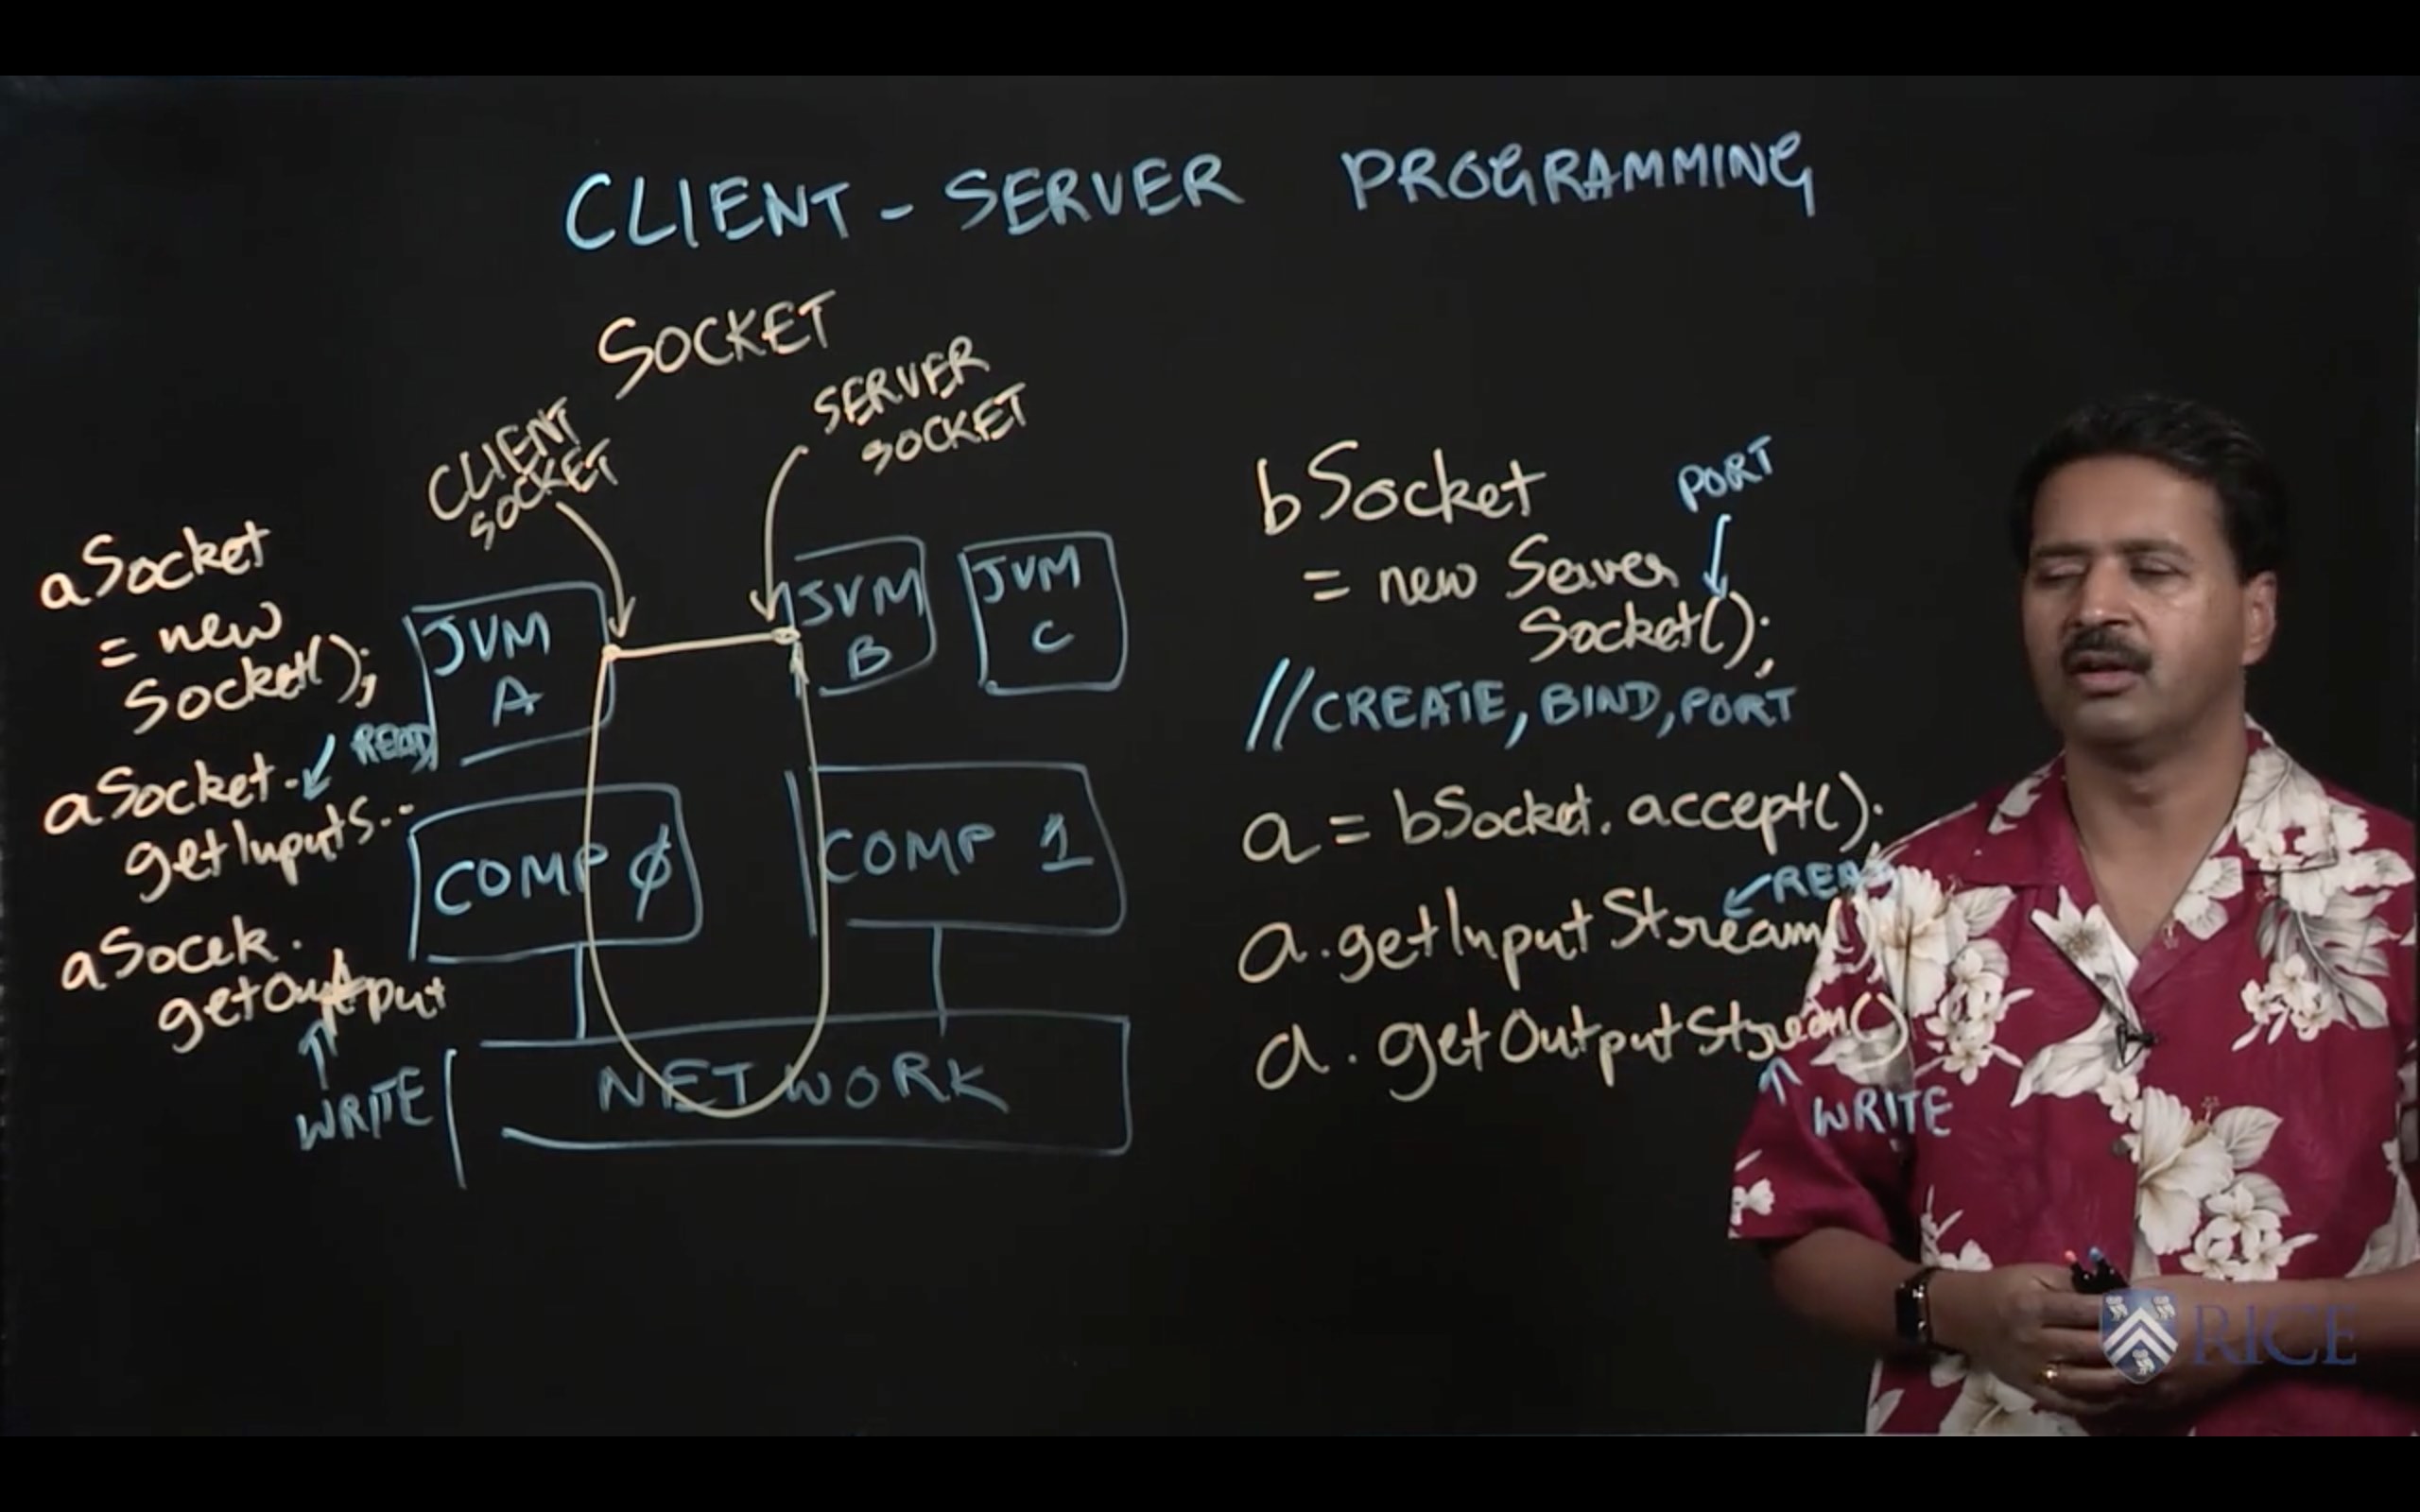
2.1 Introduction to Sockets
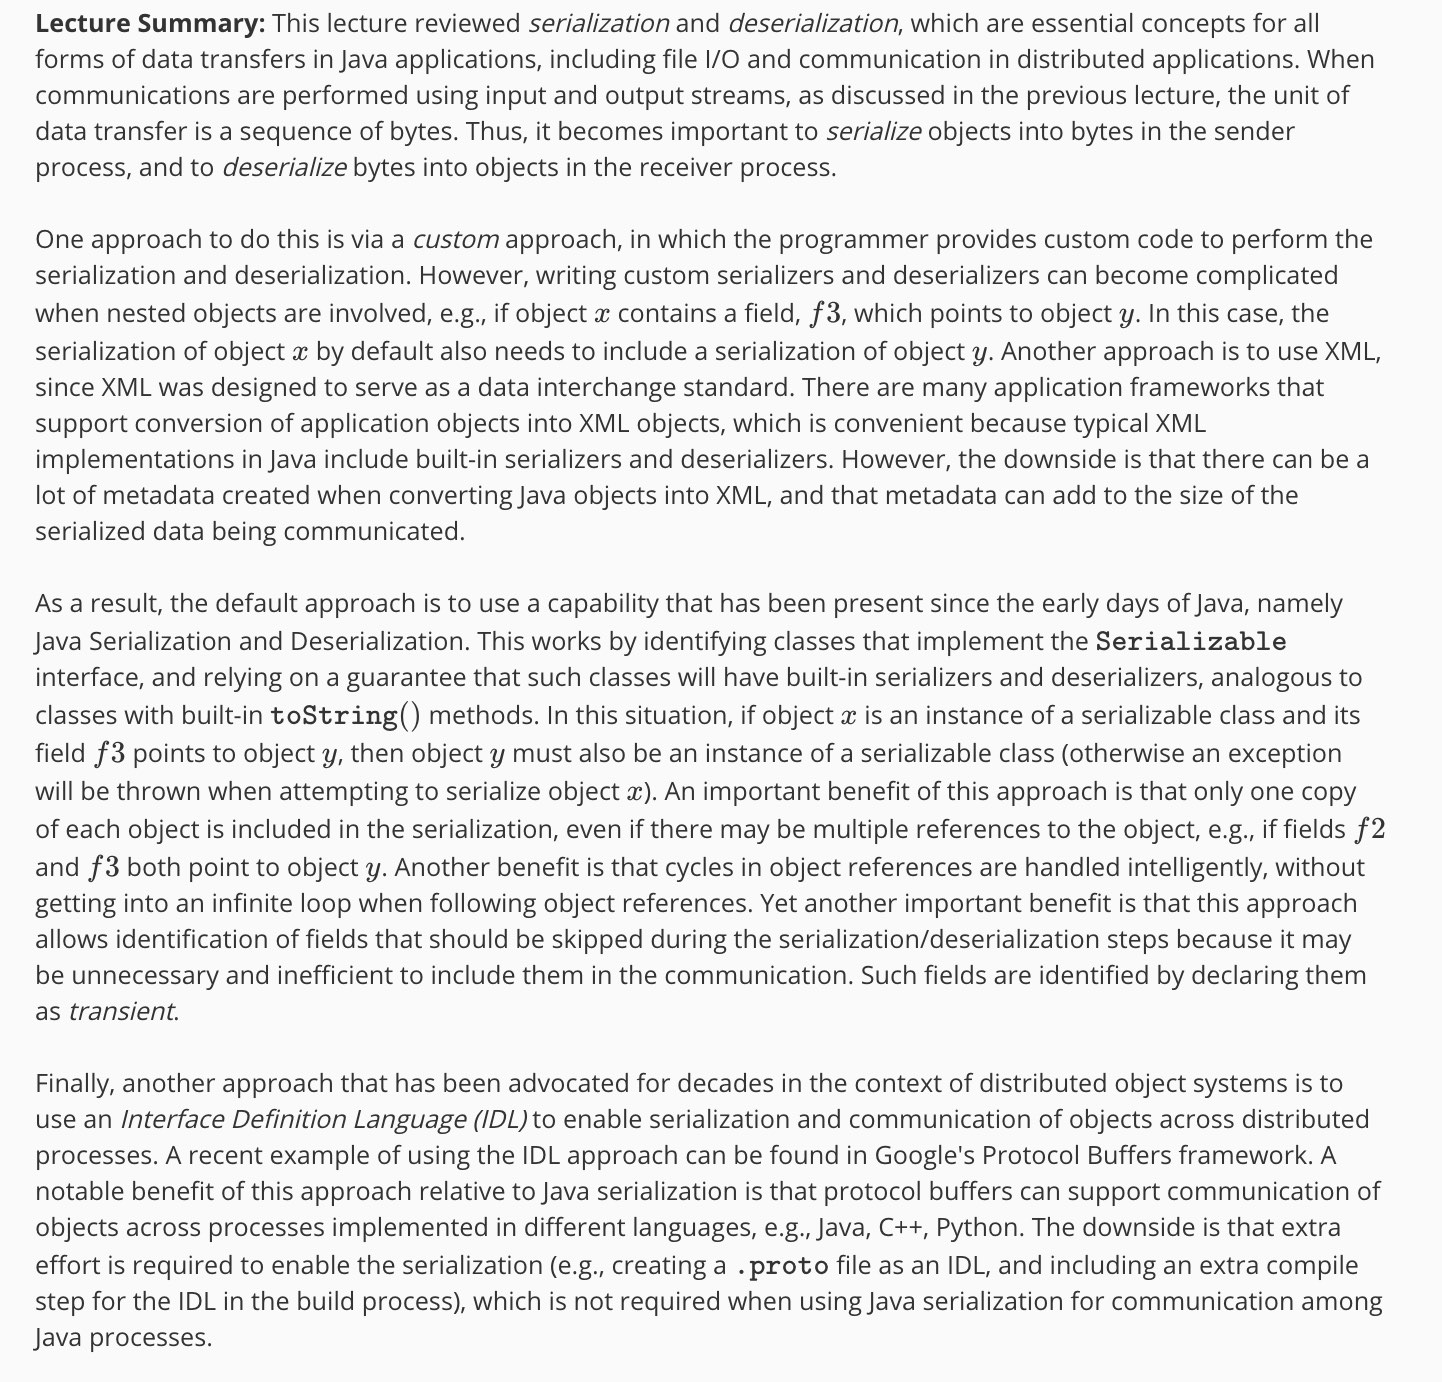
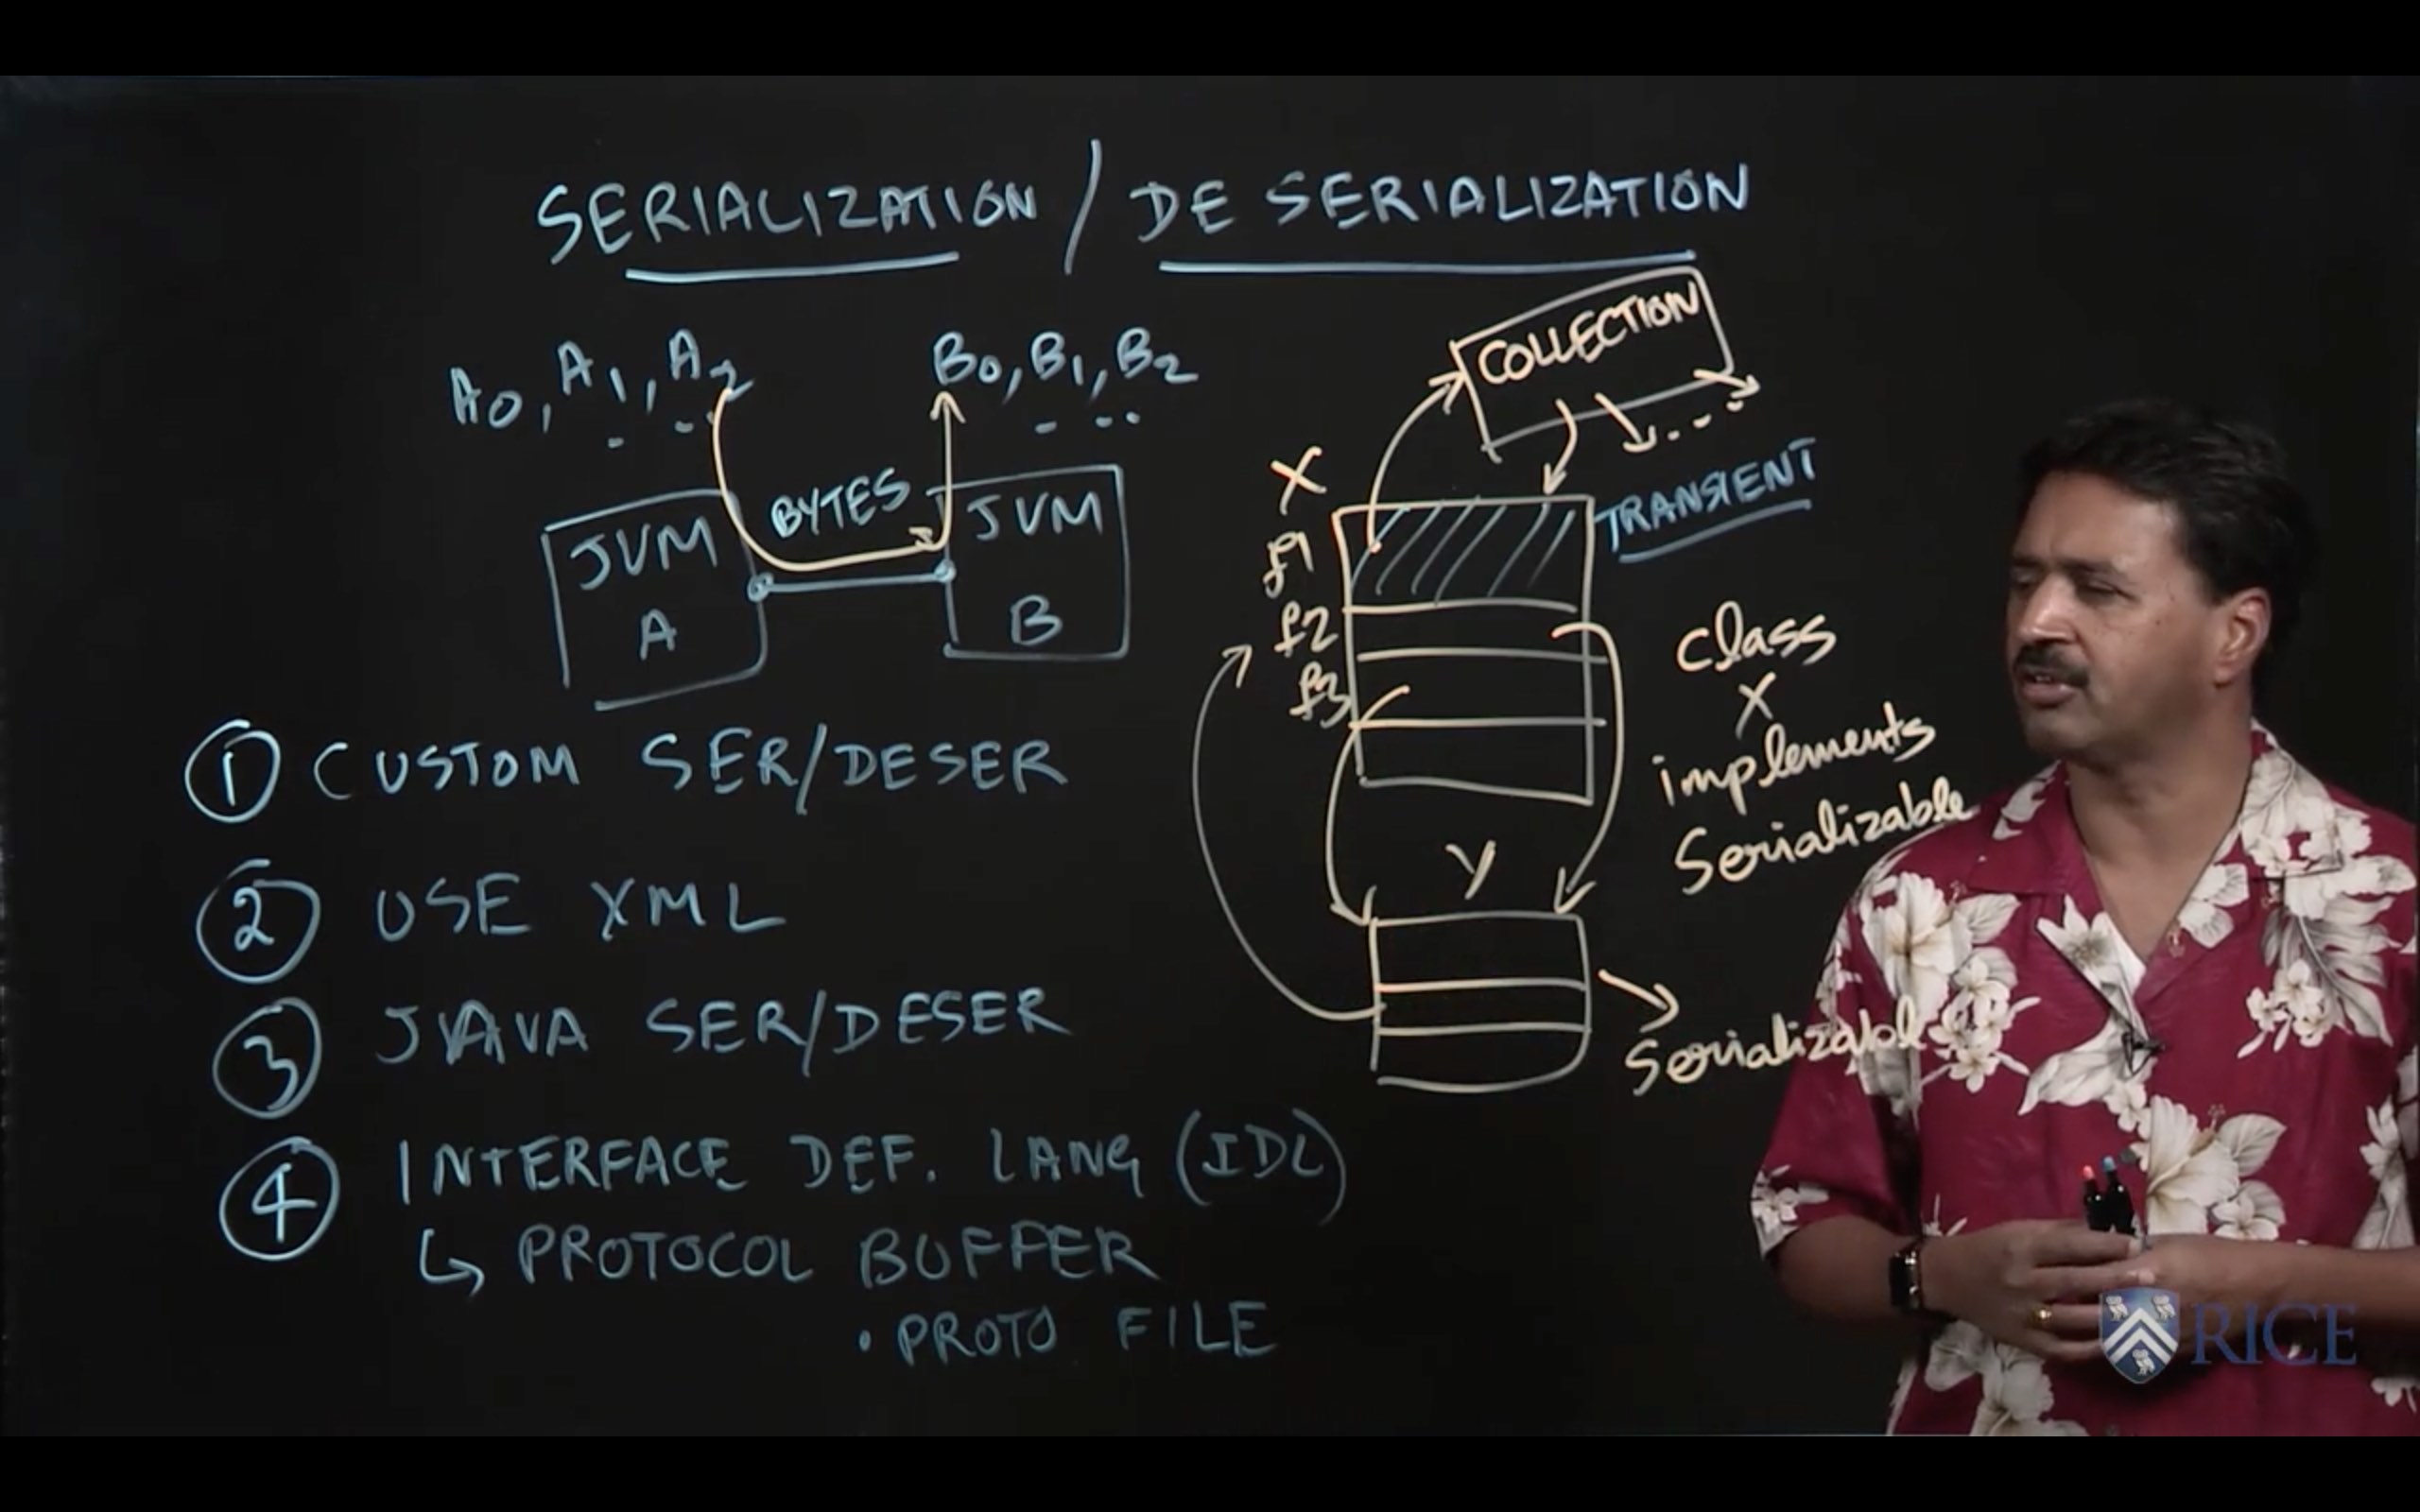
2.2 Serialization and Deserialization
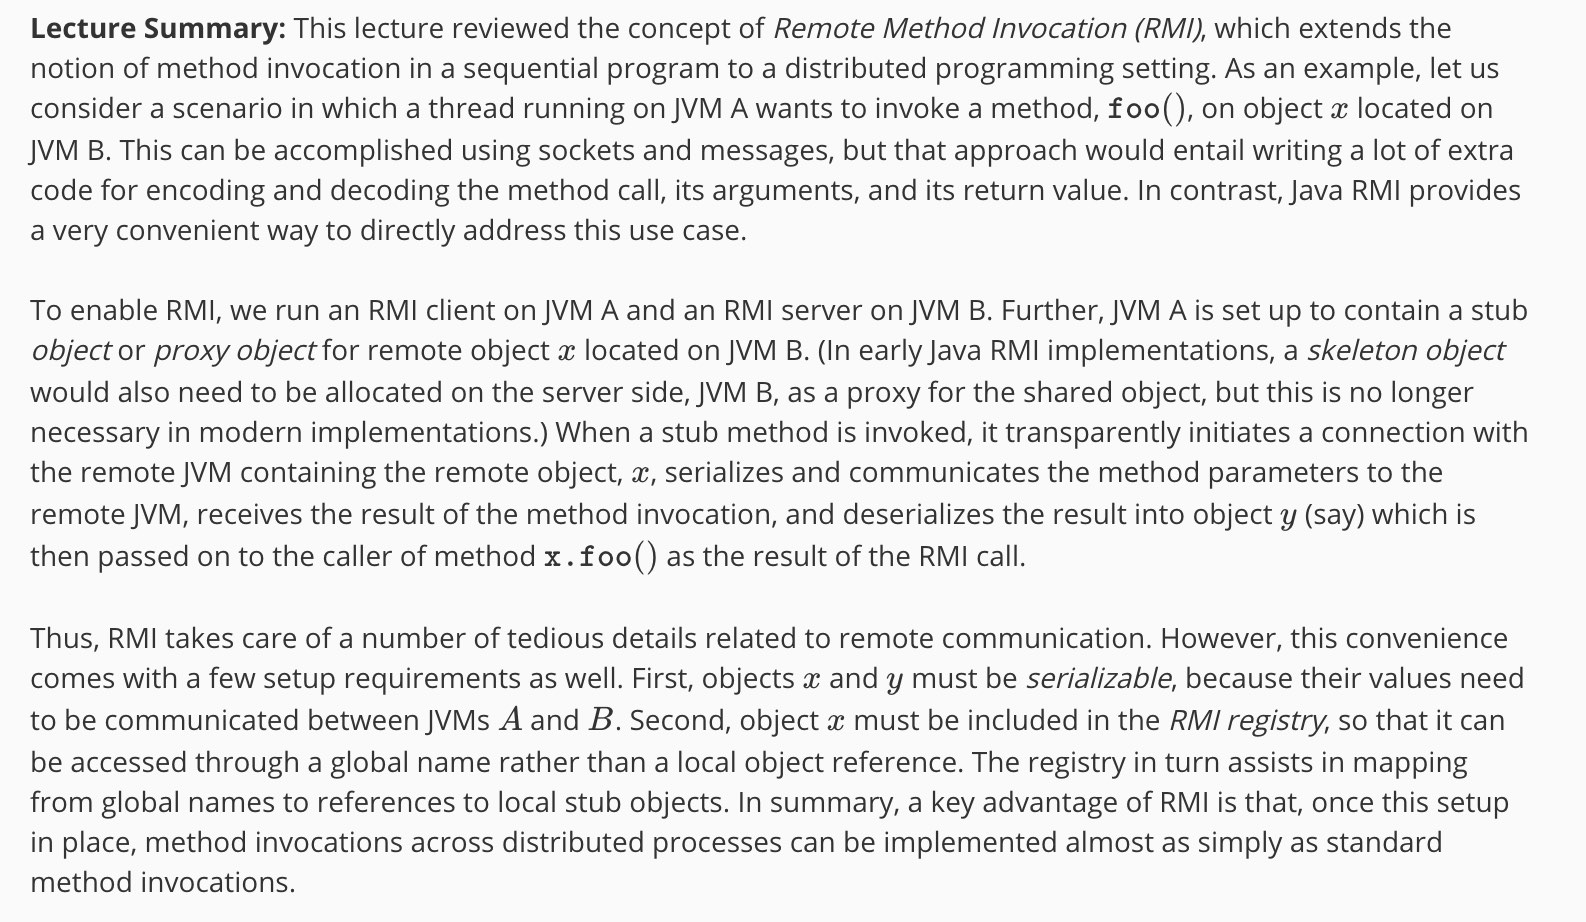
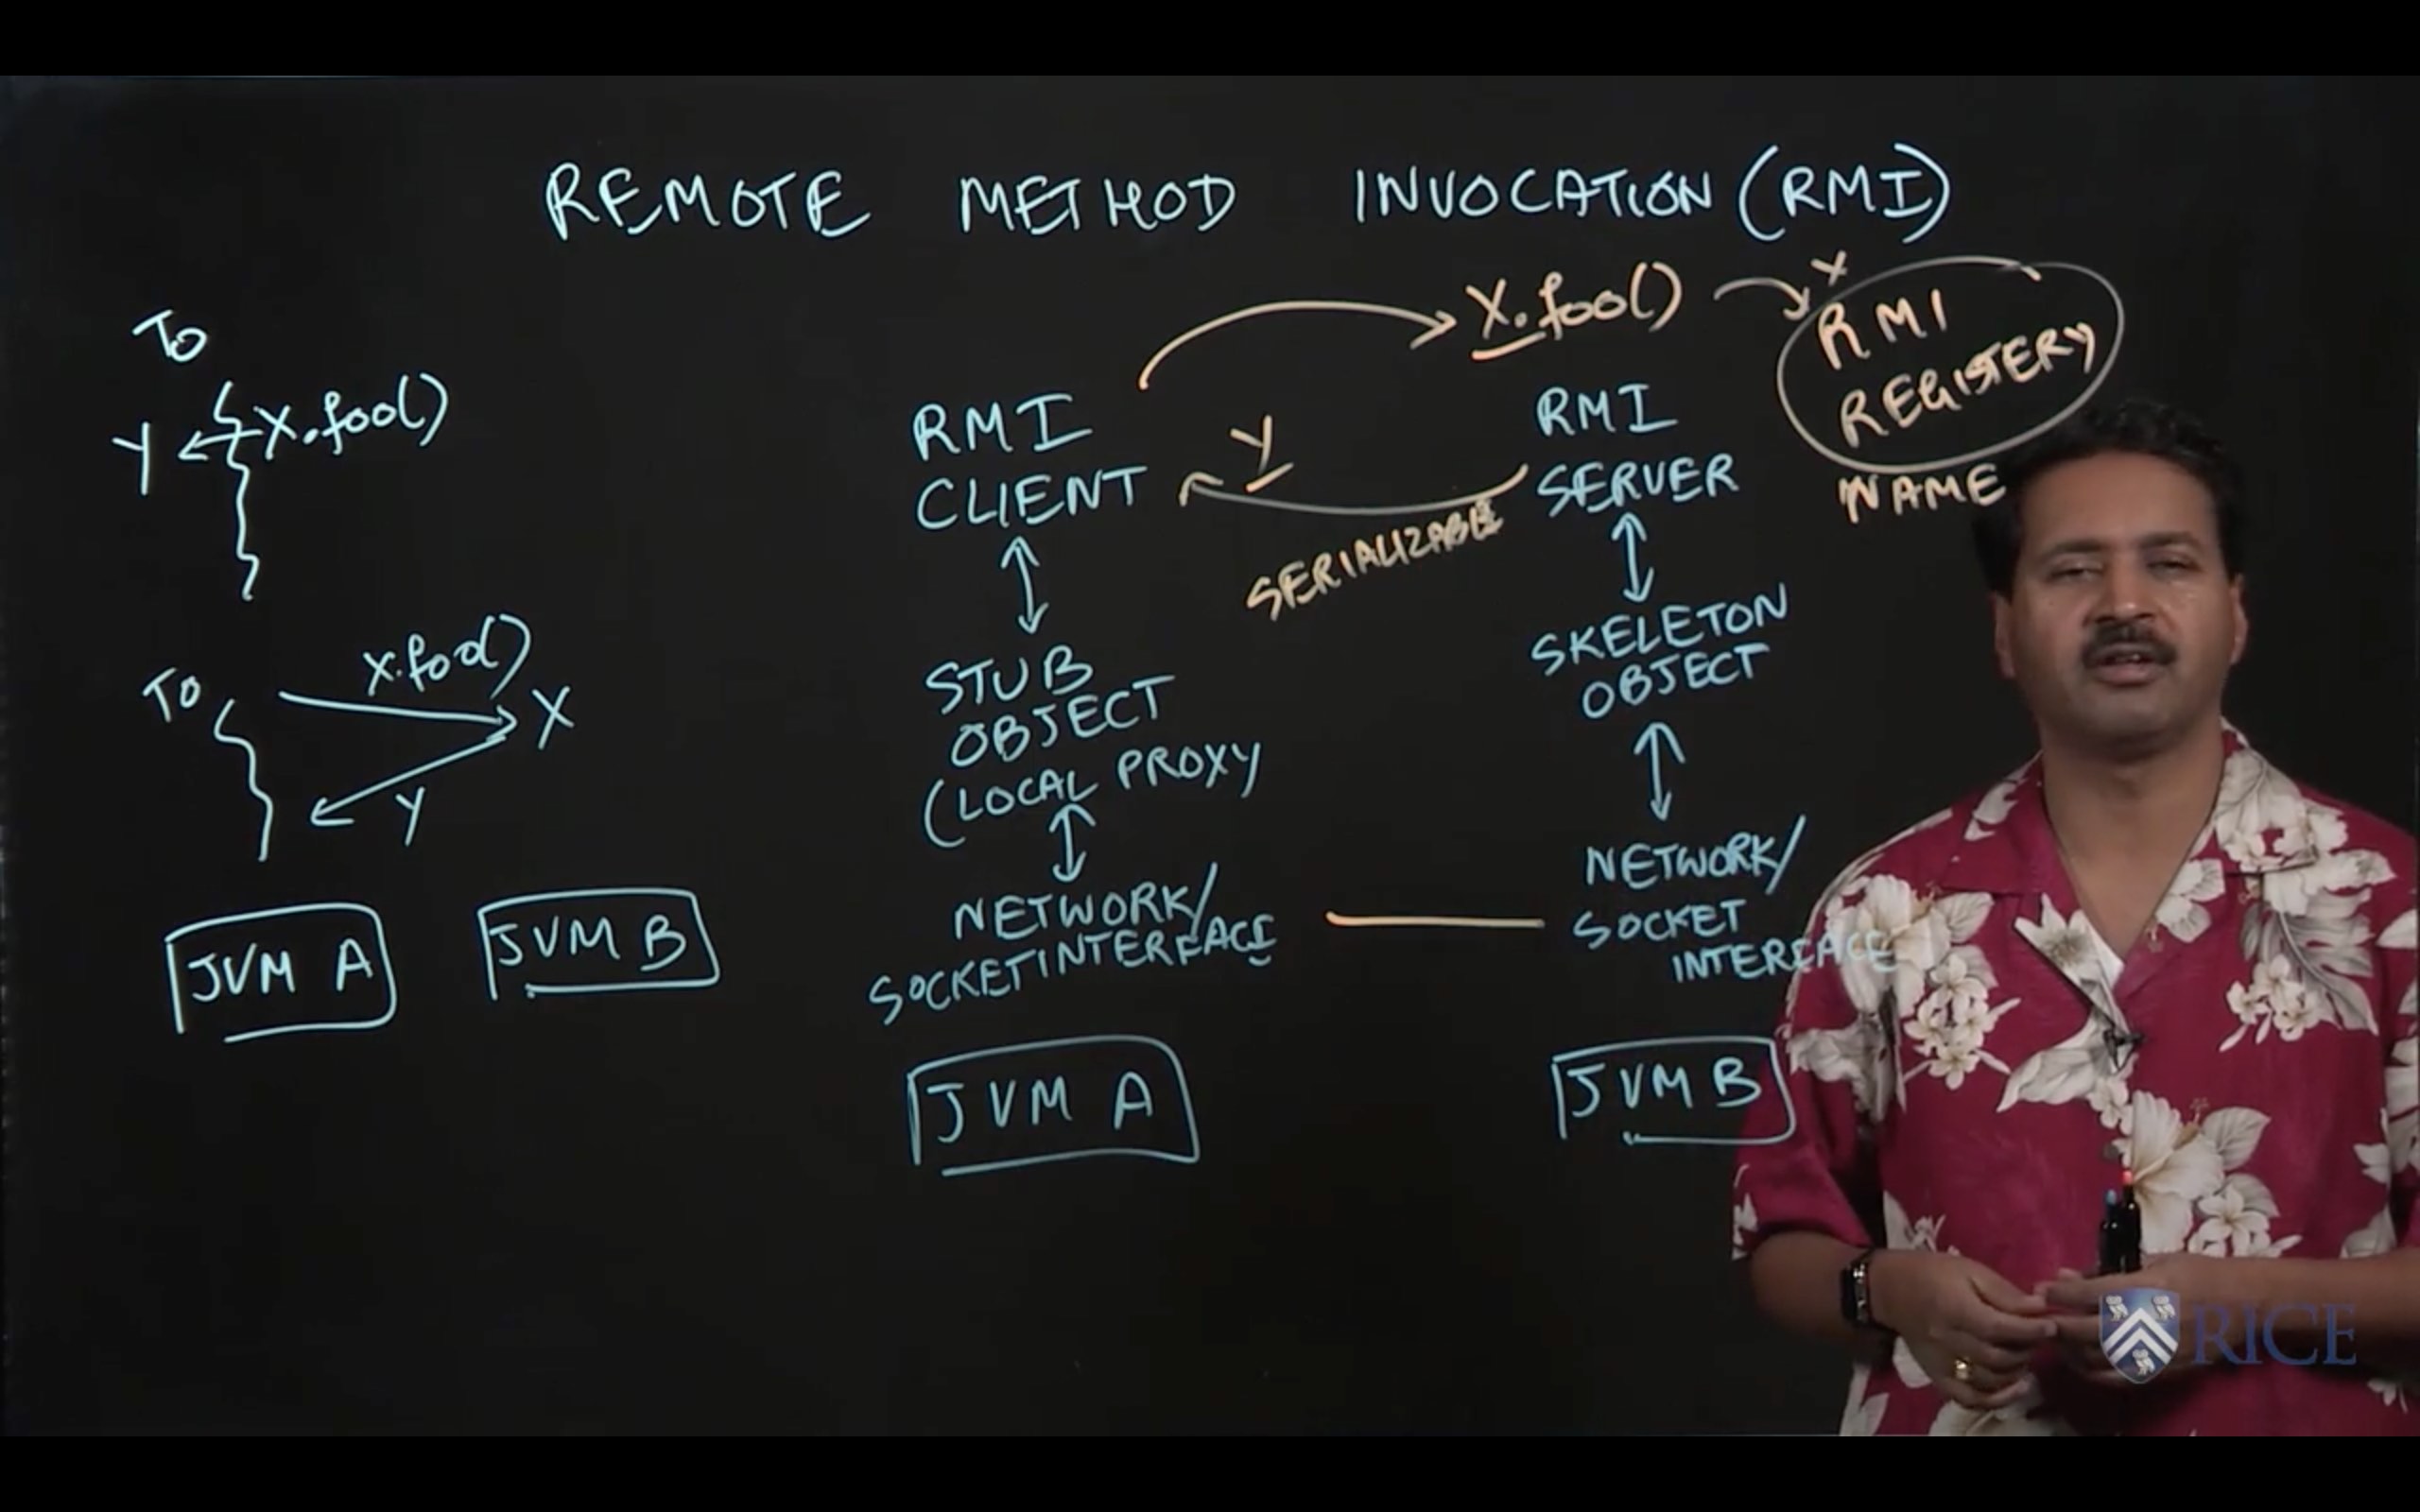
2.3 Remote Method Invocation
2.4 Multicast Sockets
2.5 Publish-Subscribe Pattern
2.6 Mini Project
This week we learned about communicating between Java Virtual Machines (JVMs) using sockets, and how high-level Java APIs make this process much simpler for programmers by offering stream-based communication APIs.
In this mini-project, you will gain experience working with Java Sockets by implementing a simple, stripped down file server that responds to HTTP requests by loading the contents of files and transmitting them to file server clients.
HTTP (or the Hypertext Transfer Protocol) was originally developed to support the communication of linked documents from early web servers to early web clients. It establishes a uniform protocol (or language) that all computers must be able to speak over the network in order to request HTTP documents. That protocol is based on a few fundamental commands, one of which is the GET command. Semantically, a GET request issued by an HTTP client to an HTTP server indicates that the client would like to retrieve a piece of read-only information from the server. For example, one common usage of GET is to request files from a file server by passing the path to the desired file. If a client were requesting a file called /path/to/file, the HTTP request would be a string starting with:
GET /path/to/file HTTP/1.1
This string indicates the command (GET), the resource requested (/path/to/file), and the version of the HTTP protocol being used (1.1). In general, many other lines would follow this line to form a complete HTTP request with other metadata such as information on the client performing the request.
An HTTP response to the above GET might look something like the following:
HTTP/1.0 200 OK\r\n
Server: FileServer\r\n
\r\n
FILE CONTENTS HERE\r\n
The first line of this response indicates that the file was found successfully. The second line identifies the type of server being spoken to. The third line serves as a separator between the HTTP header and the body of the request on the fourth line, the contents of the file itself. Note that the \r and \n are special-purpose new line characters required by the HTTP protocol.
Of course, like any robust software system, HTTP must also integrate an error model that allows a server to indicate to clients when something has gone wrong. One of the most common HTTP error codes (and likely one that you have personally run into) is 404 Not Found. 404 Not Found indicates that the resource requested by a GET was not found on the server it was requested from. In the case of a file server, this would indicate that the client requested the contents of a file that did not exist on the server. An example 404 response is shown below:
HTTP/1.0 404 Not Found\r\n
Server: FileServer\r\n
\r\n
In this mini-project, you will implement a simple file server that responds to HTTP GET commands with the contents of the requested file. In the case of a client requesting a file that does not exist, you will return a 404 Not Found error instead.
Your main goals for this assignment are as follows:
- Inside FileServer.java, implement the run method to use the provided ServerSocket object and root directory to implement the basic HTTP file server protocol described above. There are four helpful TODOs in FileServer.java to help guide your implementation.
You are provided with a proxy filesystem class called PCDPFilesystem which you will use to read files requested by file server clients. The only PCDPFilesystem API you need to be aware of is called readFile, which accepts a PCDPPath object representing the path to a file you would like the contents of. readFile returns the contents of the specified file if it exists. Otherwise, it returns null.
package edu.coursera.distributed;

import java.io.*;
import java.net.ServerSocket;
import java.net.Socket;
import java.nio.file.Files;

/**
 * A basic and very limited implementation of a file server that responds to GET
 * requests from HTTP clients.
 */
public final class FileServer {

    public void run(final ServerSocket socket, final PCDPFilesystem fs)
            throws IOException {
        while (true) {

            // TODO Delete this once you start working on your solution.
            Socket s  = socket.accept();
            InputStream stream = s.getInputStream();
            InputStreamReader reader = new InputStreamReader(stream);
            BufferedReader bufferedReader = new BufferedReader(reader);

            String line = bufferedReader.readLine();
            assert line != null;
            assert line.startsWith("GET");
            final String path = line.split(" ")[1];

            PCDPPath pcdpPath = new PCDPPath(path);
            String fileContent = fs.readFile(pcdpPath);

            OutputStream out = s.getOutputStream();
            PrintWriter printWriter = new PrintWriter(out);

            if(fileContent != null) {
                printWriter.write("HTTP/1.0 200 OK\r\n");
                printWriter.write("Server: FileServer\r\n");
                printWriter.write("\r\n");
                printWriter.write(fileContent + "\r\n");
            } else {
                printWriter.write("HTTP/1.0 404 Not Found\r\n");
                printWriter.write("Server: FileServer\r\n");
                printWriter.write("\r\n");
            }

            printWriter.close();
        }
    }
}
3 MESSAGE PASSING
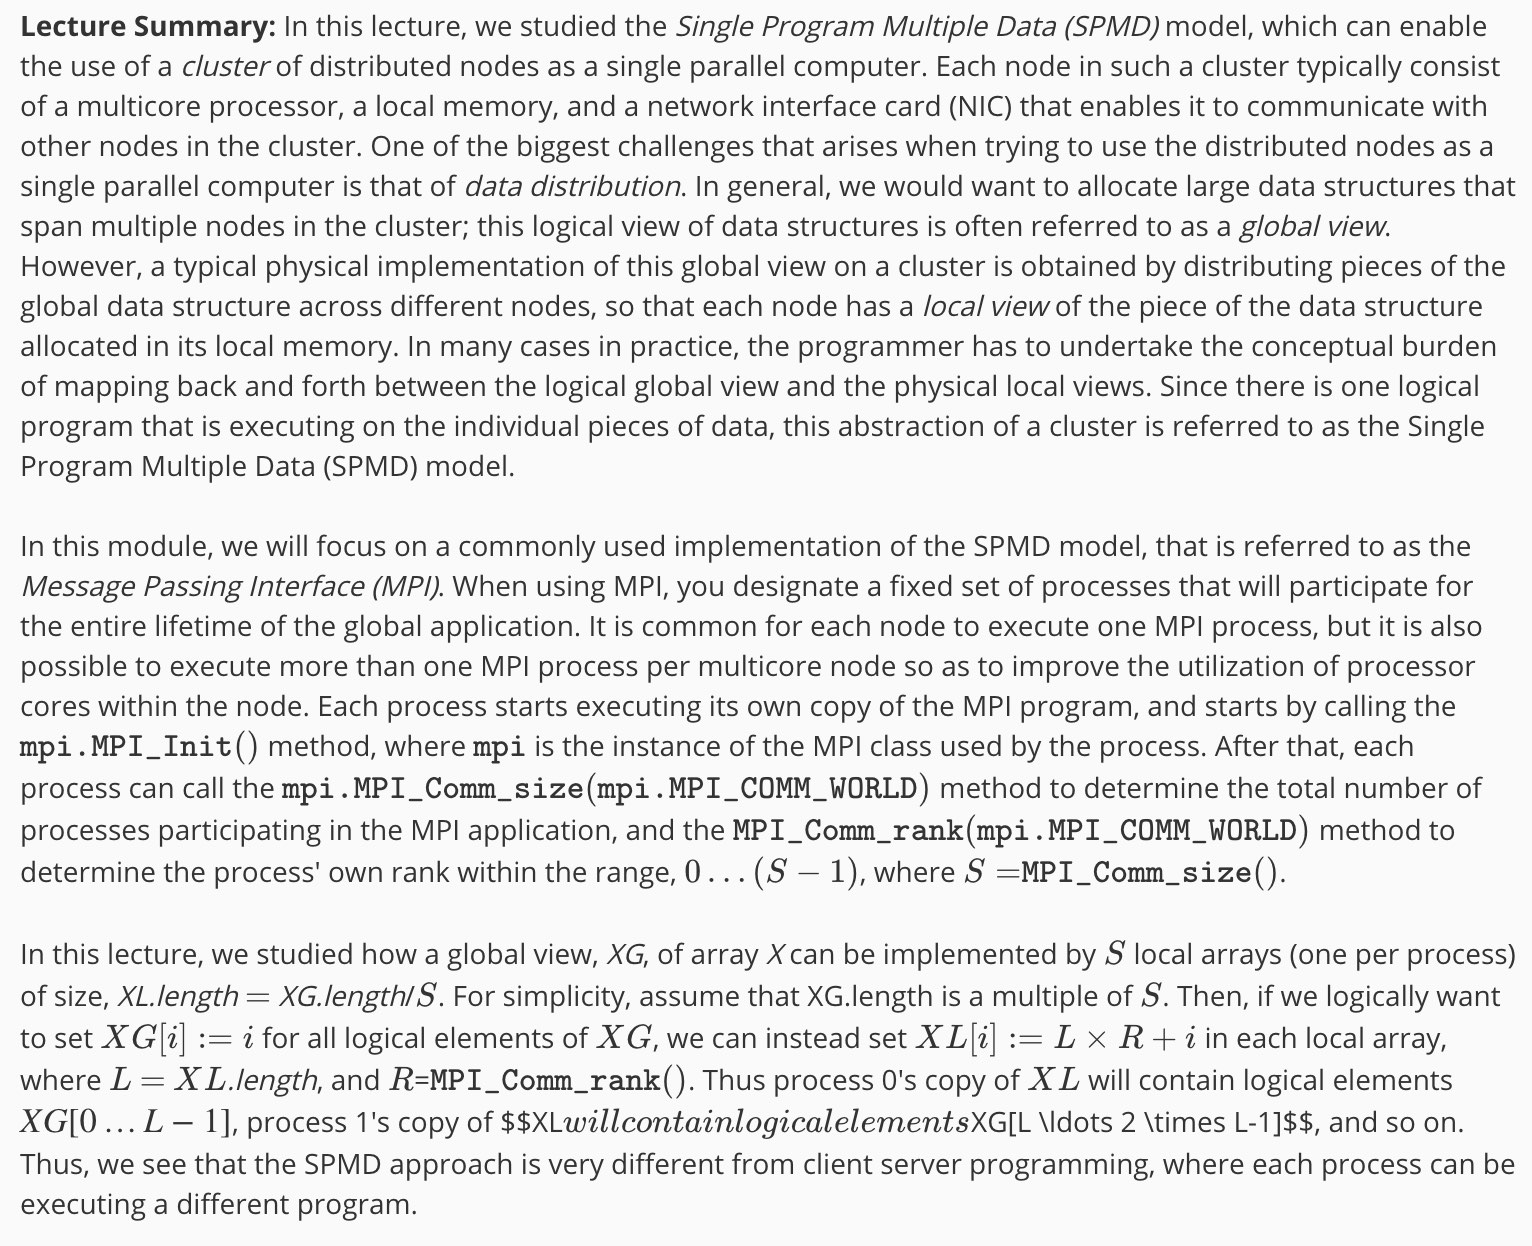
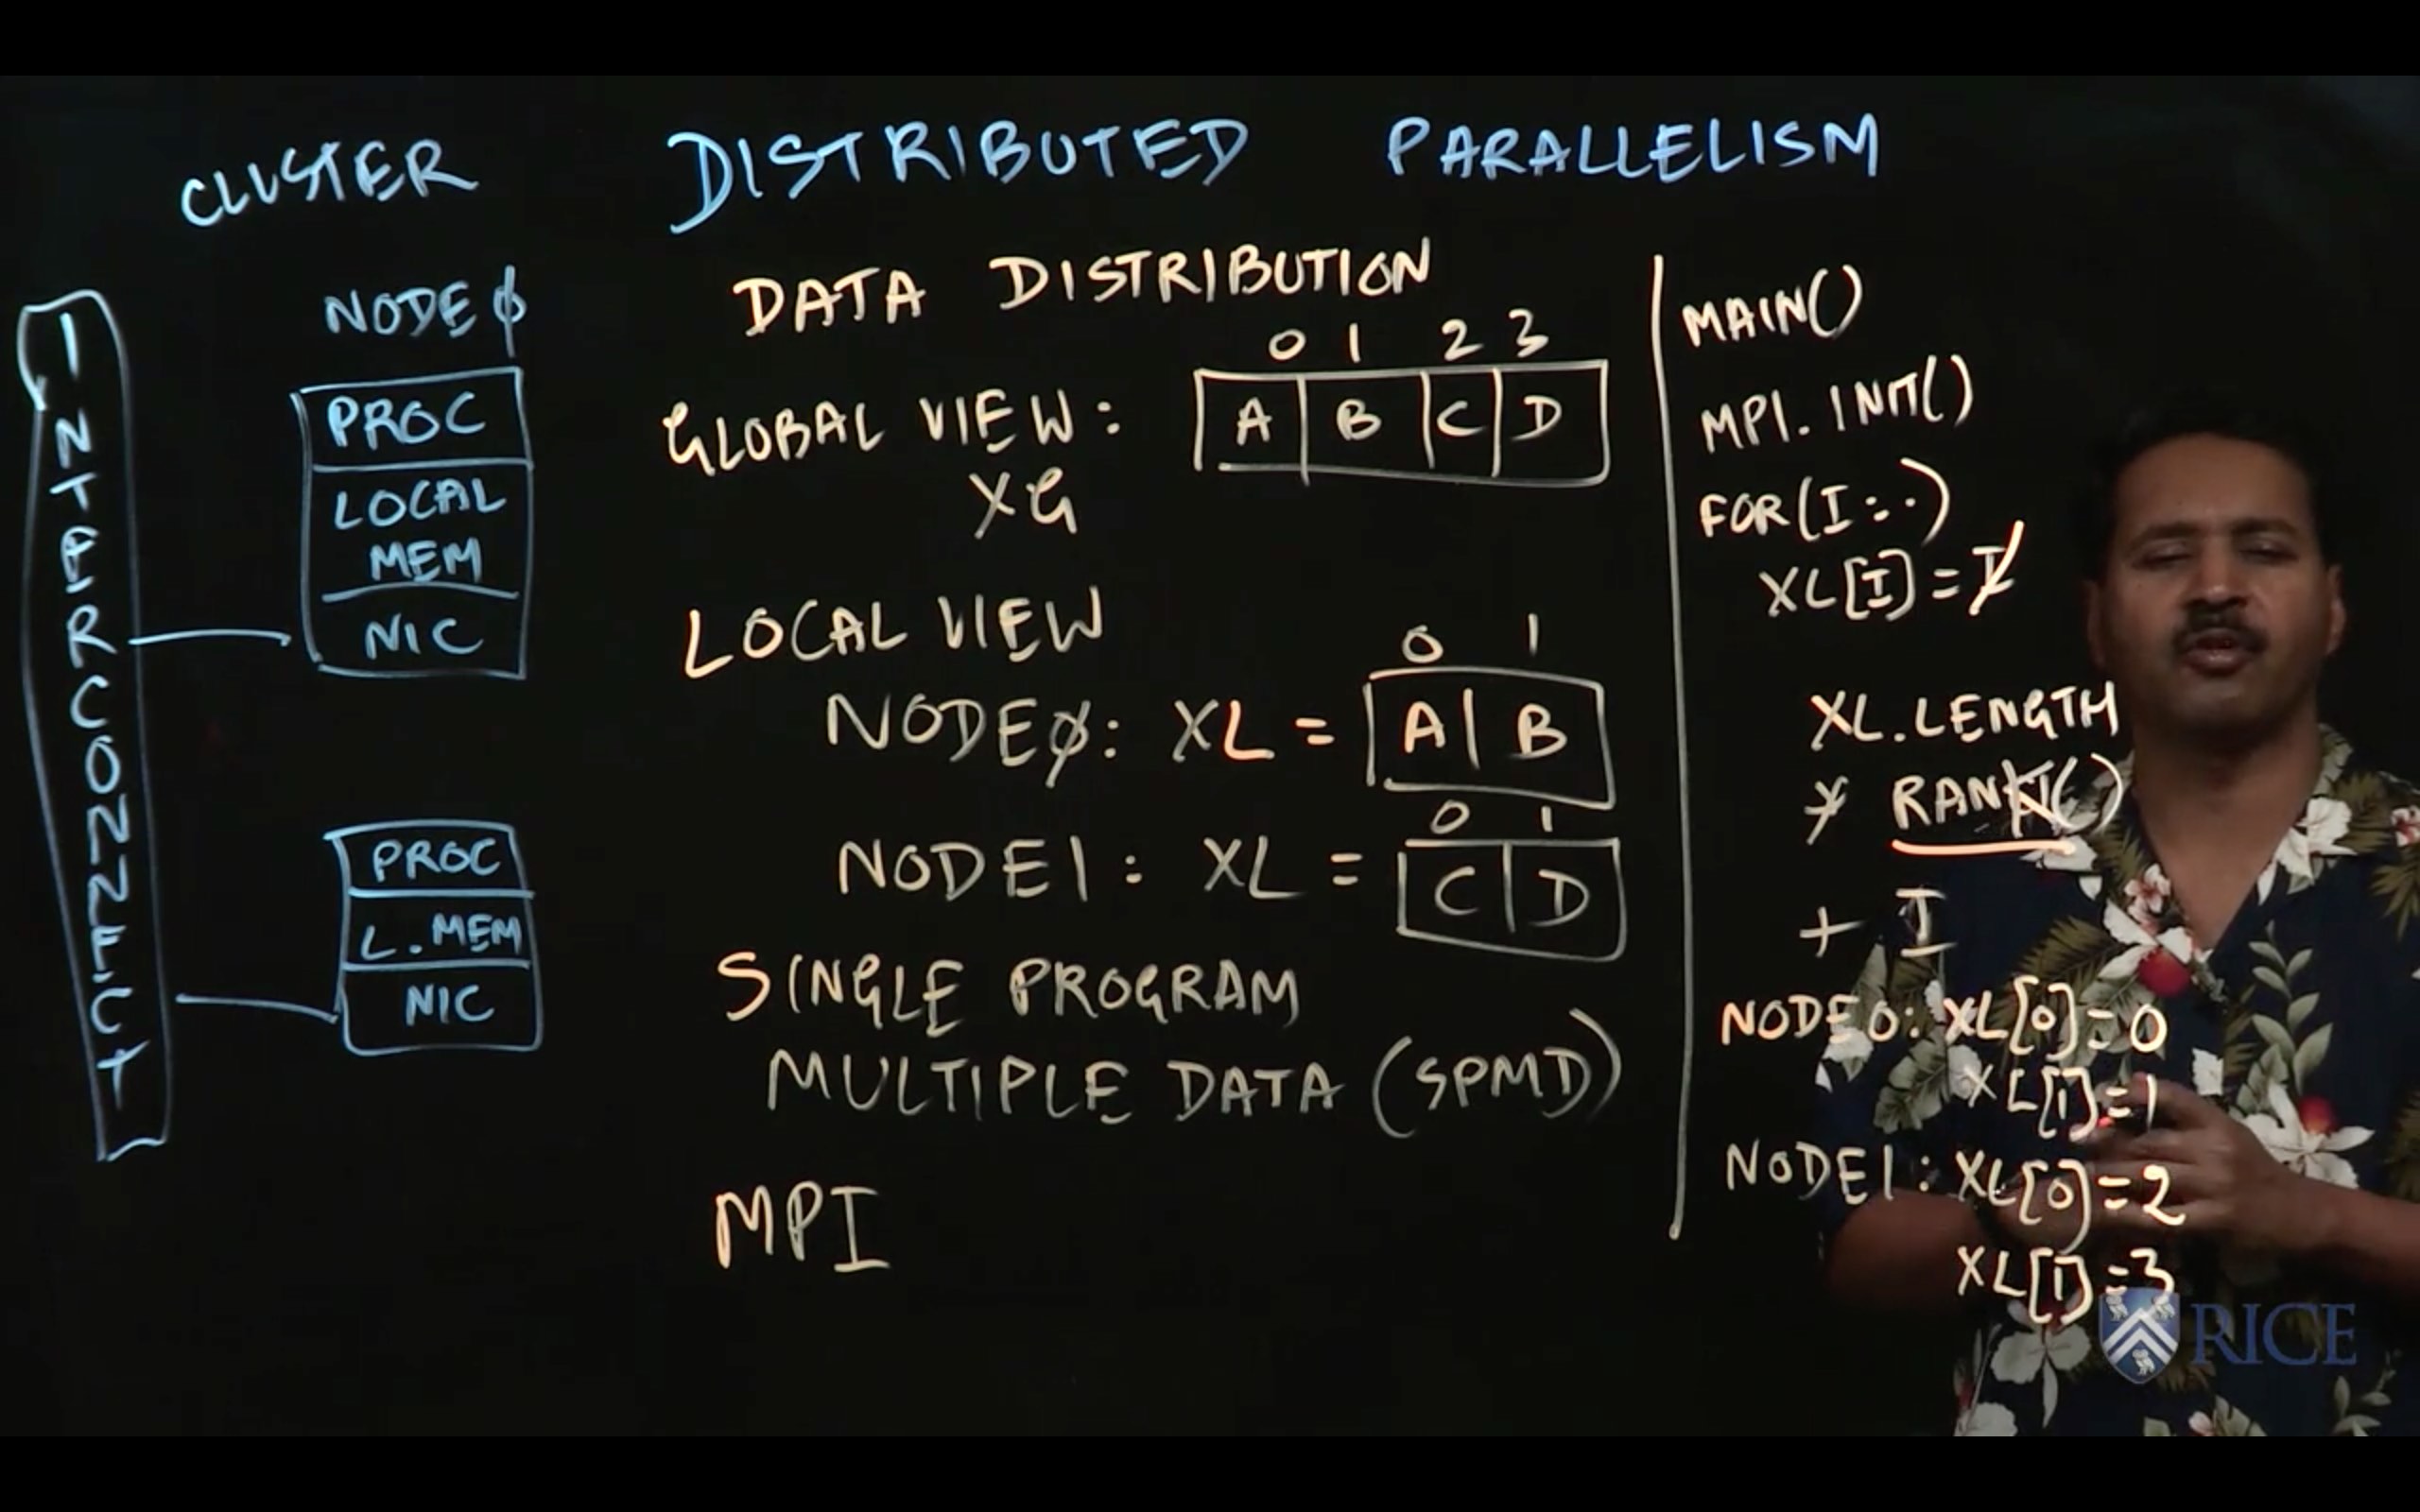
3.1 Single Program Multiple Data (SPMD) Model
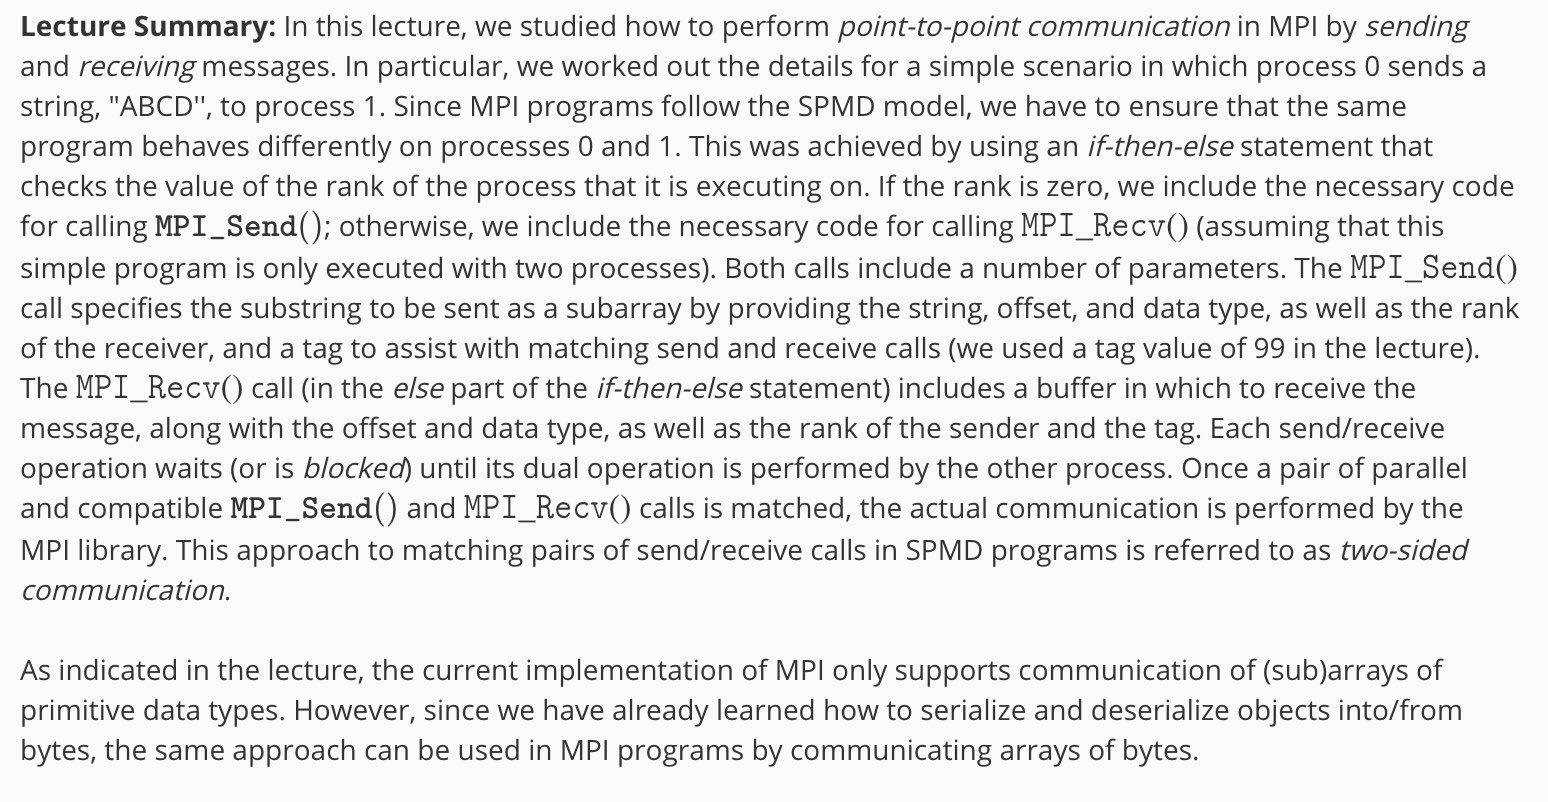
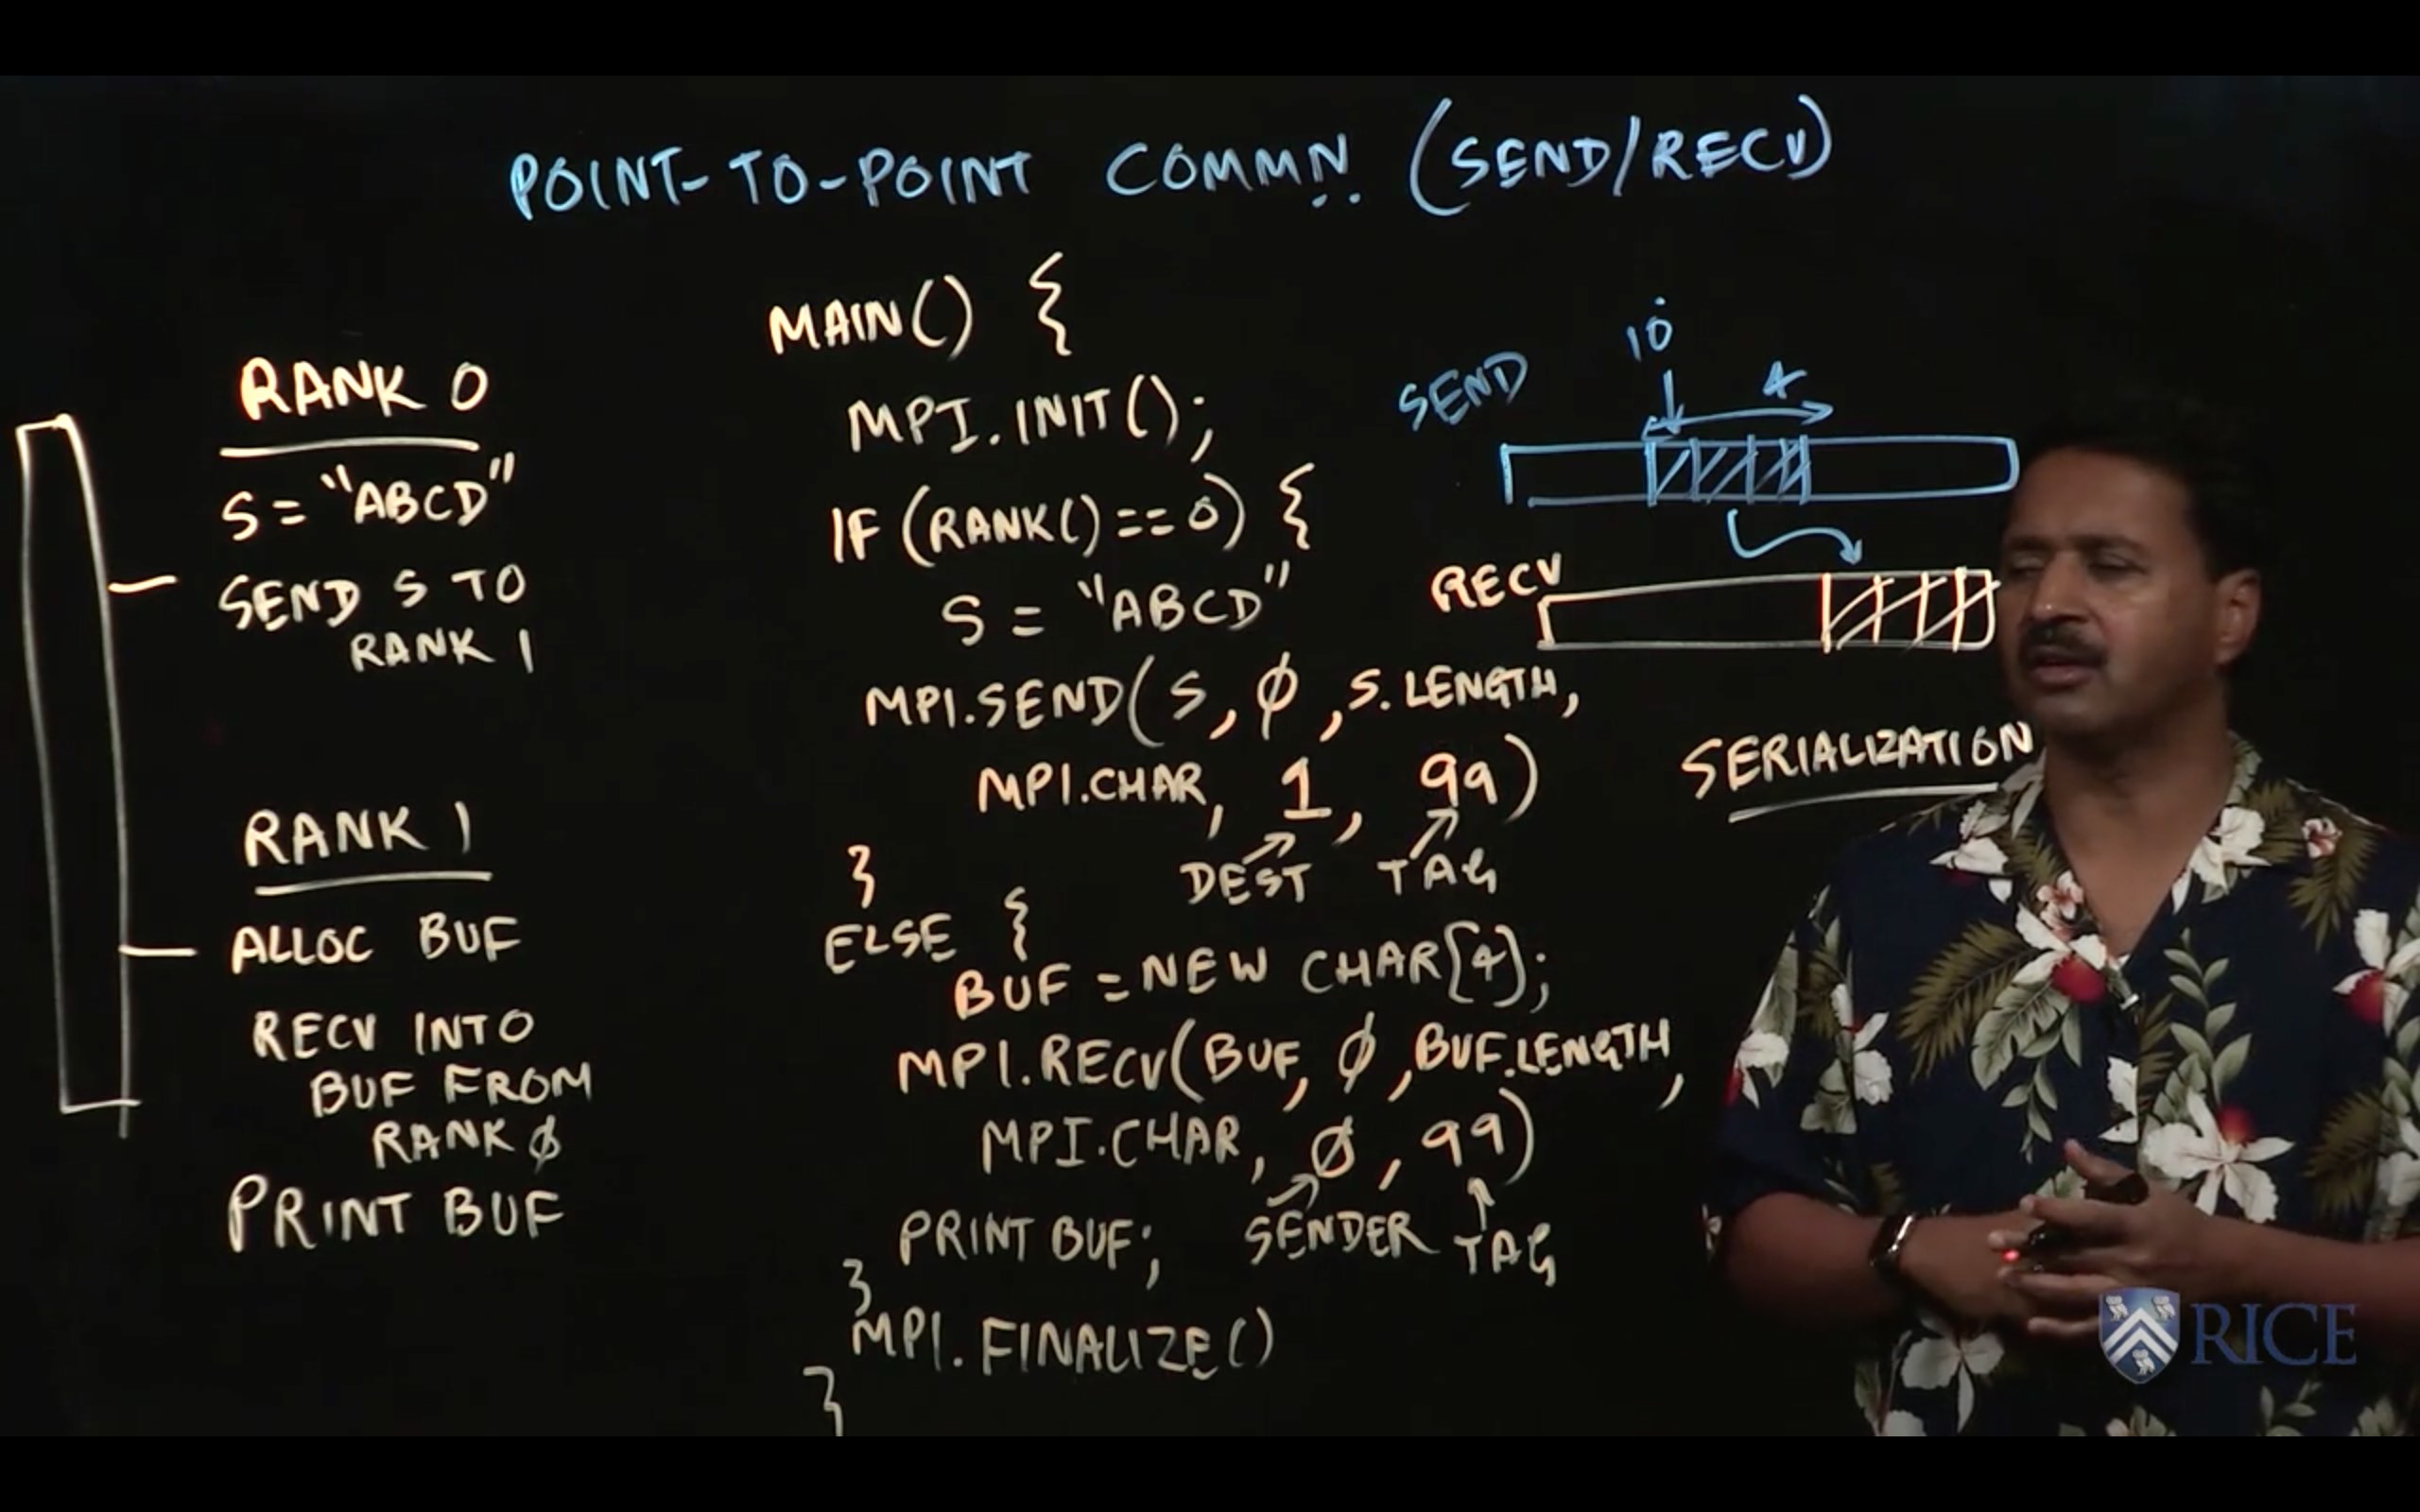
3.2 Point-to-Point Communication
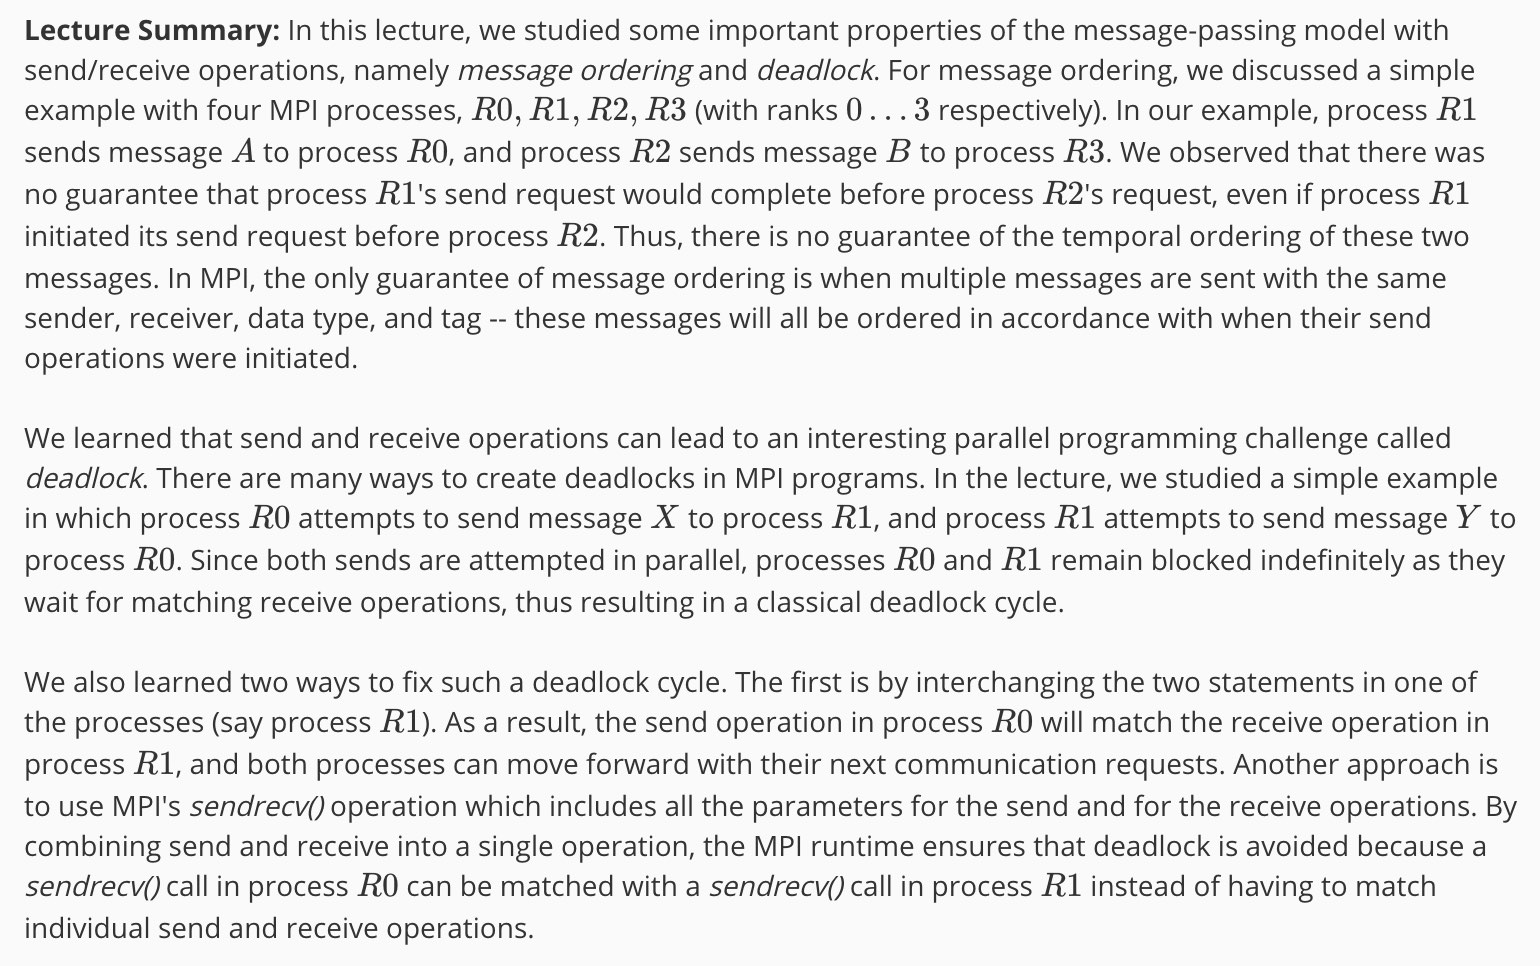
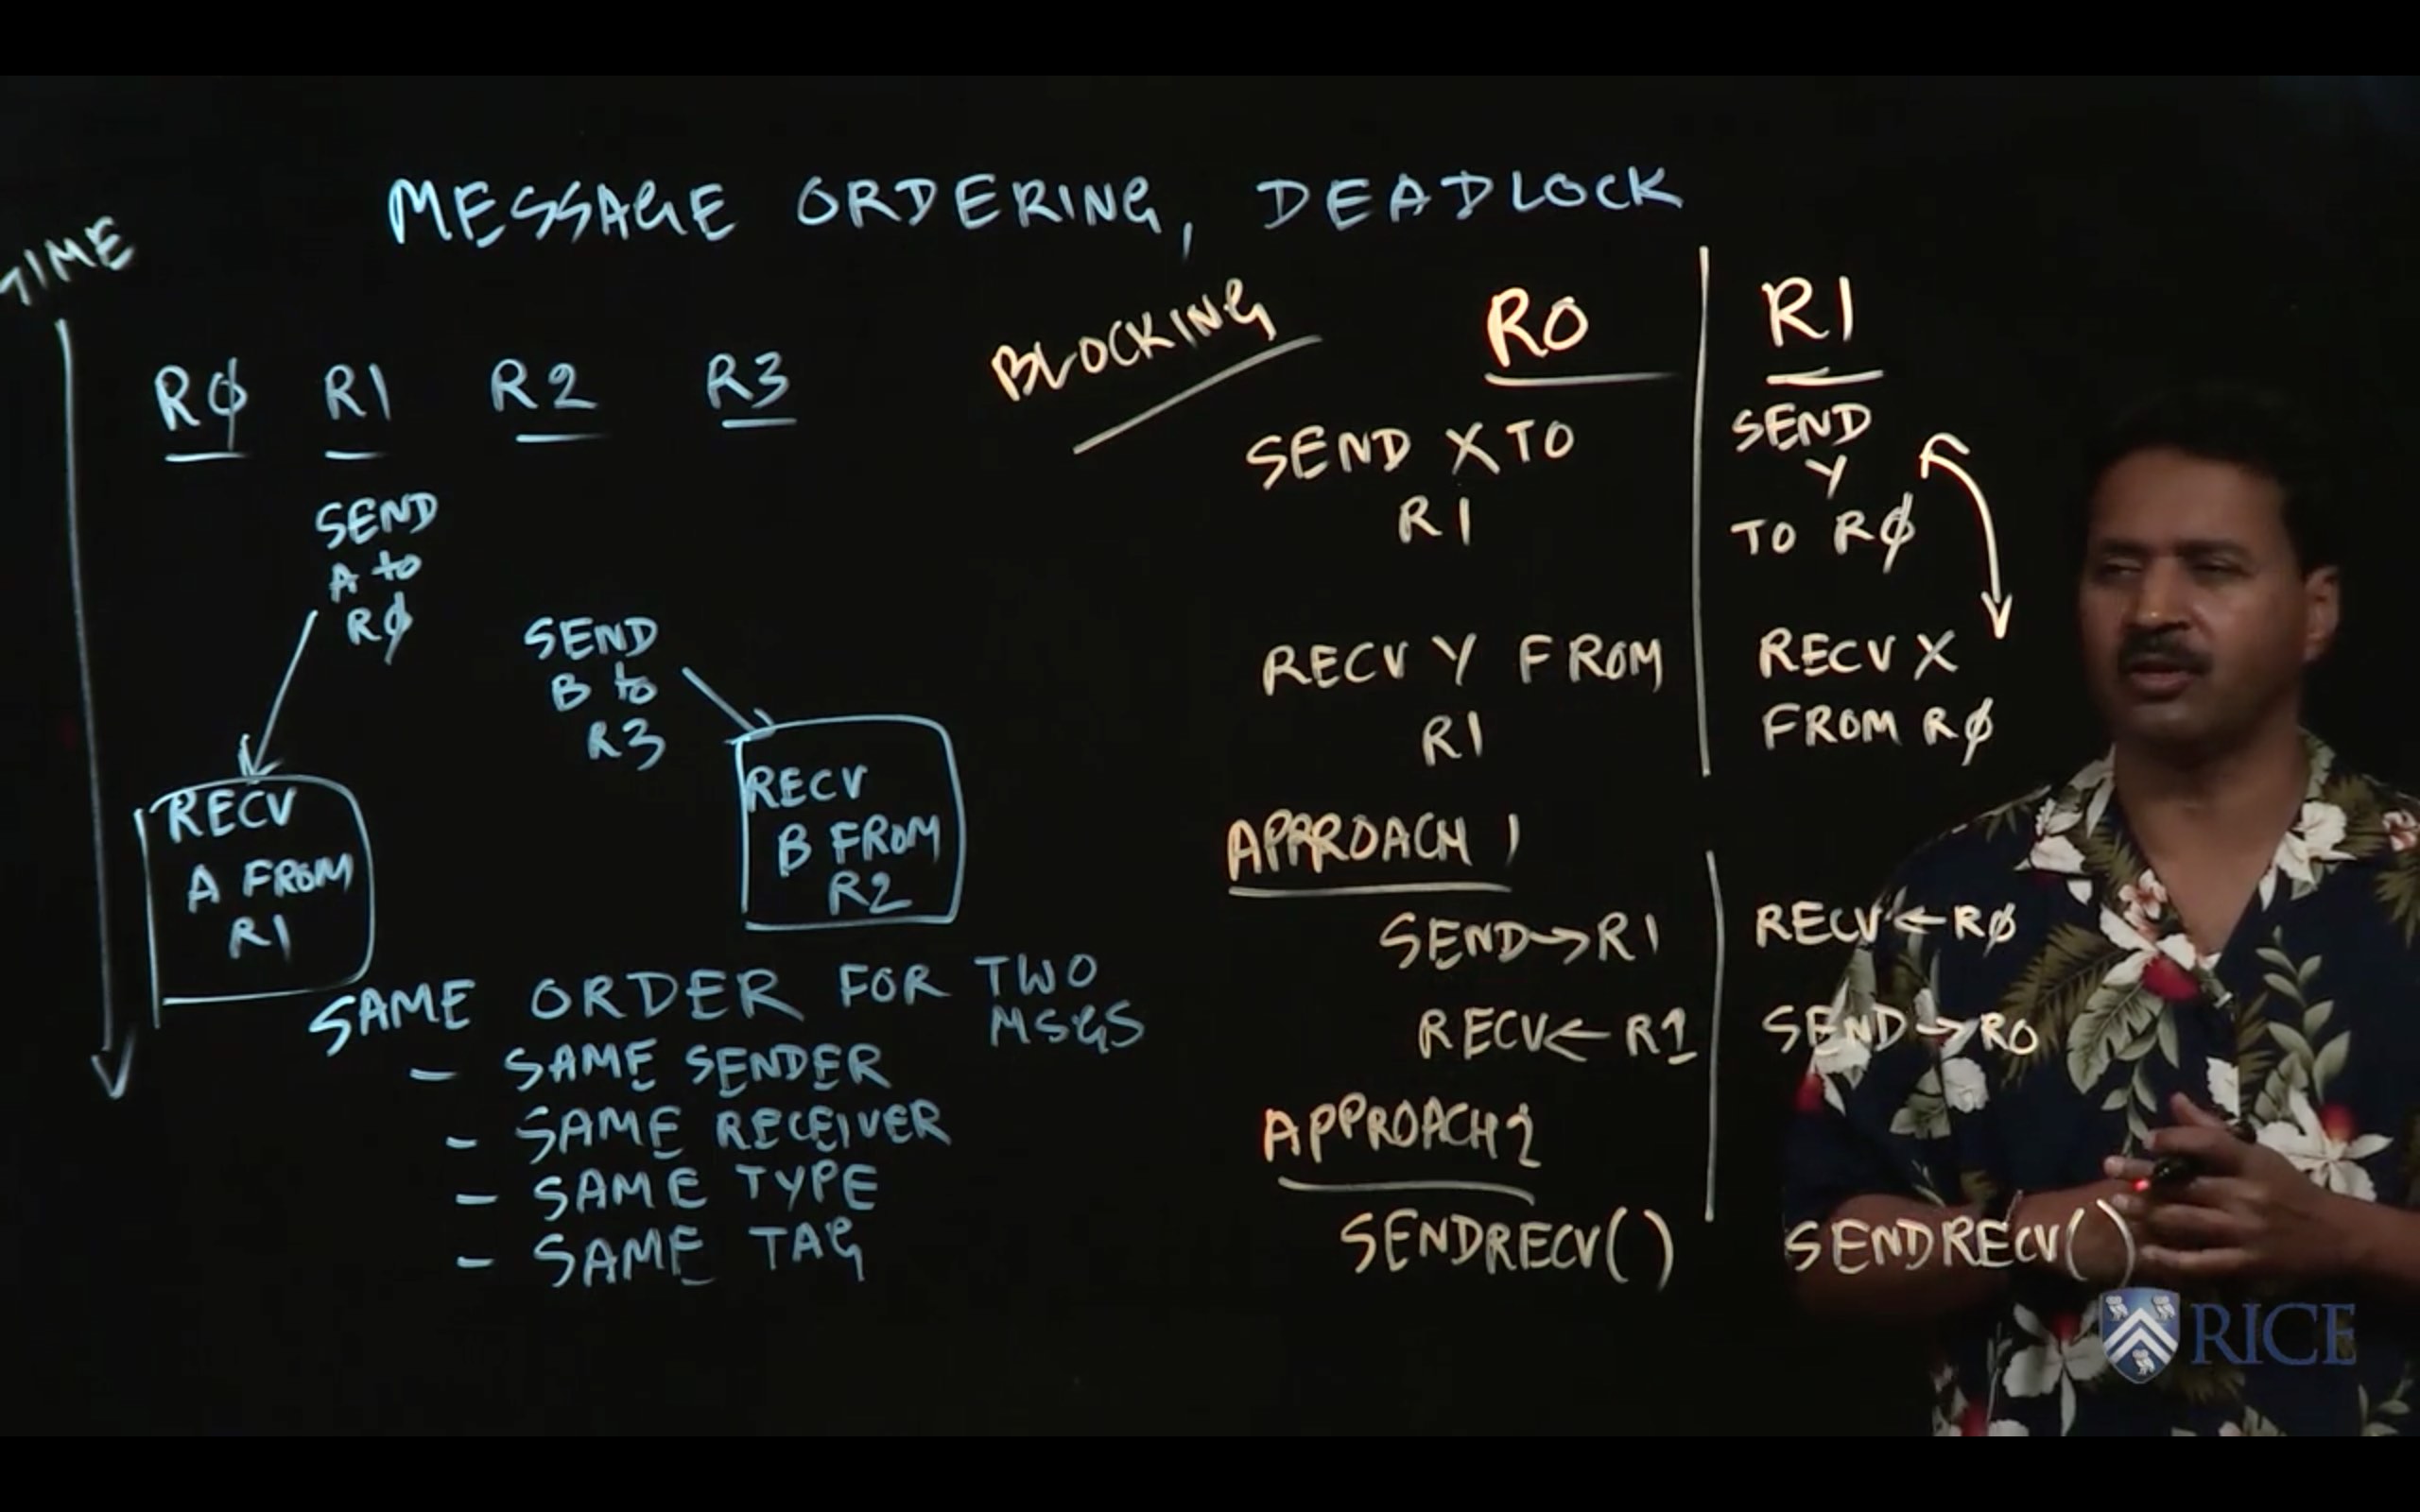
3.3 Message Ordering and Deadlock
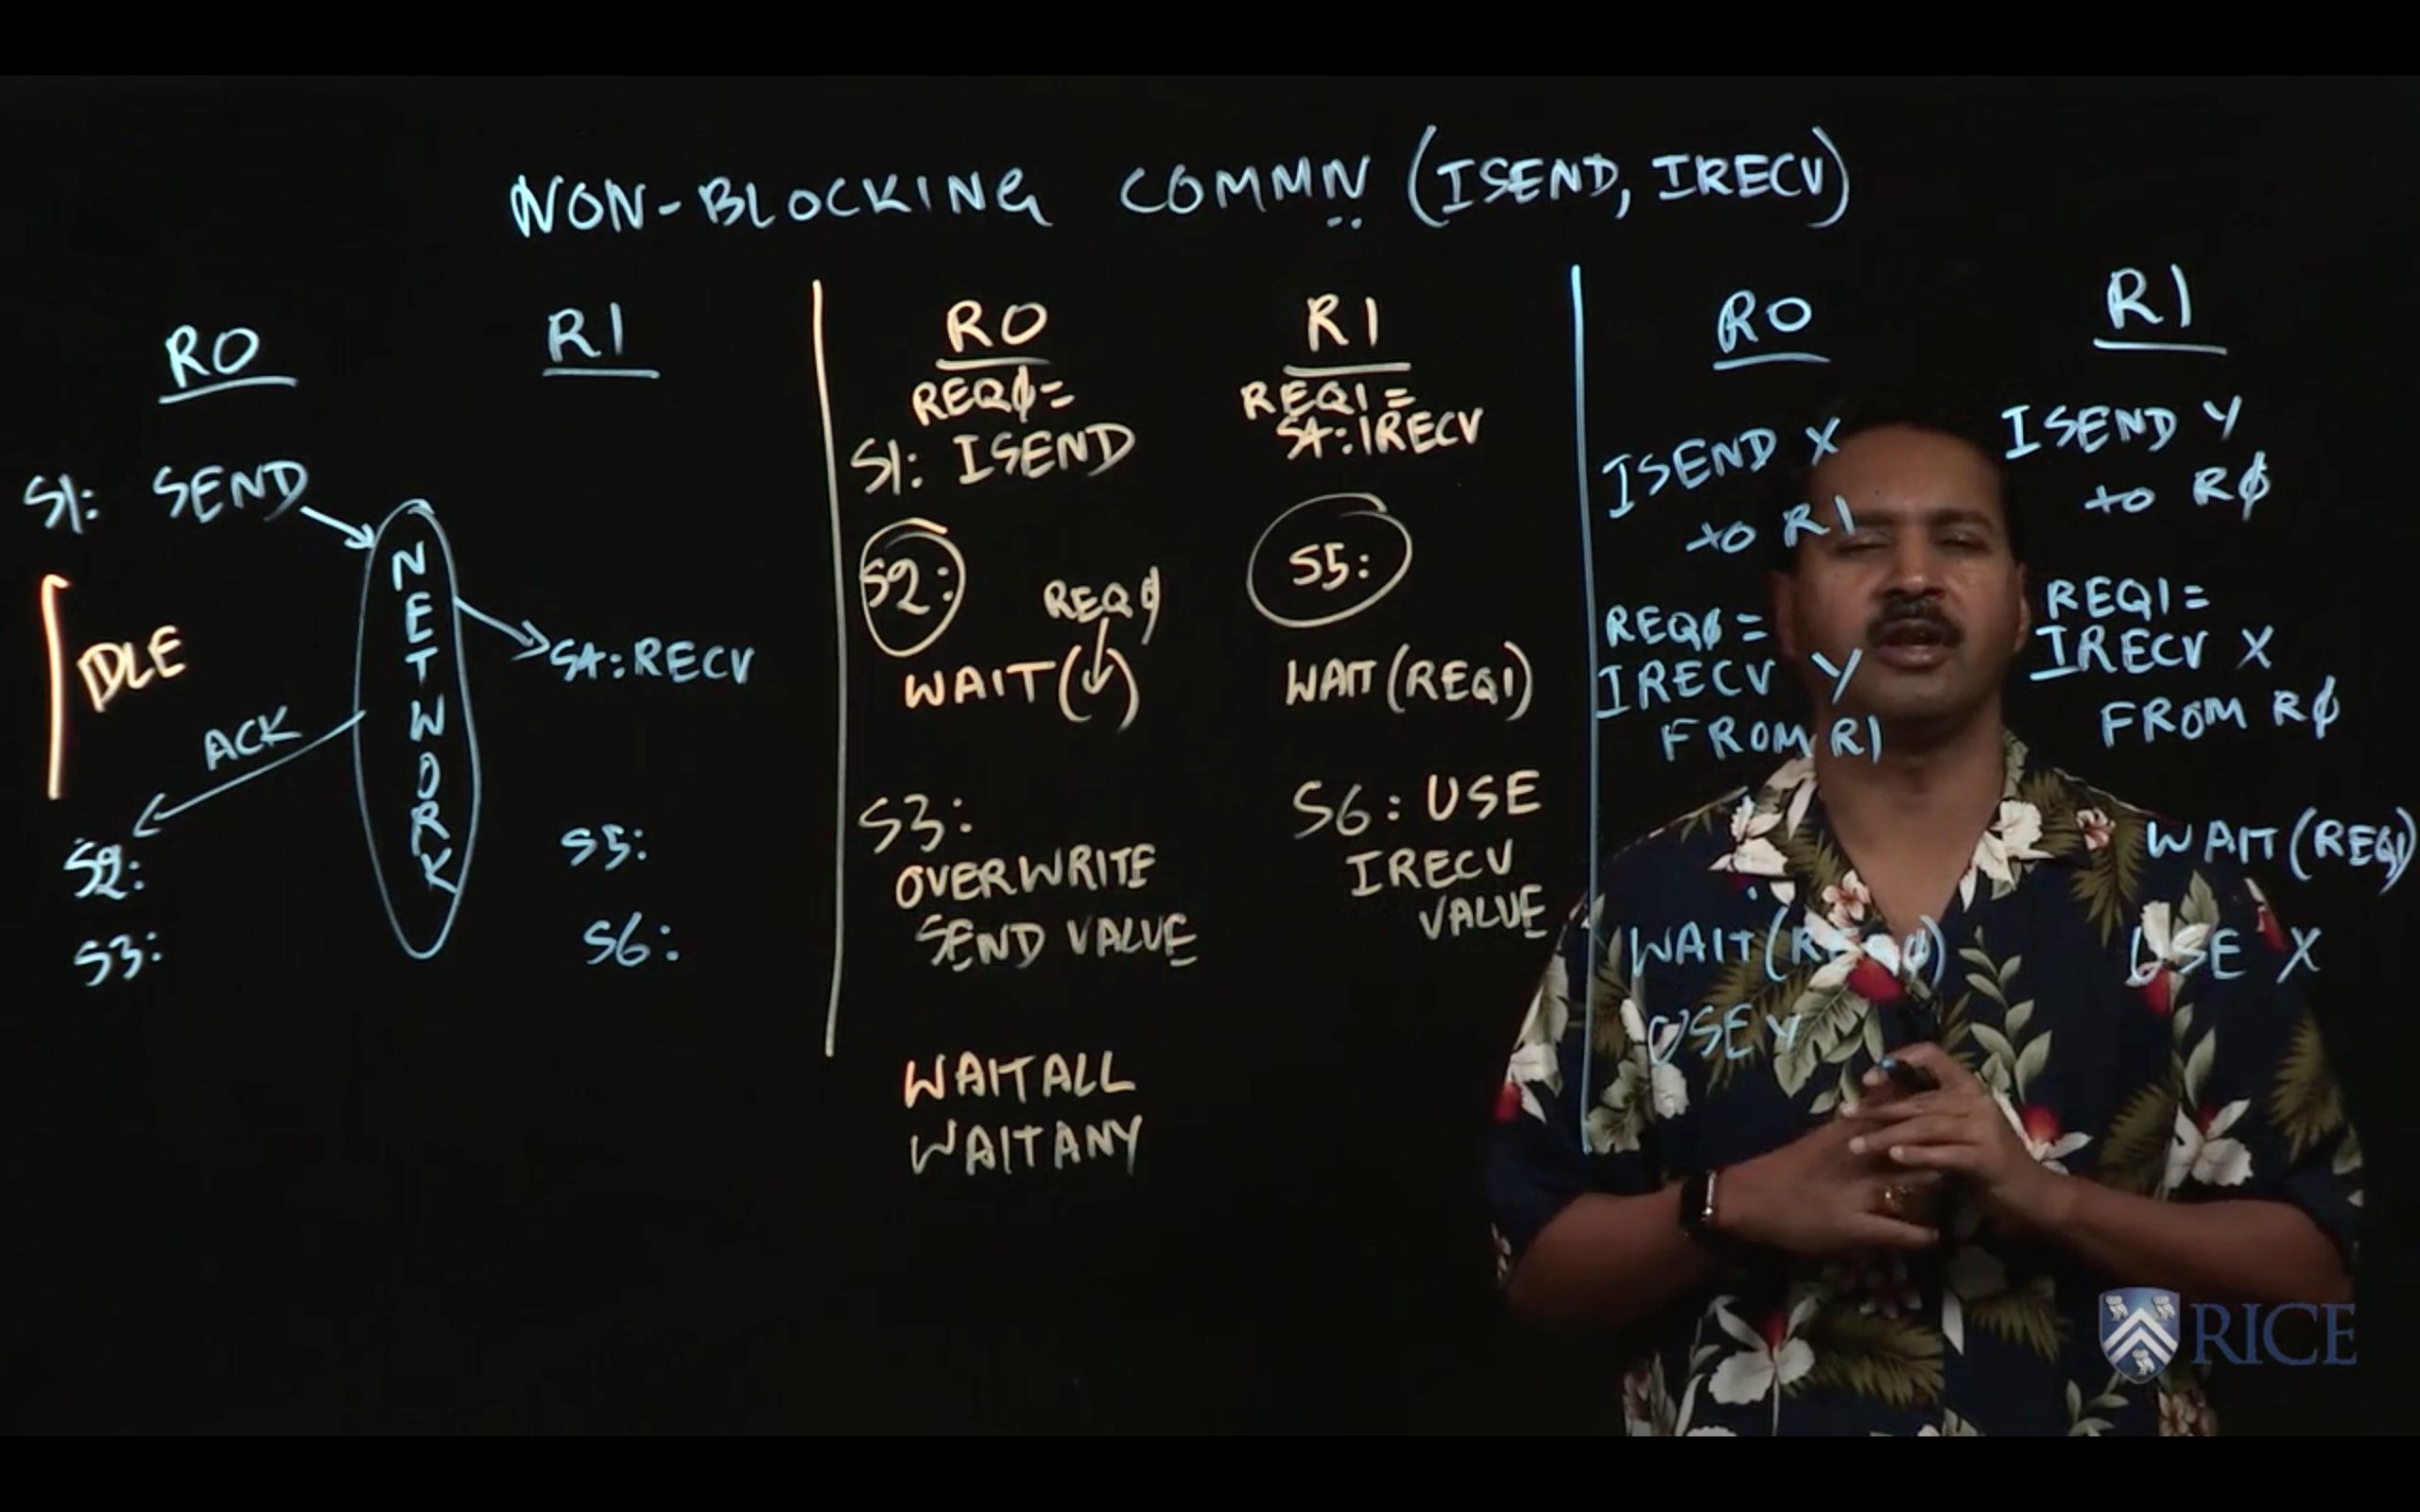
3.4 Non-Blocking Communications
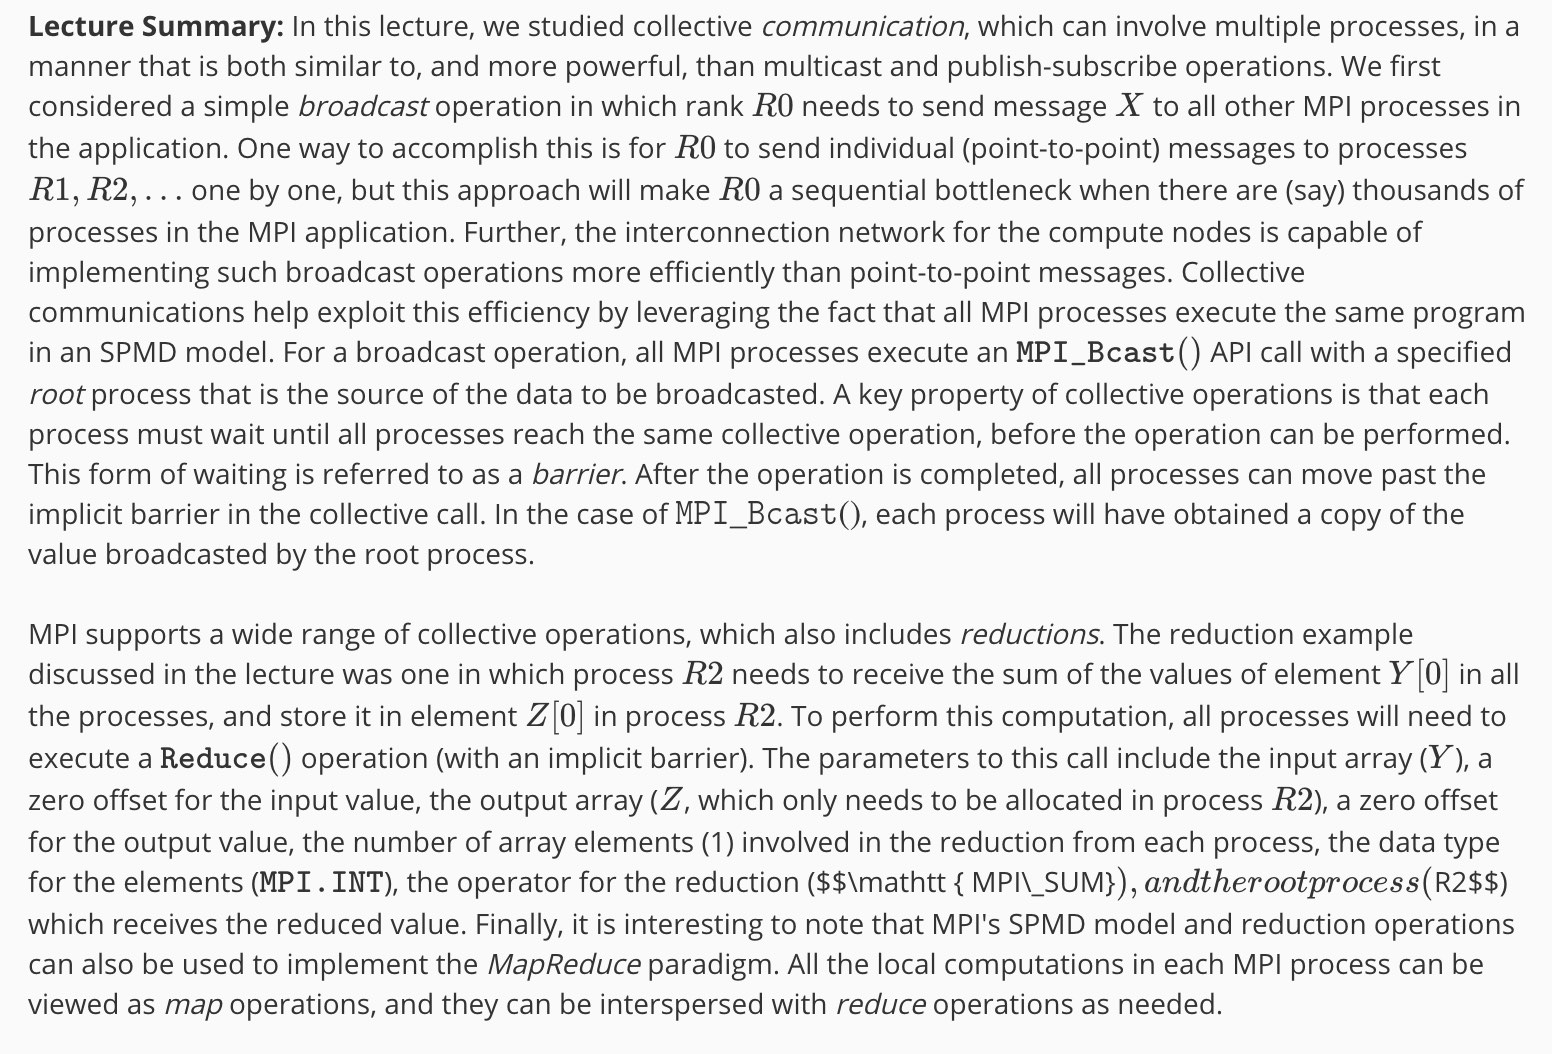
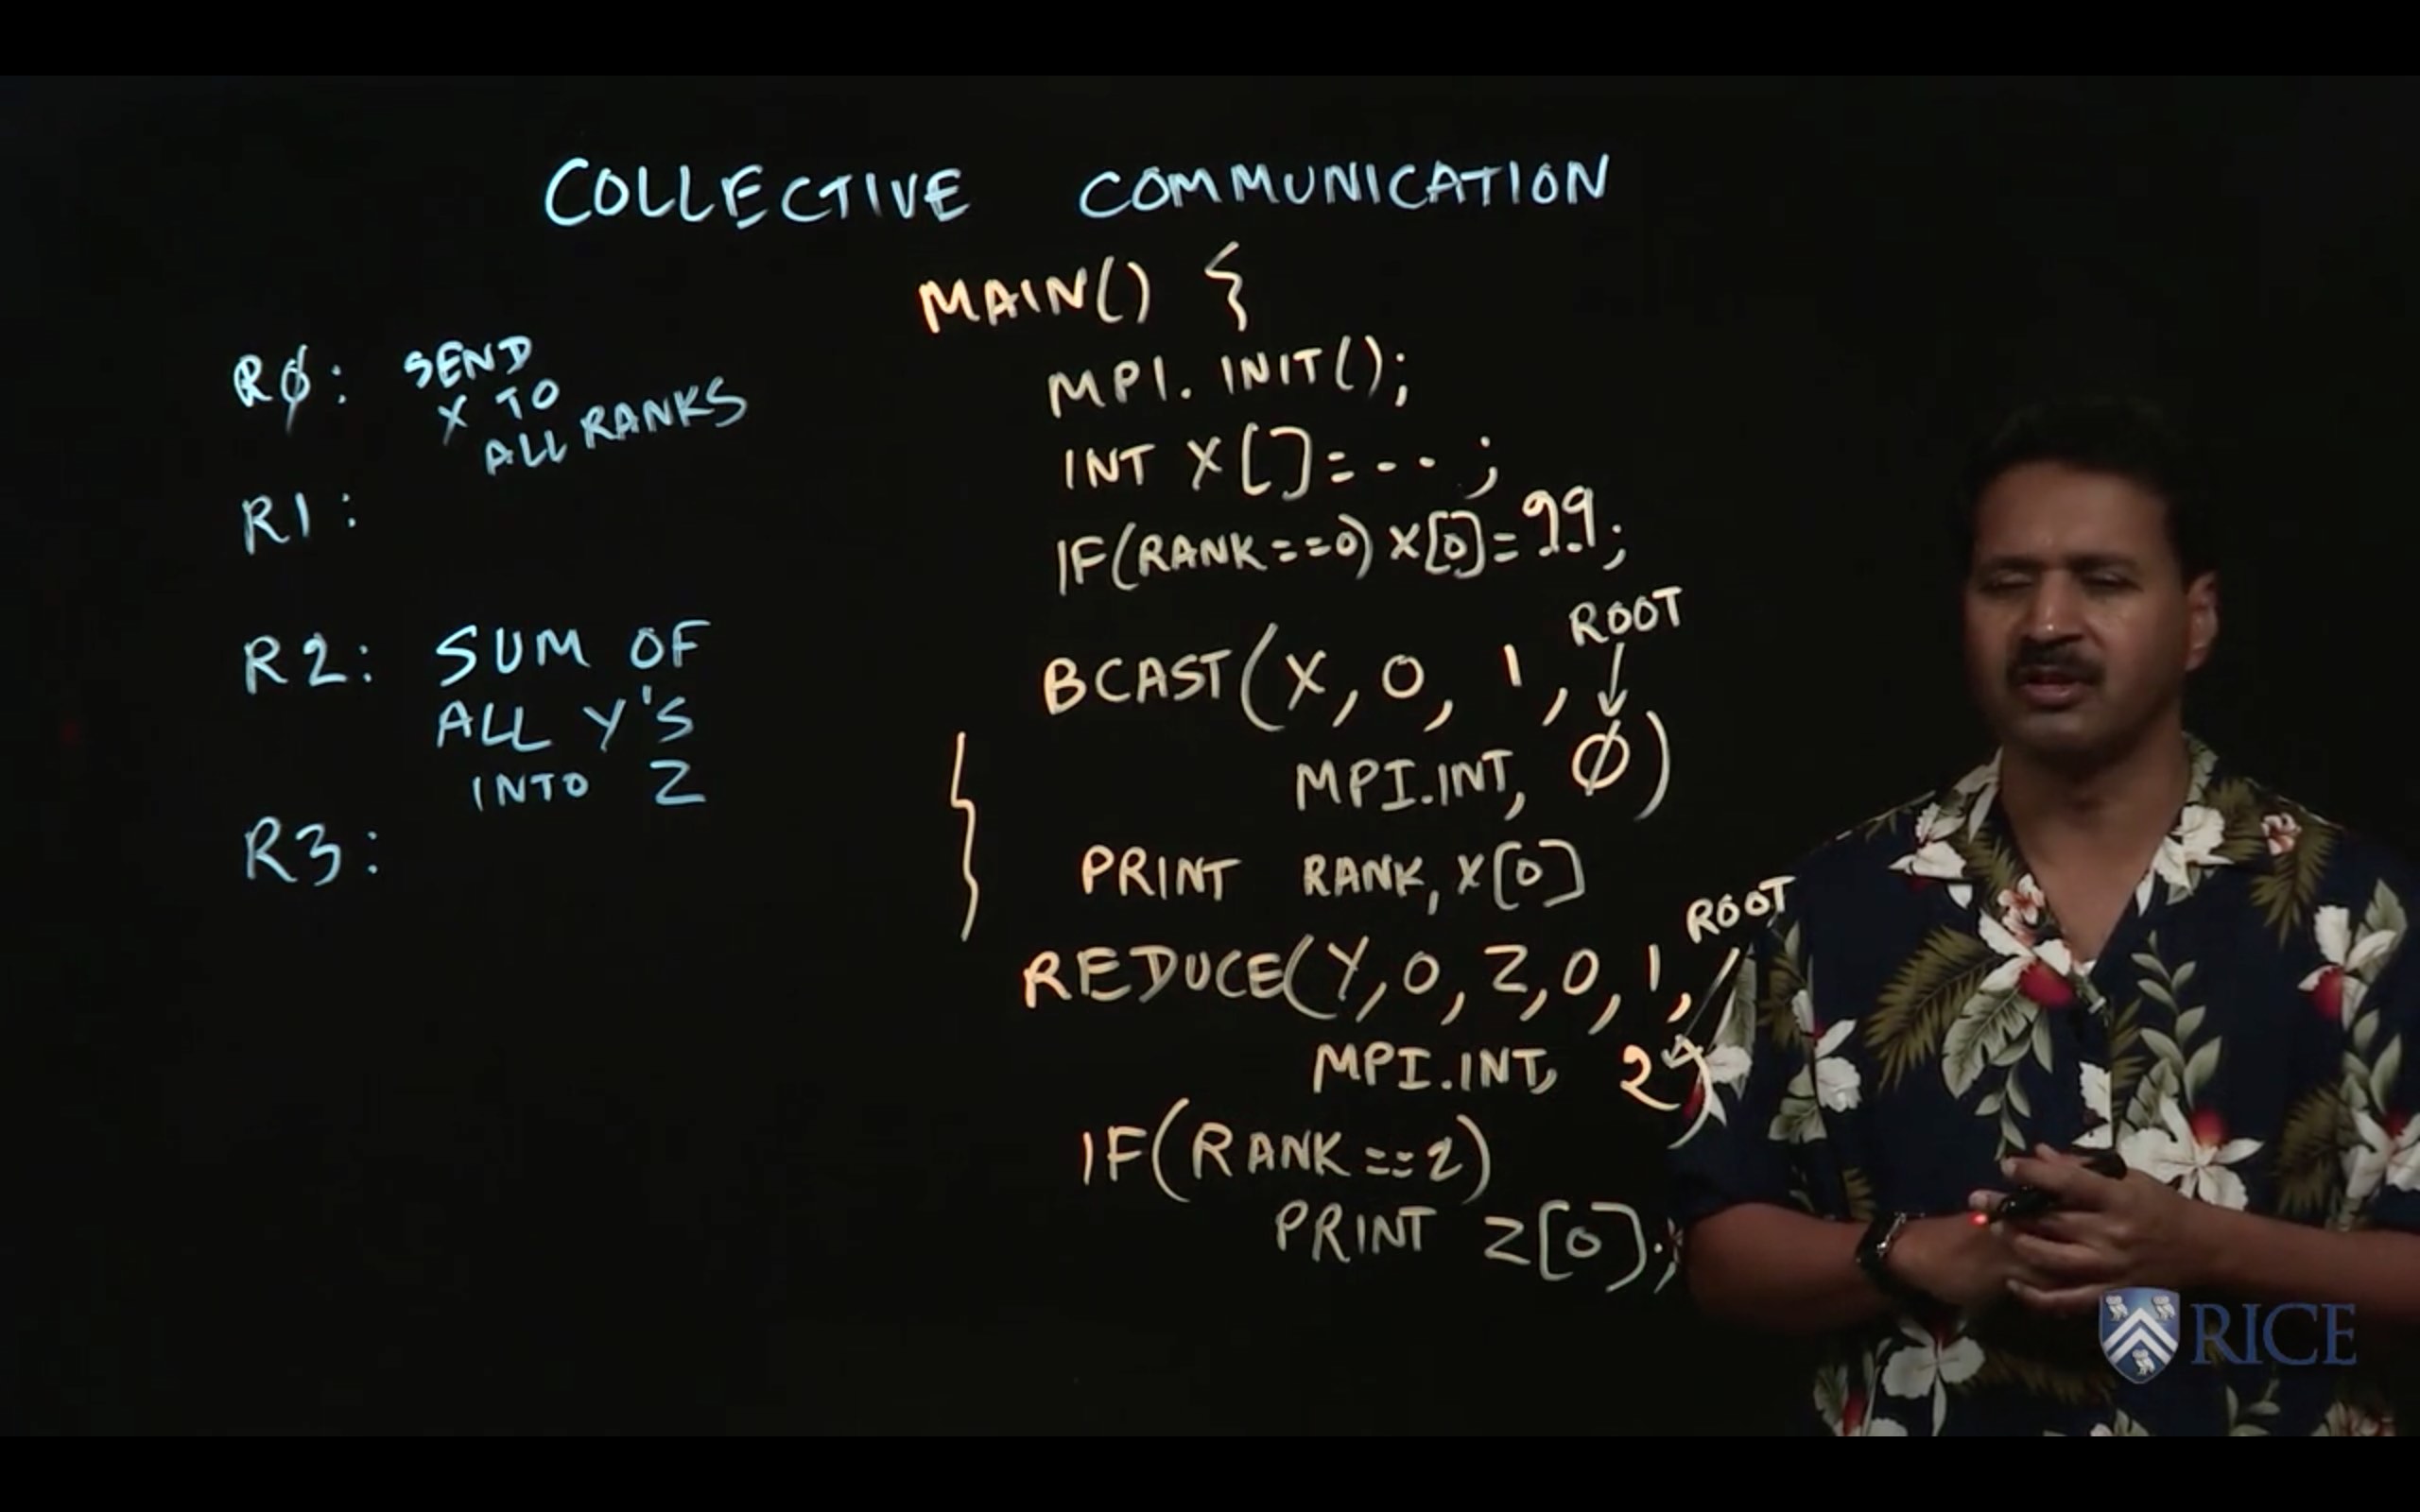
3.5 Collective Communication
3.6 Mini Project
This week we learned how to express Single Program Multiple Data (SPMD) parallelism using MPI. MPI offers high-level APIs for sending messages, receiving messages, and performing collectives across groups of MPI ranks called communicators.
One kernel that can be parallelized using SPMD parallelism is dense matrix-matrix multiplication, in which we multiply two input matrices A and B to produce an output matrix C. The value for cell (i, j) of matrix C is computed by taking the dot product of row i in matrix A and column j in matrix B. A review of dense matrix-matrix multiplication can be found at:
https://www.khanacademy.org/math/precalculus/precalc-matrices/multiplying-matrices-by-matrices/v/matrix-multiplication-intro
In this mini-project, your task is to implement parallel matrix-matrix multiplication using MPI.
Your modifications should be made entirely inside of MatrixMult.java. You should not change the signatures of any public or protected methods inside of MatrixMult.java, but you can edit the method bodies and add any new methods that you choose. We will use our copy of MpiJavaTest.java in the final grading process, so do not change that file or any other file except MatrixMult.java.
Your main goals for this assignment are as follows:
- Inside MatrixMult.java, implement the parallelMatrixMultiply method to perform a matrix-matrix multiply in parallel using SPMD parallelism and MPI. There are helpful TODOs in MatrixMult.java to help guide your implementation.
Note that because this mini-project requires multiple MPI processes to be spawned, performing local testing using Maven as you normally would will only result in a single MPI rank executing. To execute a local MPI program with 4 MPI ranks we have provided a Maven profile which will handle this automatically for you.
package edu.coursera.distributed;

import edu.coursera.distributed.util.MPI;
import edu.coursera.distributed.util.MPI.MPIException;

/**
 * A wrapper class for a parallel, MPI-based matrix multiply implementation.
 */
public class MatrixMult {
    /**
     * A parallel implementation of matrix multiply using MPI to express SPMD
     * parallelism. In particular, this method should store the output of
     * multiplying the matrices a and b into the matrix c.
     *
     * This method is called simultaneously by all MPI ranks in a running MPI
     * program. For simplicity MPI_Init has already been called, and
     * MPI_Finalize should not be called in parallelMatrixMultiply.
     *
     * On entry to parallelMatrixMultiply, the following will be true of a, b,
     * and c:
     *
     *   1) The matrix a will only be filled with the input values on MPI rank
     *      zero. Matrix a on all other ranks will be empty (initialized to all
     *      zeros).
     *   2) Likewise, the matrix b will only be filled with input values on MPI
     *      rank zero. Matrix b on all other ranks will be empty (initialized to
     *      all zeros).
     *   3) Matrix c will be initialized to all zeros on all ranks.
     *
     * Upon returning from parallelMatrixMultiply, the following must be true:
     *
     *   1) On rank zero, matrix c must be filled with the final output of the
     *      full matrix multiplication. The contents of matrix c on all other
     *      ranks are ignored.
     *
     * Therefore, it is the responsibility of this method to distribute the
     * input data in a and b across all MPI ranks for maximal parallelism,
     * perform the matrix multiply in parallel, and finally collect the output
     * data in c from all ranks back to the zeroth rank. You may use any of the
     * MPI APIs provided in the mpi object to accomplish this.
     *
     * A reference sequential implementation is provided below, demonstrating
     * the use of the Matrix class's APIs.
     *
     * @param a Input matrix
     * @param b Input matrix
     * @param c Output matrix
     * @param mpi MPI object supporting MPI APIs
     * @throws MPIException On MPI error. It is not expected that your
     *                      implementation should throw any MPI errors during
     *                      normal operation.
     */
    public static void parallelMatrixMultiply(Matrix a, Matrix b, Matrix c,
            final MPI mpi) throws MPIException {
        final int myrank = mpi.MPI_Comm_rank(mpi.MPI_COMM_WORLD);
        final int size = mpi.MPI_Comm_size(mpi.MPI_COMM_WORLD);

        final int nrows = c.getNRows();
        final int rowChunk = (nrows + size - 1) / size;
        final int startRow = myrank * rowChunk;
        int endRow = (myrank + 1) * rowChunk;
        if(endRow > nrows) endRow = nrows;

        mpi.MPI_Bcast(a.getValues(), 0, a.getNRows() * a.getNCols(), 0, mpi.MPI_COMM_WORLD);
        mpi.MPI_Bcast(b.getValues(), 0, b.getNRows() * b.getNCols(), 0, mpi.MPI_COMM_WORLD);

        for (int i = startRow; i < endRow; i++) {
            for (int j = 0; j < c.getNCols(); j++) {
                c.set(i, j, 0.0);

                for (int k = 0; k < b.getNRows(); k++) {
                    c.incr(i, j, a.get(i, k) * b.get(k, j));
                }
            }
        }

        if(myrank == 0) {
            MPI.MPI_Request[] requests = new MPI.MPI_Request[size - 1];
            for (int i = 1; i < size; i++) {
                final int rankStartRow = i * rowChunk;
                int randEndRow = (i + 1) * rowChunk;
                if(randEndRow > nrows) randEndRow = nrows;

                final int rowOffset = rankStartRow * c.getNCols();
                final int nElements = (randEndRow - rankStartRow) * c.getNCols();
                requests[i - 1] = mpi.MPI_Irecv(c.getValues(), rowOffset, nElements, i, i, mpi.MPI_COMM_WORLD);
            }
            mpi.MPI_Waitall(requests);
        } else {
            mpi.MPI_Send(c.getValues(), startRow * c.getNCols(), (endRow - startRow) * c.getNCols(), 0, myrank, mpi.MPI_COMM_WORLD);
        }
    }
}
4 COMBINING DISTRIBUTION AND MULTITHREADING
4.1 Combining Distribution and Multithreading

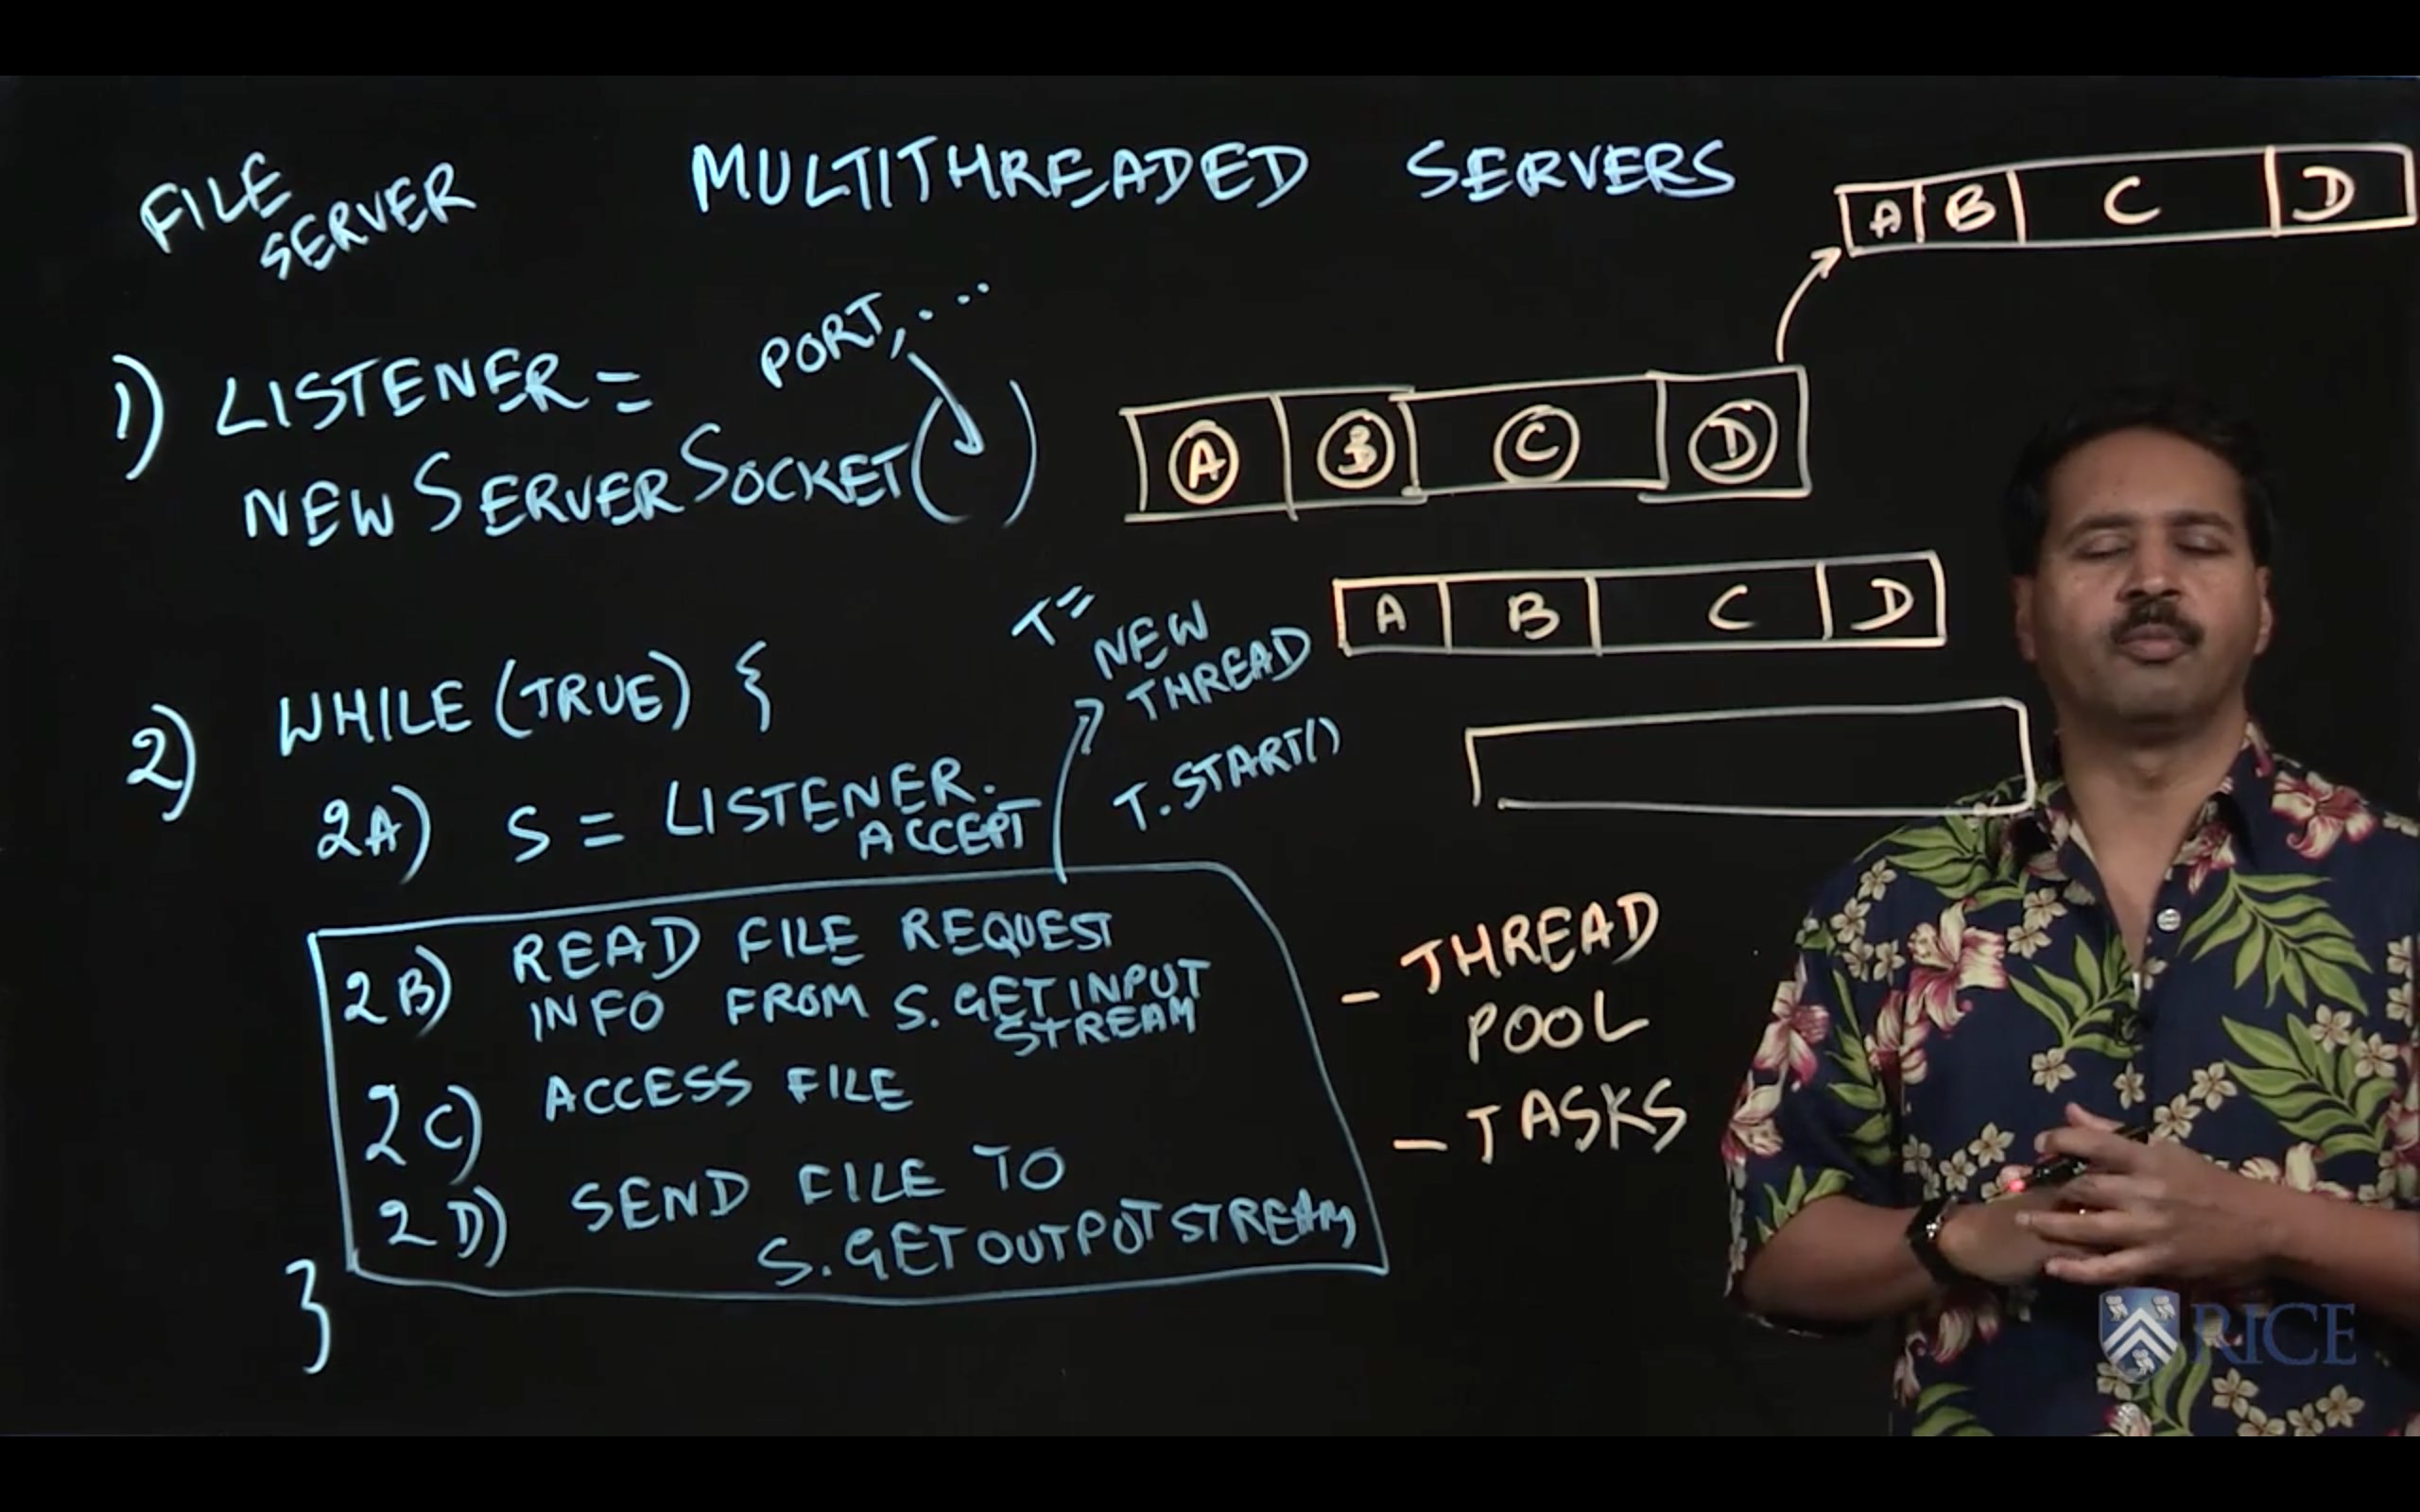
4.2 Multithreaded Servers
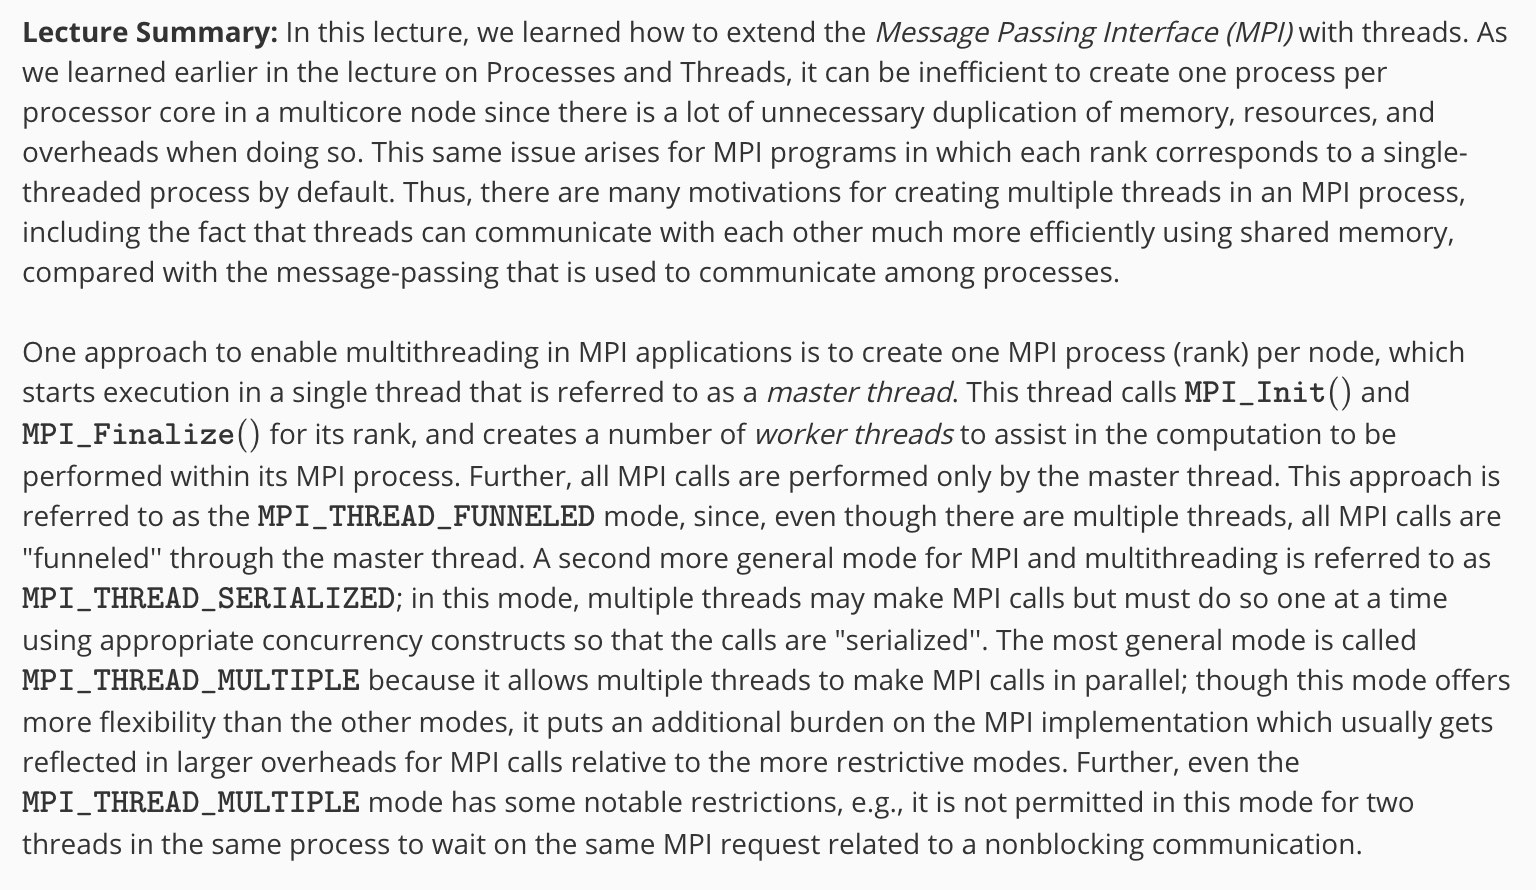
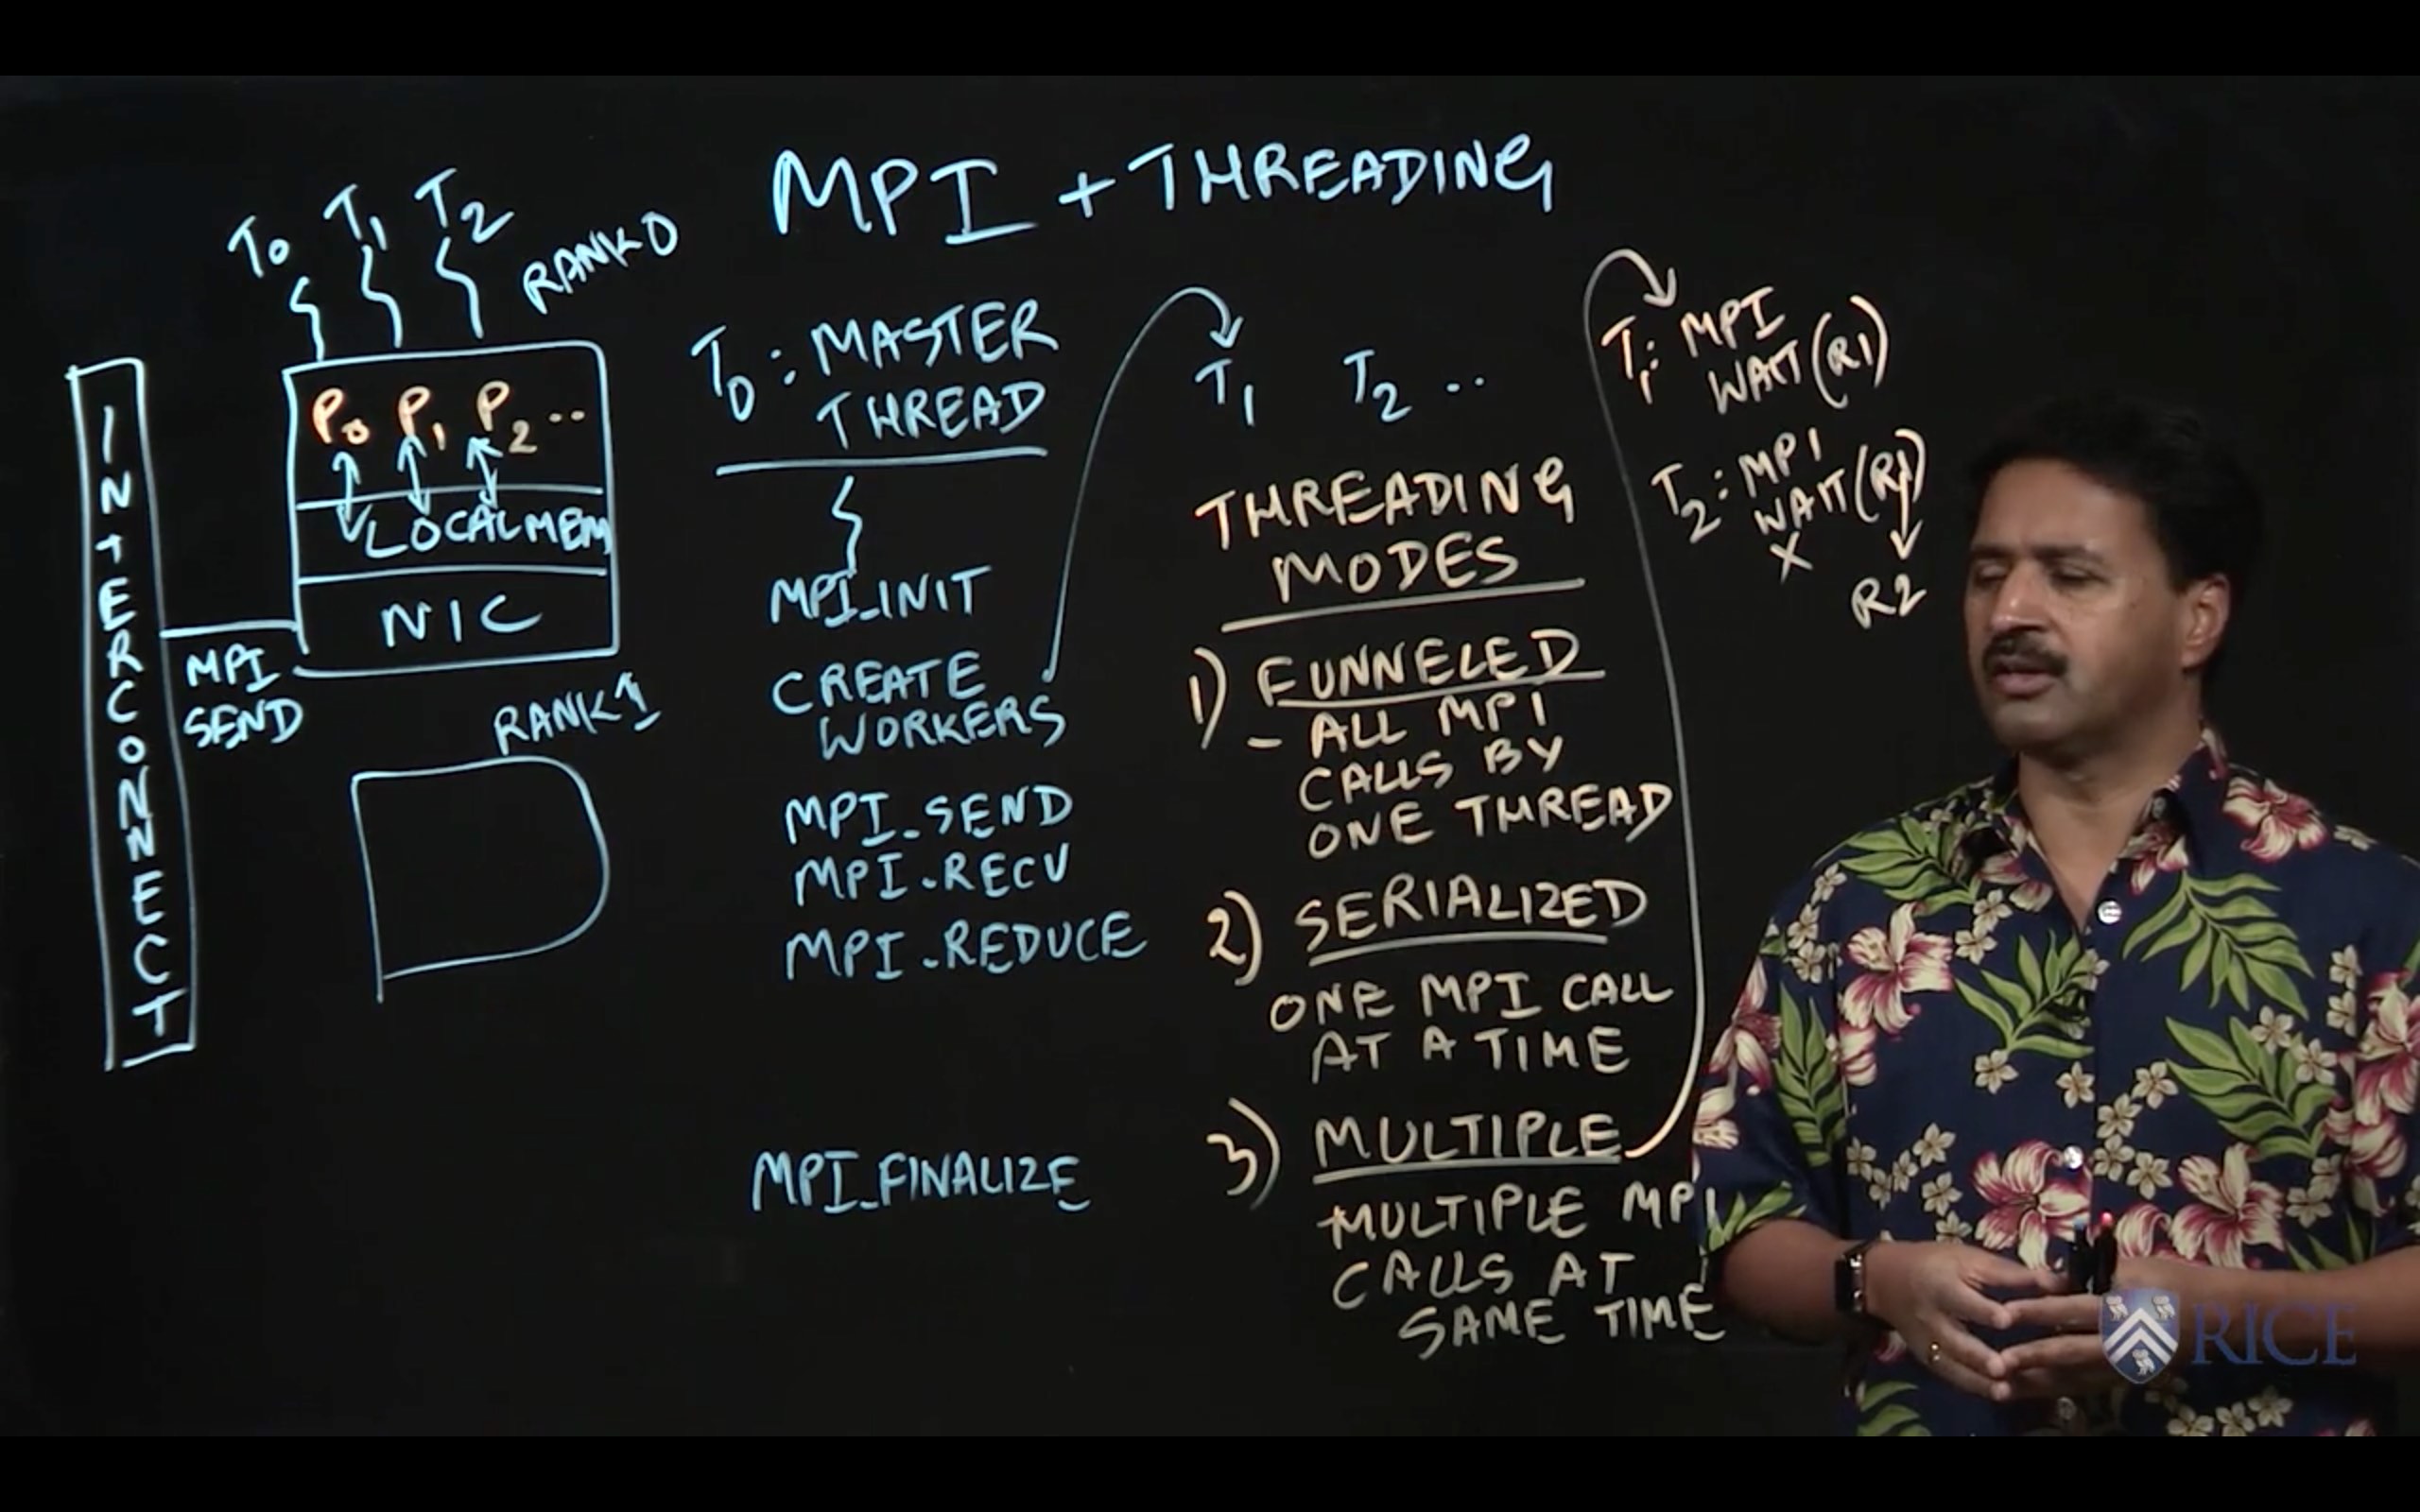
4.3 MPI and Multithreading
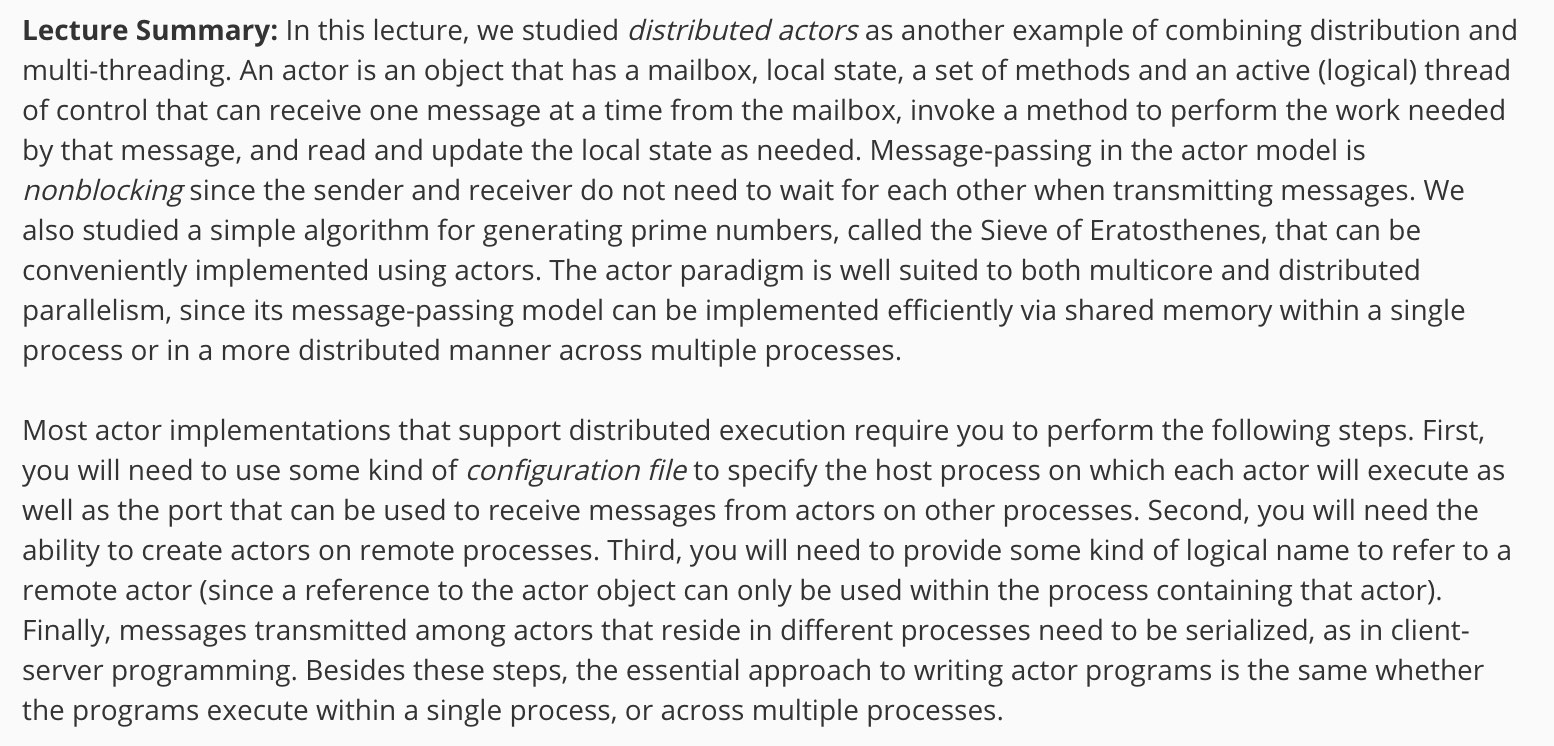
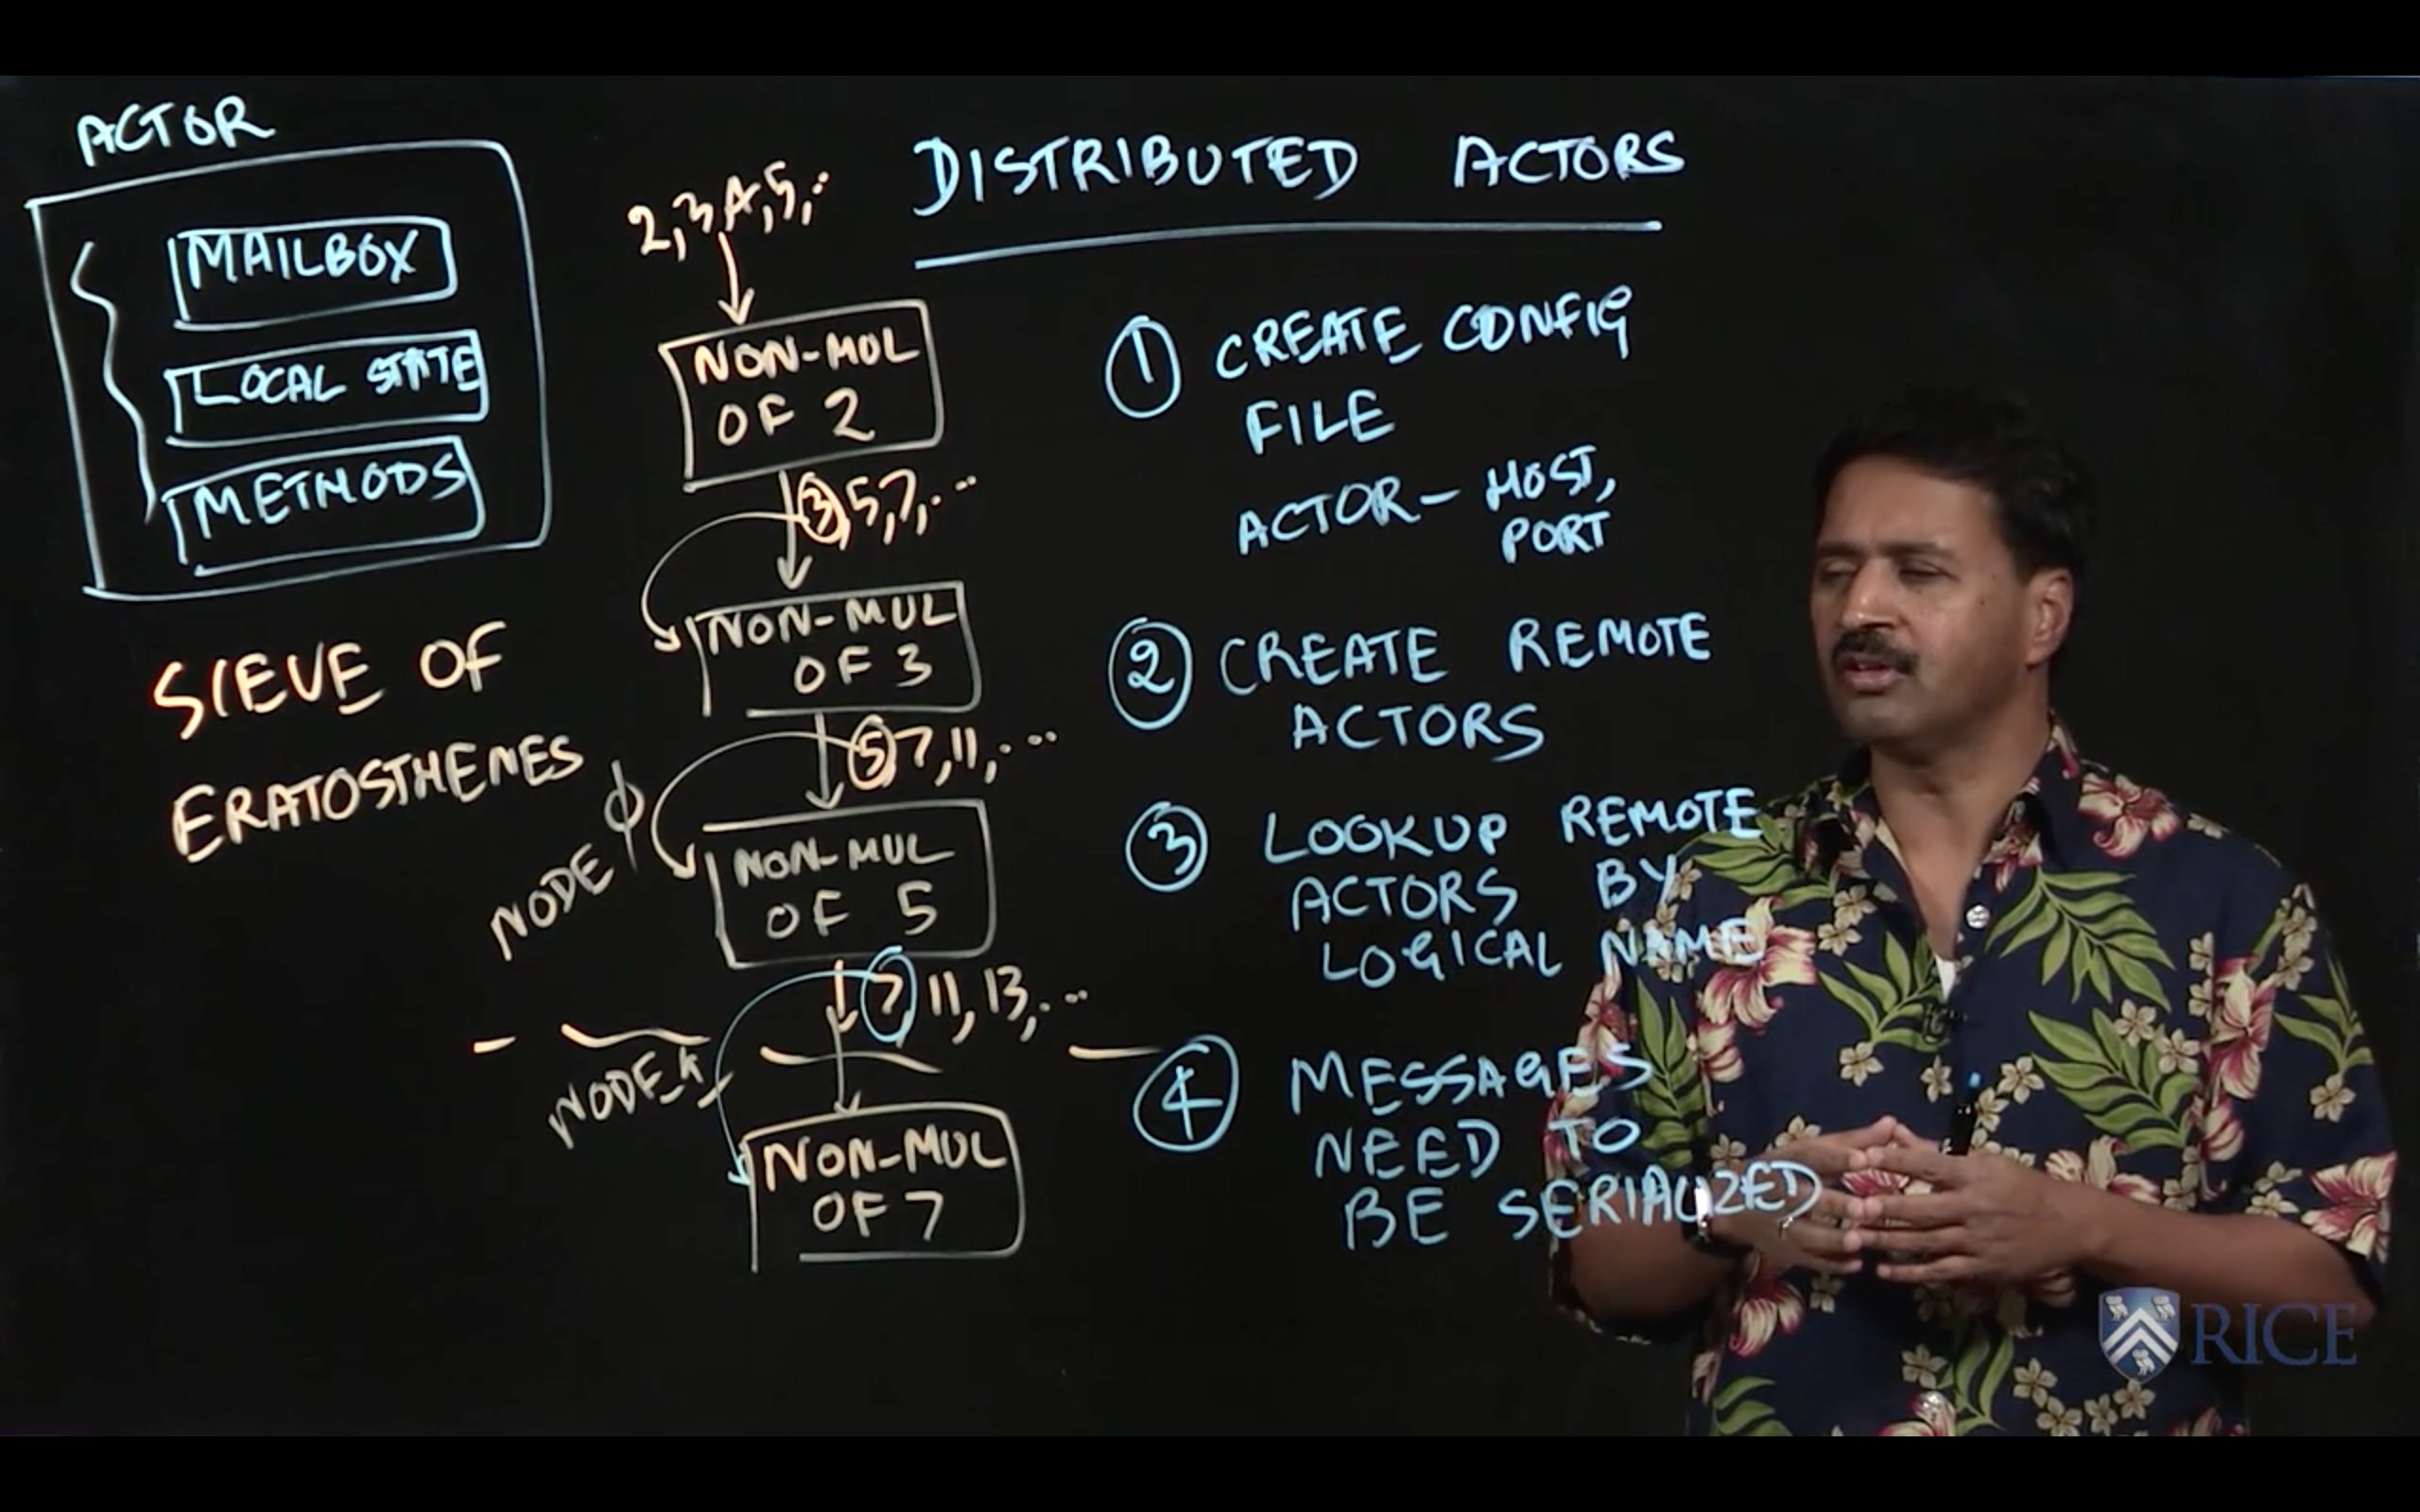
4.4 Distributed Actors
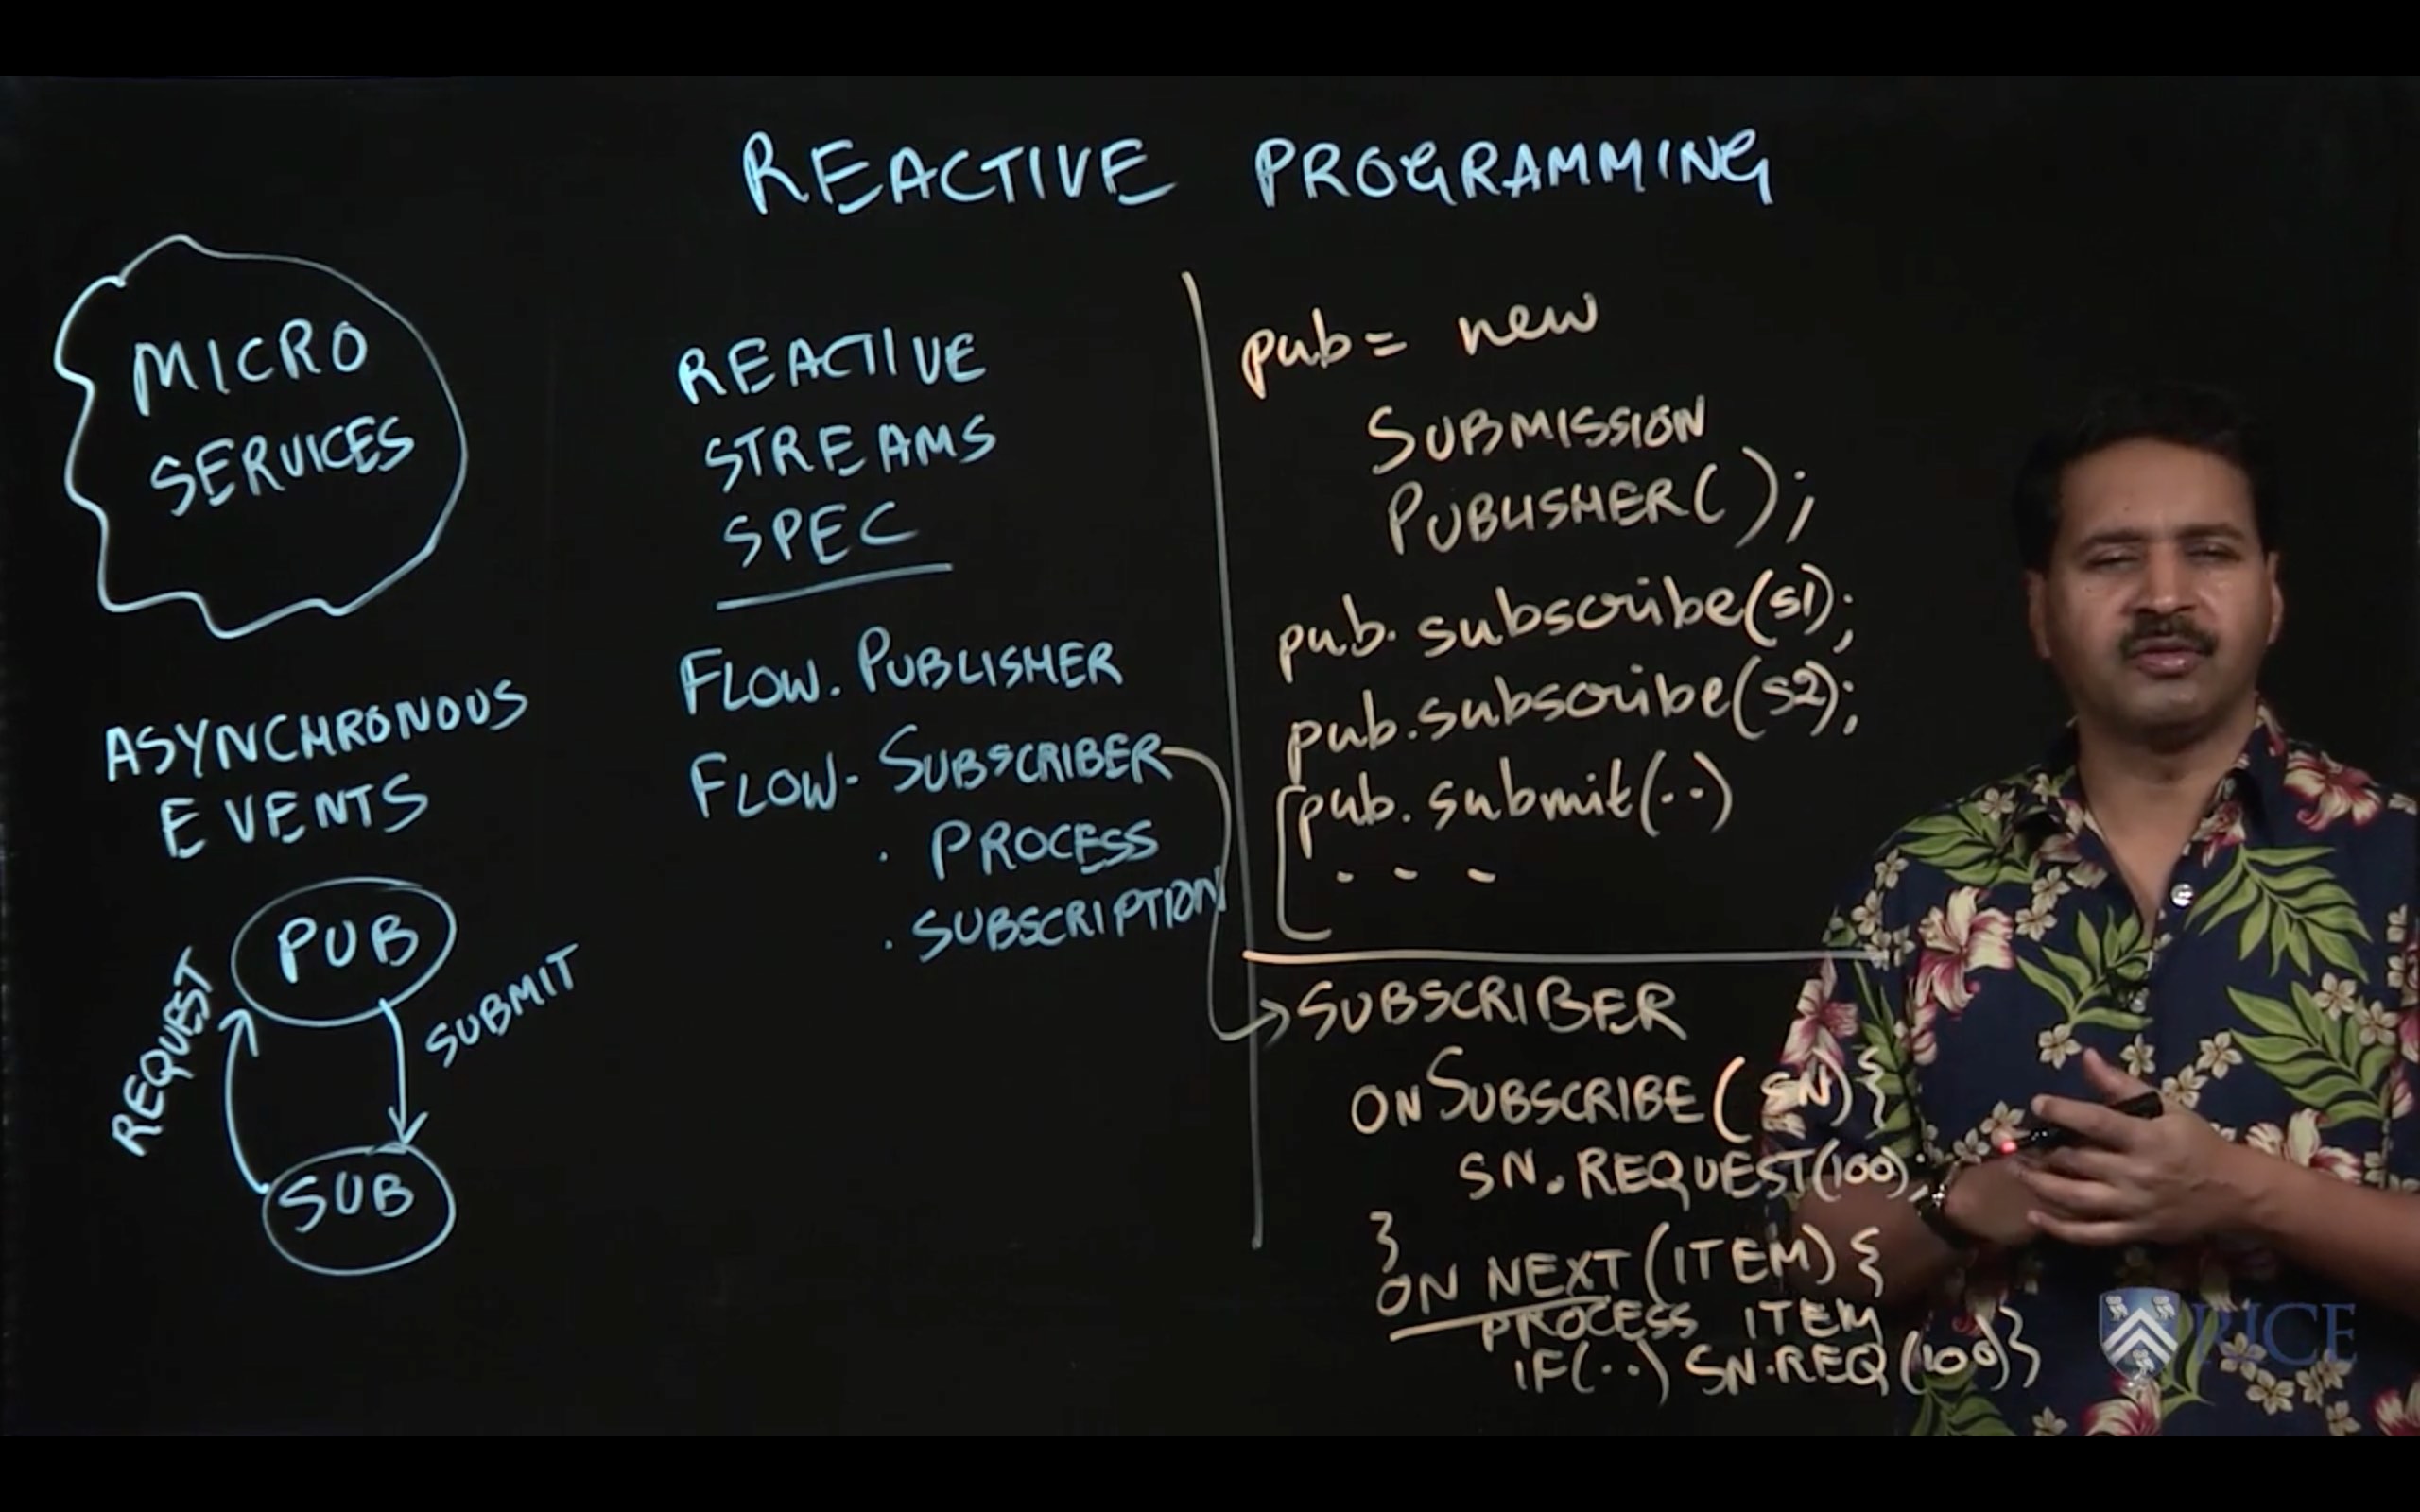
4.5 Distributed Reactive Programming
4.6 Mini Project
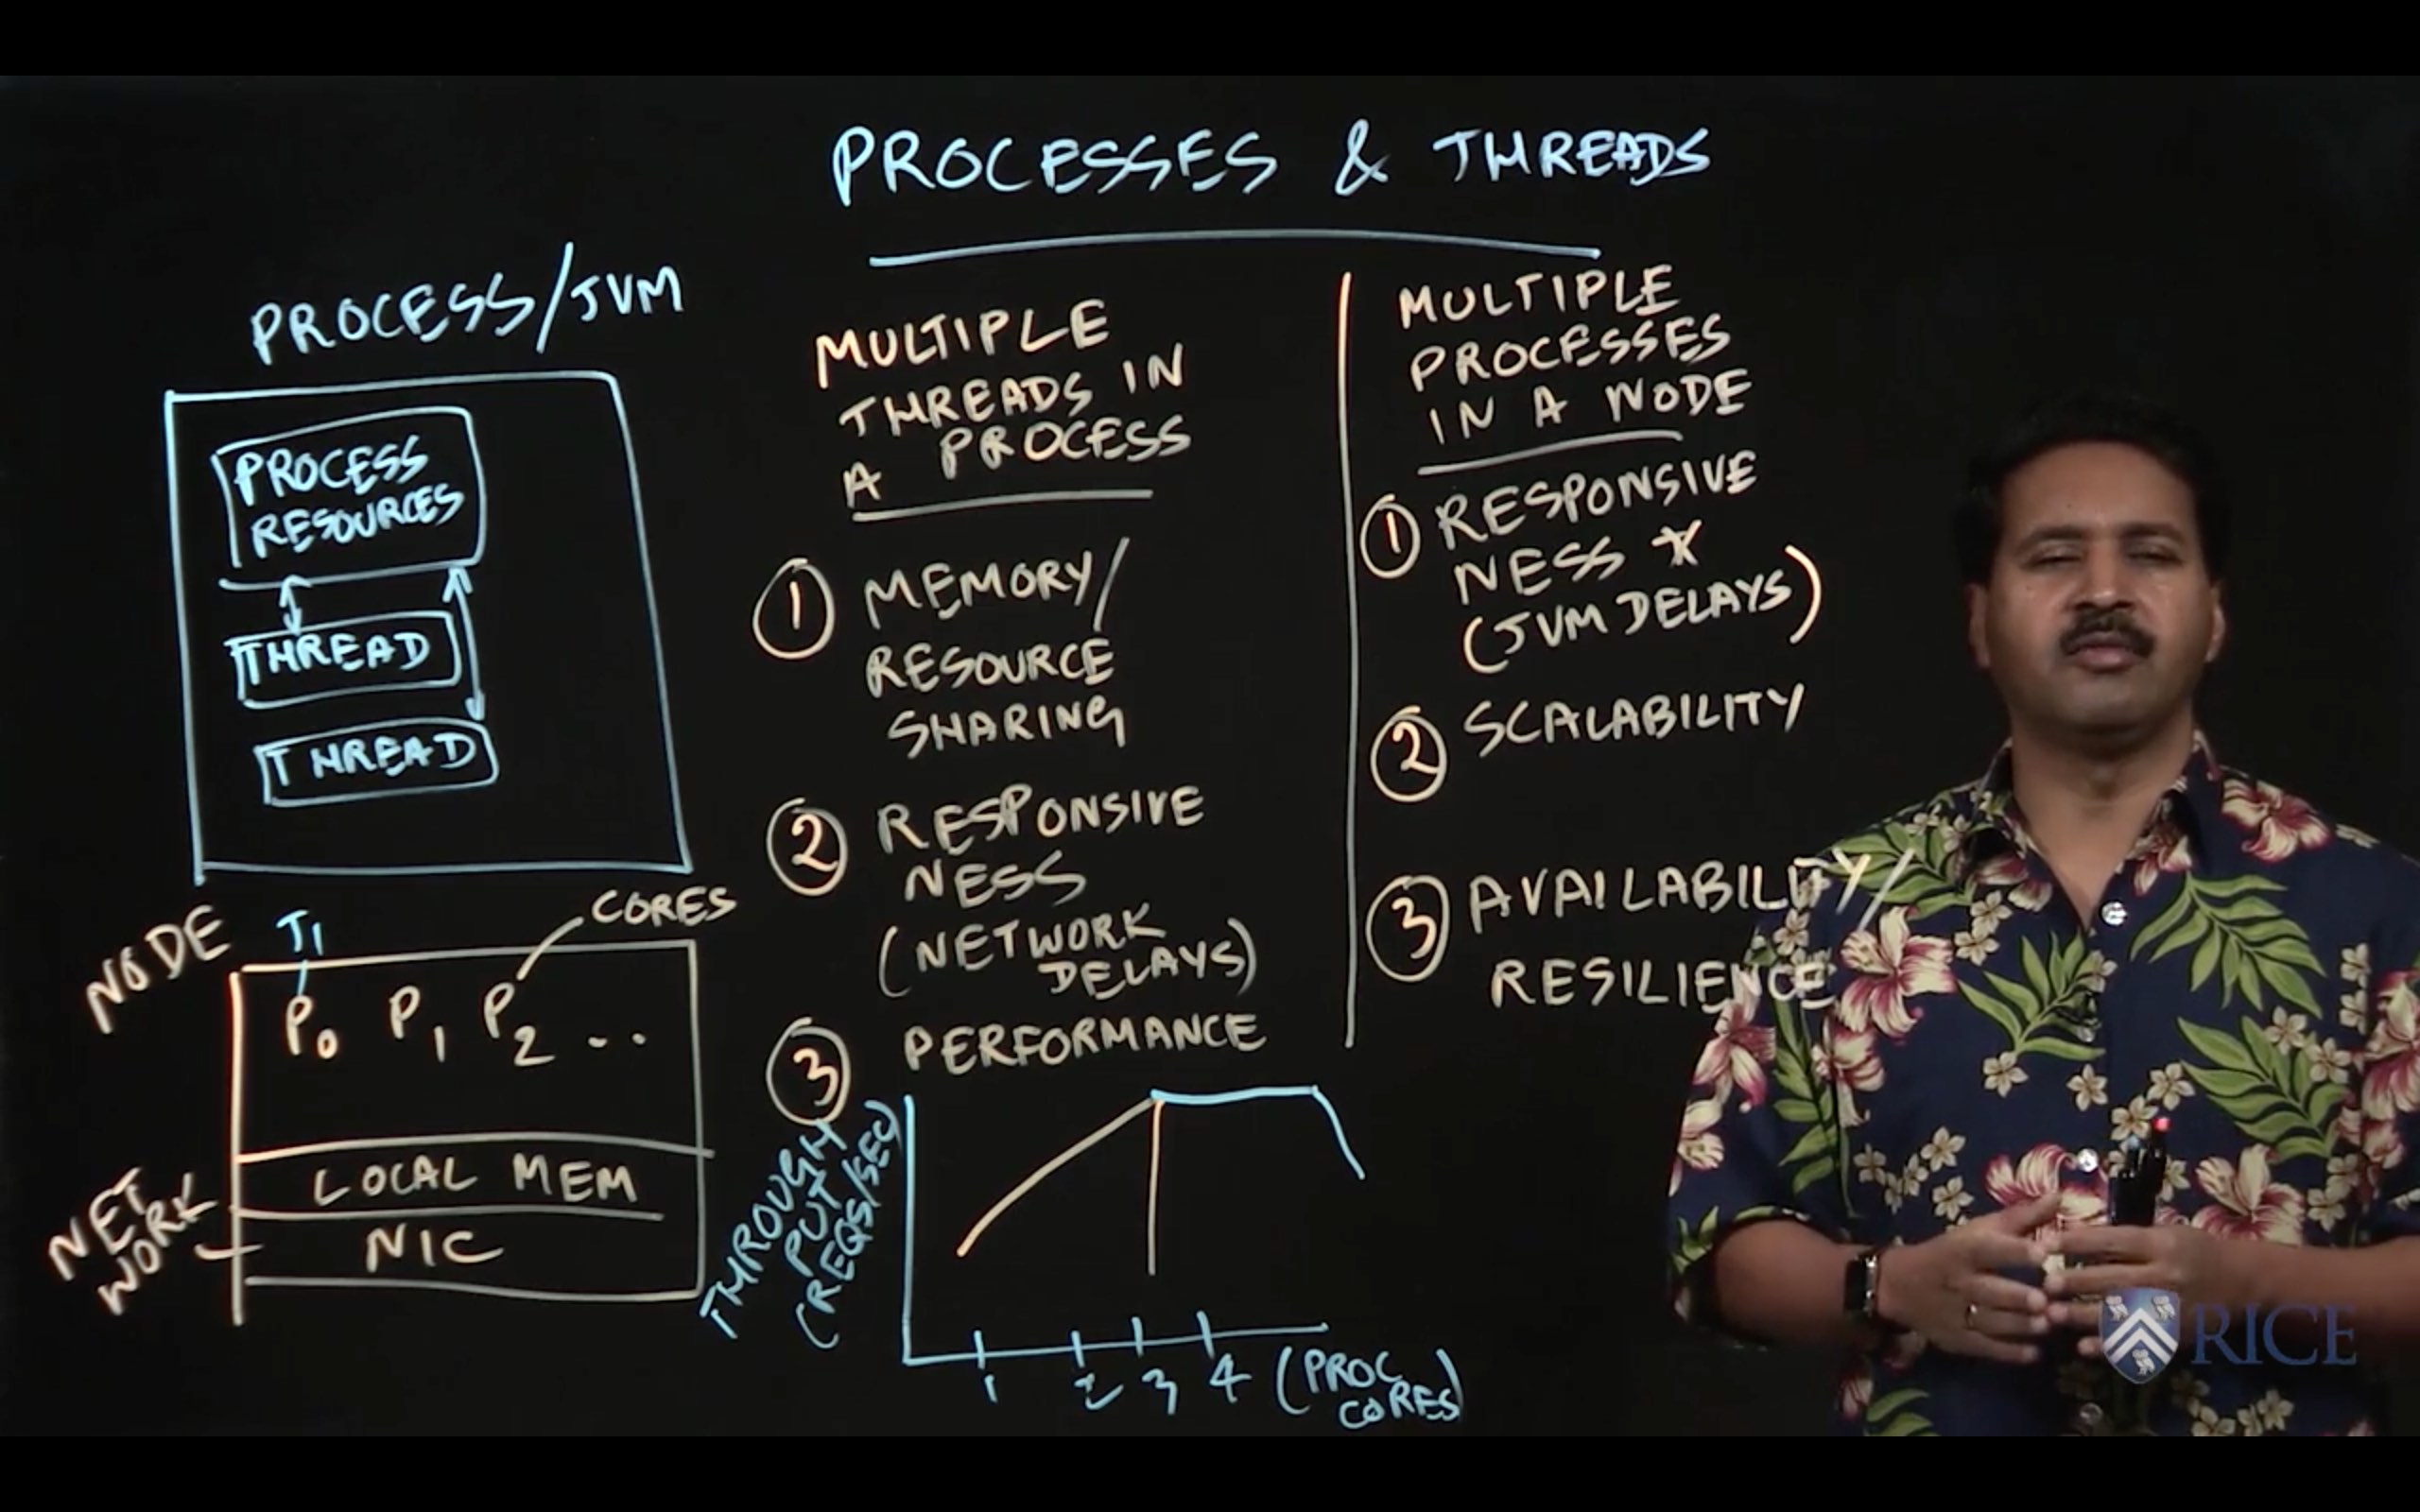
In general, most production JVM web servers are multi-threaded. Using multiple threads allows a single JVM server instance to handle many concurrent requests at once.
In Mini Project 2 of this course, you developed a simple file server that responded to HTTP GET requests with the contents of files. In this mini-project, we will make a simple extension to that file server by using multiple Java Threads to handle file requests.
If you need a refresher on HTTP, file servers, or the problem statement you are free to refer back to the Mini Project 2 description in Coursera and to your own Mini Project 2 solution.
Note that for this mini-project, the expected performance is highly dependent on the execution platform you use. The provided performance tests are calibrated to work well on the Coursera autograder, and may fail in your local testing environment even when they would pass on the autograder. Once you see speedup using multiple threads on your local machine, we encourage you to also test your submission on the autograder even if local testing is failing.
Your main goals for this assignment are as follows:
- Inside FileServer.java, implement the run method to use the provided ServerSocket object and root directory to implement a multi-threaded HTTP file server by handling each request received on the ServerSocket in a new thread. There are several helpful TODOs in FileServer.java to help guide your implementation.
package edu.coursera.distributed;

import java.io.*;
import java.net.ServerSocket;
import java.net.Socket;
import java.io.*;
import java.net.ServerSocket;
import java.net.Socket;
import java.nio.file.Files;

/**
 * A basic and very limited implementation of a file server that responds to GET
 * requests from HTTP clients.
 */
public final class FileServer {
    /**
     * Main entrypoint for the basic file server.
     *
     * @param socket Provided socket to accept connections on.
     * @param fs A proxy filesystem to serve files from. See the PCDPFilesystem
     *           class for more detailed documentation of its usage.
     * @param ncores The number of cores that are available to your
     *               multi-threaded file server. Using this argument is entirely
     *               optional. You are free to use this information to change
     *               how you create your threads, or ignore it.
     * @throws IOException If an I/O error is detected on the server. This
     *                     should be a fatal error, your file server
     *                     implementation is not expected to ever throw
     *                     IOExceptions during normal operation.
     */
    public void run(final ServerSocket socket, final PCDPFilesystem fs,
            final int ncores) throws IOException {
        /*
         * Enter a spin loop for handling client requests to the provided
         * ServerSocket object.
         */
        while (true) {
            Socket s = socket.accept();

            Thread thread = new Thread(() -> {
                try {
                    InputStream stream = s.getInputStream();
                    InputStreamReader reader = new InputStreamReader(stream);
                    BufferedReader bufferedReader = new BufferedReader(reader);

                    String line = bufferedReader.readLine();
                    assert line != null;
                    assert line.startsWith("GET");
                    final String path = line.split(" ")[1];

                    PCDPPath pcdpPath = new PCDPPath(path);
                    String fileContent = fs.readFile(pcdpPath);

                    OutputStream out = s.getOutputStream();
                    PrintWriter printWriter = new PrintWriter(out);

                    if(fileContent != null) {
                        printWriter.write("HTTP/1.0 200 OK\r\n");
                        printWriter.write("Server: FileServer\r\n");
                        printWriter.write("\r\n");
                        printWriter.write(fileContent + "\r\n");
                    } else {
                        printWriter.write("HTTP/1.0 404 Not Found\r\n");
                        printWriter.write("Server: FileServer\r\n");
                        printWriter.write("\r\n");
                    }

                    printWriter.close();
                } catch (IOException e) {
                    throw new RuntimeException(e);
                }
            });

            thread.start();
        }
    }
}